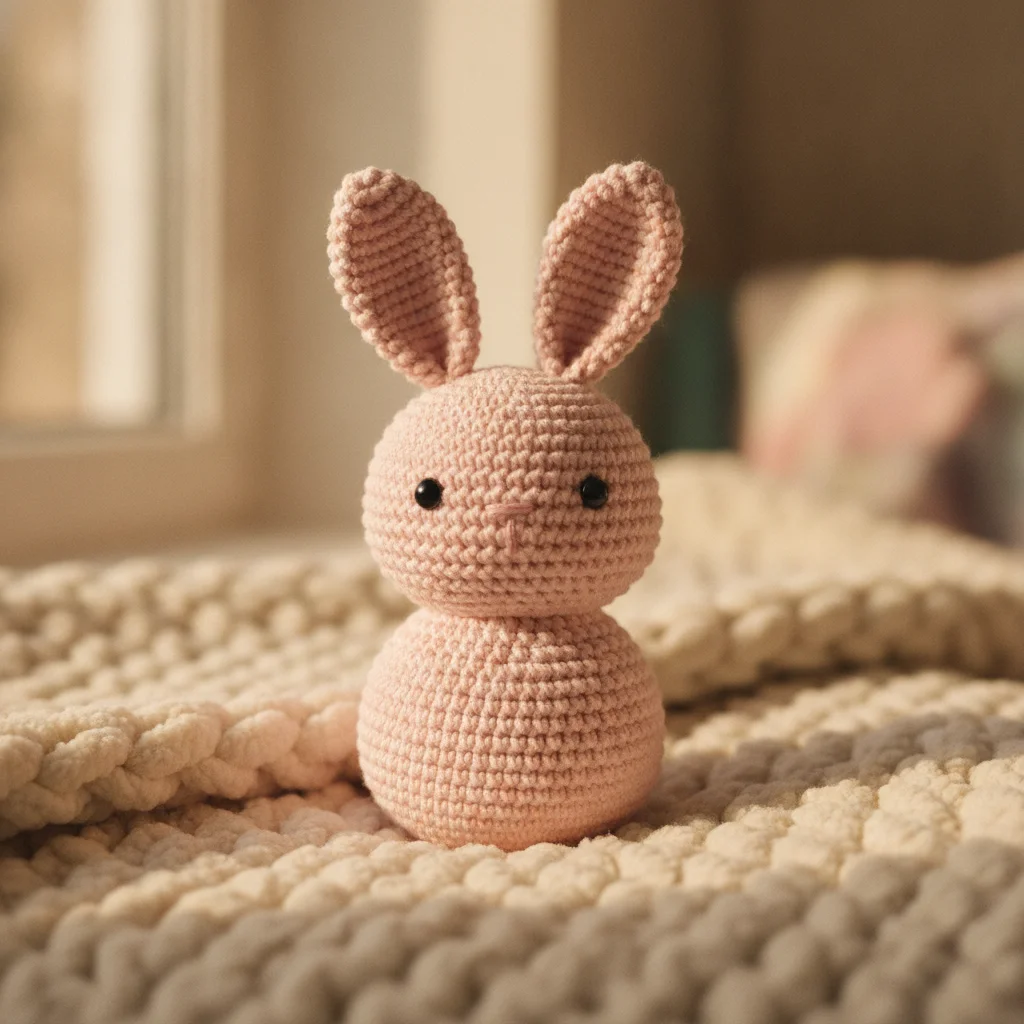
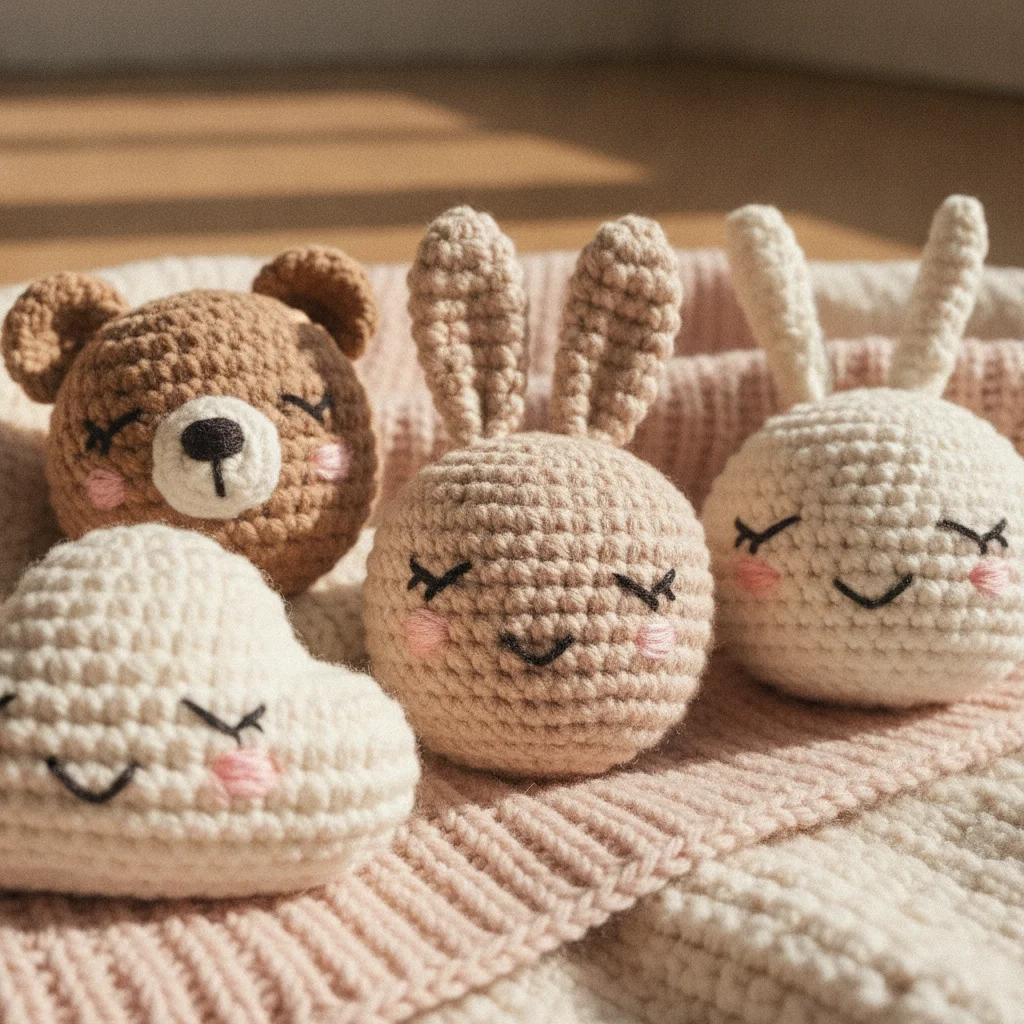
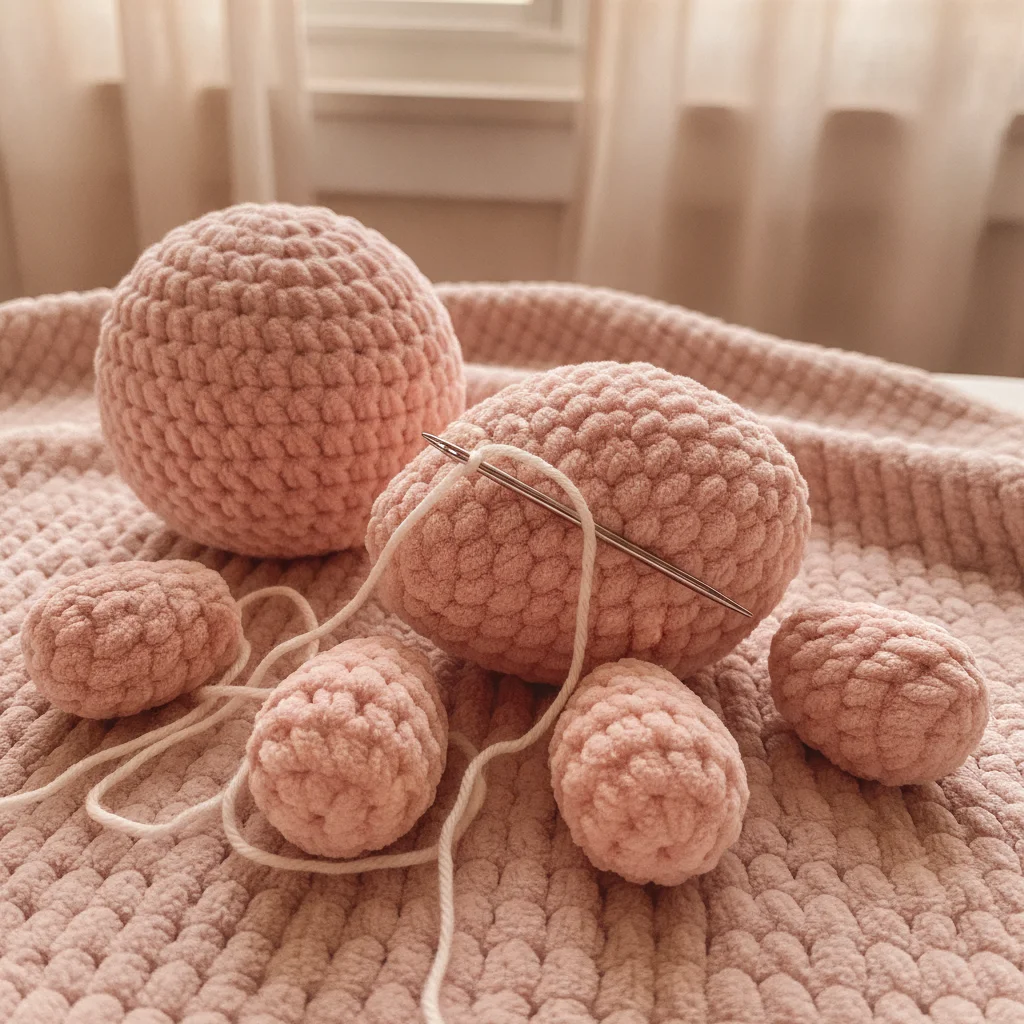
Bringing Your Amigurumi Dolls to Life: A Step-by-Step Guide to Attaching Hair
Adding hair is one of the most delightful ways to give personality to your amigurumi dolls. In this guide, you'll learn popular and easy techniques for different hair types, bringing your creations to life step by step.
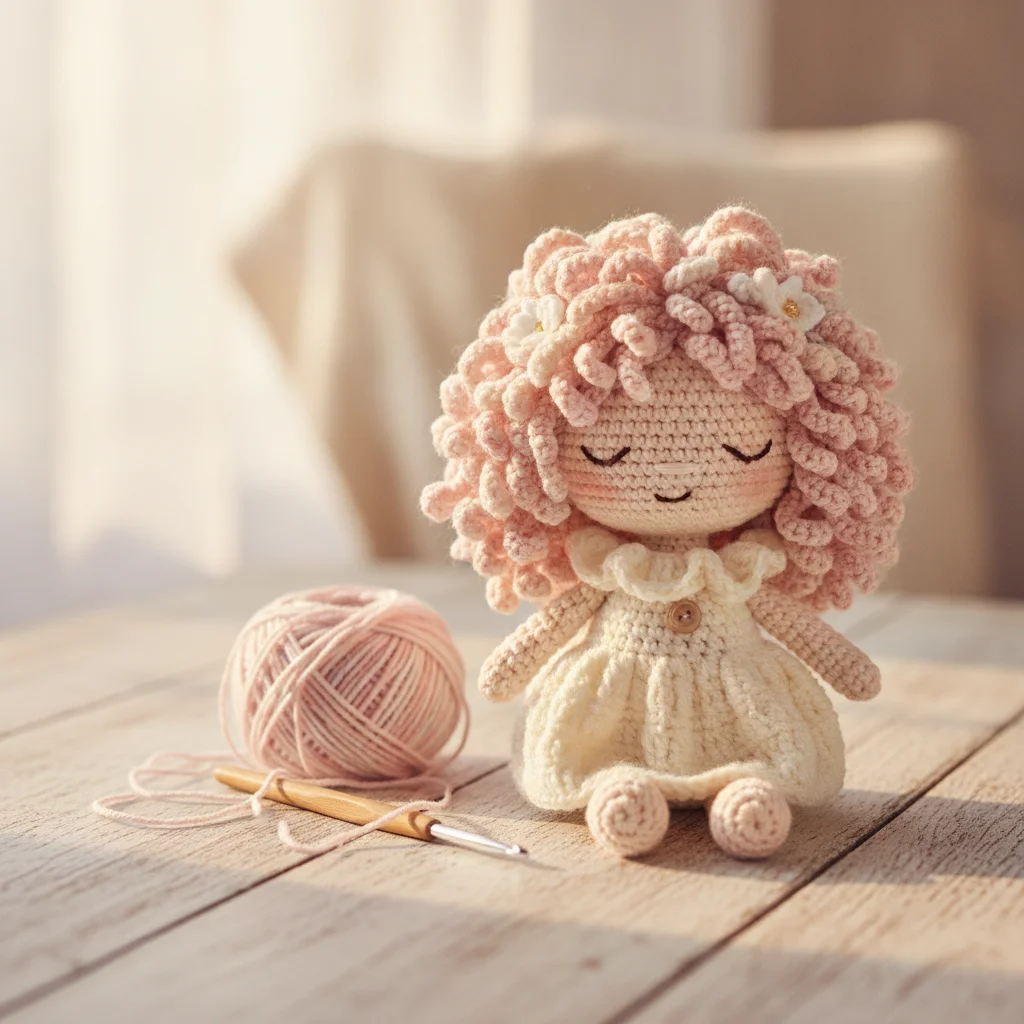
Bringing Your Amigurumi Dolls to Life: A Step-by-Step Guide to Attaching Hair
One of the most enjoyable stages of crocheting amigurumi is adding the final touches to your finished toy. Eyes, noses, and of course, hair are the details that bring out the character's soul. Especially in doll and figure amigurumi, hair is one of the most important elements that complete your toy's personality, giving it a completely different vibe. So, how can you add hair to your amigurumi dolls and give them the look of your dreams? In this post, we will explore the most popular and effective hair attachment techniques step-by-step for beginner and intermediate crocheters.
Why Add Hair?
Hair adds depth, expression, and a unique identity to your amigurumi doll. Long, short, curly, straight, braided, or in a bun... The shape and color of the hair help tell the character's story. Furthermore, adding hair is a wonderful way to add a personal touch to your amigurumi project and make it truly unique.
Which Yarns Should We Use for Hair?
The type of yarn you use for hair can vary depending on the look you want to achieve.
- Acrylic Yarns: These are among the most frequently chosen yarns due to their wide color range, affordability, and ease of styling.
- Wool Yarns: Offer a more natural and matte look. Brushable wools are ideal for soft and fluffy hair.
- Cotton Yarns: Generally used for straighter and smoother hair. They are less brushable but have a sturdier structure.
- Specialty Hair Yarns: Some brands offer yarns specifically designed for hair, which can be finer and shinier.
Tip: The thickness of the yarn you use for hair should be compatible with the thickness of the yarn you used to crochet the amigurumi body. Generally, yarns of the same thickness or slightly thinner are preferred.
Amigurumi Hair Attachment Techniques
Now, let's get to the main topic: the most popular techniques for attaching hair to your amigurumi dolls.
1. Loop Knot Method - The Most Popular Technique
This is the most common and easiest technique used for amigurumi hair. Each strand of hair is individually secured to the doll's head.
Materials:
- Yarn of your desired color and type for hair
- Your amigurumi doll's head
- Crochet hook (usually one size smaller or the same size as the hook you used for the amigurumi)
- Scissors
- Measuring tape or ruler
Steps:
- Cut the Yarn Strands: Determine the desired length of the hair. For example, if you want 20 cm long hair, cut the yarn to 40 cm (because it will be folded in half). The more strands of hair you want, the more yarn you'll need to cut.
- Define the Hairline: Decide where the hair will start and end on the doll's head. It usually starts from the top and extends down to the ear level. You can use a pin to mark a guideline for yourself.
- Attach with Loop Knot:
- Fold one of your cut yarn strands in half.
- Insert your crochet hook into a stitch on the doll's head (usually into the single crochet spaces).
- Catch the folded loop of yarn with your hook and pull it through the stitch.
- Pass both loose ends of the yarn through the loop you just pulled through.
- Tighten it securely to form a knot.
- Repeat: Repeat this process along the hairline, either in every stitch or every other stitch, until you achieve your desired density. The more frequently you attach strands, the fuller the hair will look.
Tip: Working in the same direction when attaching hair ensures a neater and more natural appearance.
2. Wig Method
This technique is ideal for those who want a more uniform and removable hair look, or for those who like to experiment with different hairstyles. The hair is crocheted as a separate piece and then sewn or glued onto the doll's head.
Materials:
- Yarn for hair
- Crochet hook
- Scissors
- Needle and thread (for sewing)
Steps:
- Crochet a Wig Base in the Shape of the Head: Crochet a flat circle appropriate for your doll's head size, usually starting with a magic ring and increasing until it matches the area where you want the hair to start. This circle will act as the "scalp" to which the hair will be attached.
- Attach the Hair: As with the loop knot technique, attach the cut yarn strands to this wig base. This can be easier than attaching directly to the doll's head.
- Secure the Wig: Carefully sew or glue the wig base with the attached hair onto the doll's head using fabric glue.
3. Crochet Hair Technique
This method is especially used for shorter, curly, or braided hair and is crocheted directly onto the doll's head.
Materials:
- Yarn for hair
- Crochet hook
- Scissors
Steps:
- Crochet Hair Strands: Secure the yarn to a stitch on the doll's head. Chain to your desired length (e.g., 10-15 chains). Work back down the chain with slip stitches or single crochets into each chain. This creates a single strand of hair.
- Repeat: Repeat this process for every stitch or at intervals where you want the hair to start.
- Styling: Hair crocheted with this method is easier to style, braid, or gather.
Styling and Care for Amigurumi Hair
After attaching the hair, you can add some final touches:
- Cutting and Trimming: Trim the hair to your desired length and shape.
- Brushing: Gently brush hair made from wool yarns to give it a fluffier and more natural look.
- Braids and Buns: Long hair can be braided, tied up, or styled in various ways.
If you need to wash your amigurumi doll's hair, you can gently hand wash it with cold water and baby shampoo. Avoid direct sunlight or high heat when drying.
Conclusion
Adding hair to your amigurumi dolls is a wonderful way to bring them to life and add your personal touch. Whichever technique you choose, with patience and a little practice, you'll achieve fantastic results. Remember, every amigurumi is a work of art, and every detail you add makes it even more special.
When you try these techniques or create your own unique hair designs, don't forget to share your results with us! You can reach us on Instagram at @aylawangurumi. Keep crocheting, keep loving!