The Art of Stuffing Amigurumi: A Guide to Fixing Lumpy and Uneven Fillings
Learn the right stuffing techniques for your amigurumi toys to achieve a smooth and even appearance. Discover the secrets to fixing lumpy stuffing and giving your toys their perfect shape.
Hello fellow crocheters!
Welcome to the world of amigurumi! One of the most crucial steps in creating these adorable, stitch-by-stitch crocheted toys is stuffing them. But what if the stuffing process doesn't go as expected? Encountering a lumpy, uneven, or misshapen amigurumi can happen to any of us. Don't worry, in this post, we'll walk you through the intricacies of amigurumi stuffing, why lumps occur, and how you can fix them, step by step. Our goal is to ensure your toys look both sturdy and perfectly smooth!
Why Does Lumpy or Uneven Stuffing Occur?
There are several common reasons for lumps or unevenness when stuffing amigurumi. Knowing these will help you tackle the problem at its root:
- Incorrect Fiber Choice: Not all stuffing fibers are suitable for amigurumi. Fibers that are too stiff, clumpy, or not flexible enough can lead to an uneven fill.
- Too Little Stuffing: Insufficient stuffing causes the toy to be floppy, shapeless, and easily squishable. This provides fertile ground for lumps to become noticeable.
- Too Much Stuffing: Over-stuffing can cause the fiber to show through the stitches, making the toy taut and hard. It can also distort its intended shape.
- Rushed and Irregular Stuffing: Stuffing the fiber quickly and in large pieces creates gaps or clumps inside.
- Stuffing Direction: Not distributing the fiber evenly throughout the toy, especially by just pushing it in from one single point, causes issues.
Fundamentals of Perfect Stuffing
Before we dive into fixing lumpy stuffing, learning the correct stuffing techniques will help you prevent these issues in your future projects. Here's what to pay attention to:
- Choose the Right Fiber: The most ideal stuffing for amigurumi is polyfill fiberfill. Lightweight, washable, hypoallergenic, and easy to shape, these fibers ensure your toy is both plump and soft.
- Stuff in Small Increments: Don't stuff the fiber in large chunks; instead, take small handfuls. By adding a small amount of fiber each time, you can maintain better control.
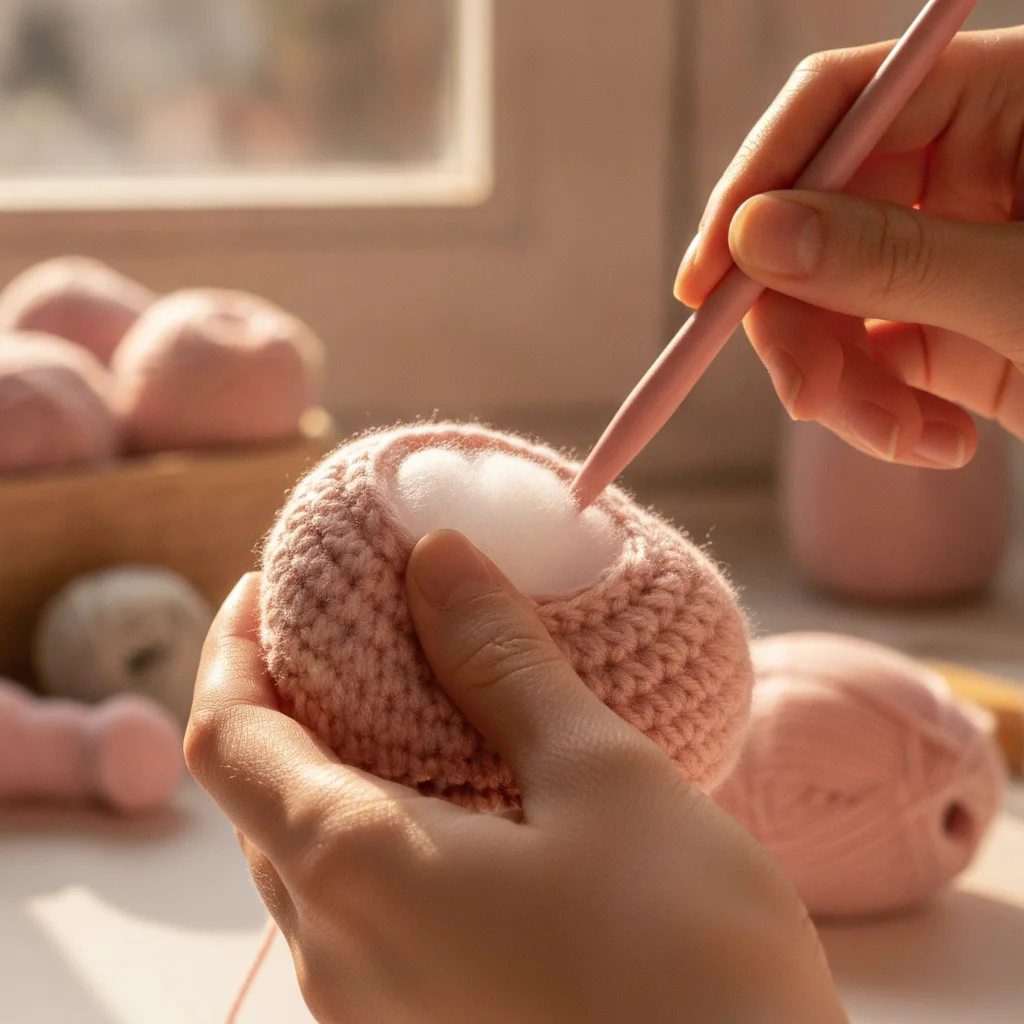
- Ensure Even Distribution: Push the fiber into every corner of the toy, especially into narrow areas (like the tips of arms or legs). A crochet hook or a blunt-ended stick will be your greatest aid here.
- Adjust Firmness: Amigurumi is generally stuffed firmly, but remember that each part might require a different level of firmness. For example, arms and legs might be slightly less firm than the head. Check the firmness by gently squeezing the toy; the fiber shouldn't show through the stitches, but the toy shouldn't feel rock-hard either.
- Don't Neglect Shaping: Continuously check the toy's shape while stuffing and gently massage it with your hands to distribute the fiber.
Tip: Before you start stuffing, identify where you plan to attach safety eyes and noses. In some cases, stuffing a small amount before attaching these accessories can make your job easier.
Methods to Fix Lumpy and Uneven Stuffing
Now, let's get to the main topic: how can we rescue an amigurumi that has already been stuffed in a lumpy or uneven way? Here are effective methods you can apply:
1. Massaging and Shaping
This is usually the simplest method you should try first. Gently massage the lumpy areas on the toy with your fingers. Squeeze and shape the toy as if kneading dough to distribute the fiber internally and fill any gaps. This can be quite effective for minor unevenness.
2. Adding or Removing Stuffing
If massaging isn't enough, you might need to take a slightly more radical step:
- Adding Fiber to Under-stuffed Areas: Identify the under-stuffed and saggy areas of the toy. If possible, carefully push a small amount of fiber into these areas through the stitches or by gently unpicking a few stitches. Then shape with your hands and close the seam.
- Removing Fiber from Over-stuffed Areas: If an area looks too taut and lumpy, again, carefully unpick the stitches and remove excess fiber. Then gently redistribute the remaining fiber and close the seam.
3. Correcting from the Inside with a Hook or Stick
This method is used to manipulate the fiber inside without opening stitches. Using a thin crochet hook or a blunt-ended stick (like a chopstick), try to reach the lumpy areas from inside the toy. Gently pull or push the fiber with the hook to distribute it. This is particularly useful for lumps in small and narrow areas.
4. Patience and Repetition
Remember, stuffing amigurumi is an art and requires practice. Sometimes you might need to try a few different methods or apply the same method multiple times to fix a lump. Be patient, and you'll see yourself achieving better results each time.
Final Tips
- Stuff Incrementally: Start stuffing larger pieces like the head and body before completely finishing them. This allows easier access to the interior.
- Stuffing Small Parts: When stuffing small parts like arms and legs, make sure to push the fiber all the way to the ends with the help of a crochet hook. Otherwise, they might look floppy and lifeless.
- Stuffing the Head: The head is one of the most crucial parts of an amigurumi and often needs to be stuffed the most firmly. Ensure the neck area is also firm, otherwise, the head might wobble.
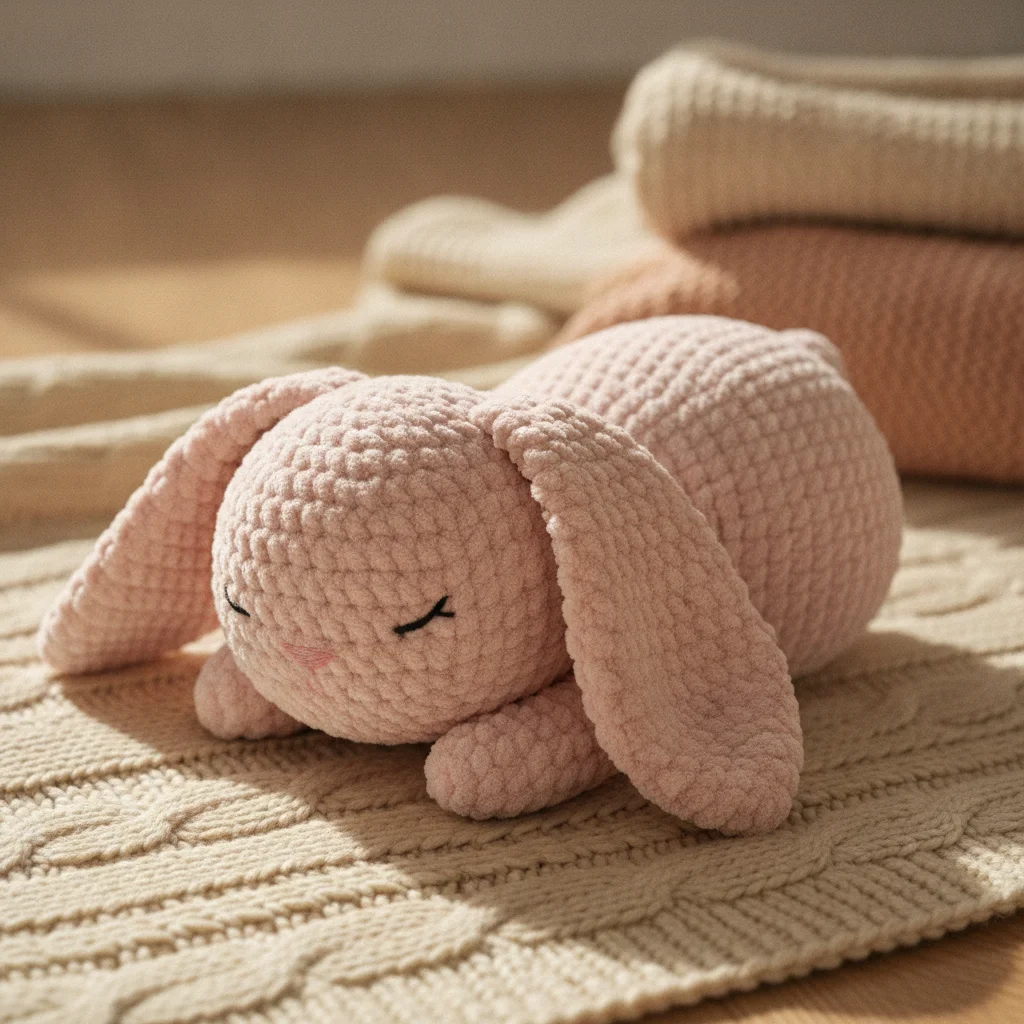
Improving your amigurumi stuffing skills will greatly impact the final appearance of your projects. By applying these tips, you'll leave lumpy stuffing behind and create perfectly smooth toys every time.
We're here to support you on your crochet journey. Don't forget to follow us on Instagram for more tips and inspiration: @aylawangurumi.
Happy crocheting!