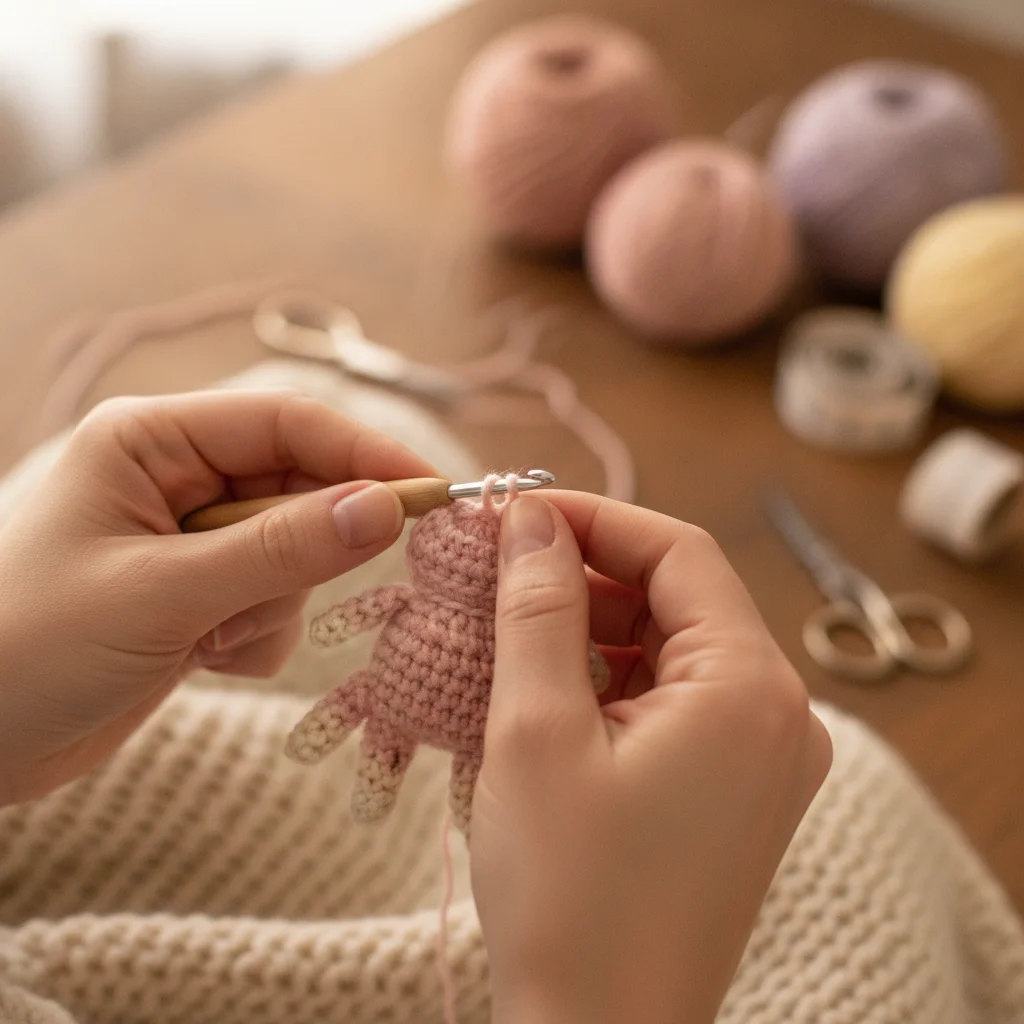
How to Crochet Detailed Amigurumi Hands and Fingers: Step-by-Step Guide
Want to bring realistic charm and expression to your amigurumi dolls? Discover easy techniques and tips to crochet tiny hands and fingers!
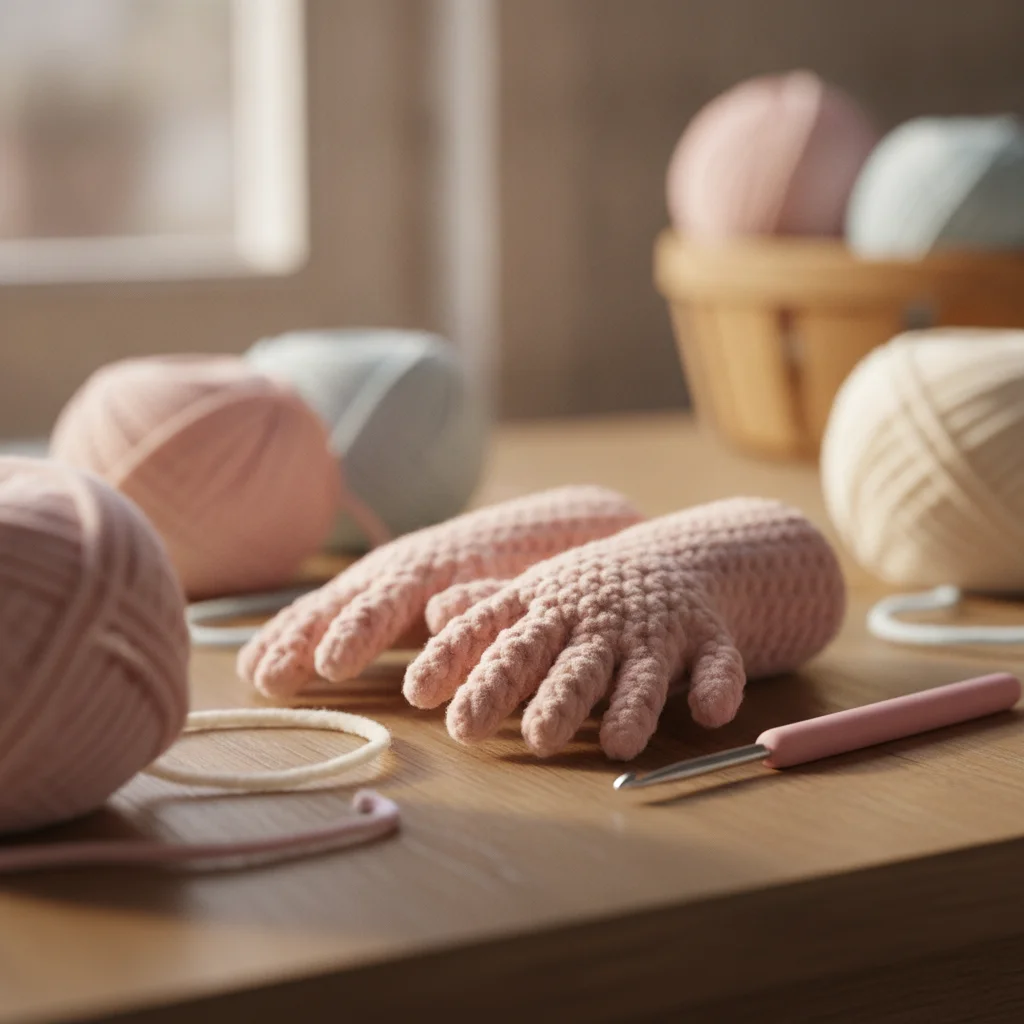
The Power of Tiny Details
When we first start our amigurumi journey, we usually crochet simple, rounded mitten-like hands. While this minimalist style is undeniably cute, as your crochet skills flourish, you might feel like adding a touch of realism and expressiveness to your characters. That’s where detailed hands and fingers come into play!
Allowing a crochet doll to hold a tiny flower or wave gently transforms a simple toy into a story-telling character. In this guide, we’ll explore the most accessible and beautiful techniques for crocheting miniature fingers and hands.
Required Materials
Working on delicate micro-details becomes much easier when you have the right tools:
- Fine Cotton Yarn: Lightweight yarn helps avoid bulky fingers.
- Small Size Crochet Hook: A 1.5 mm to 2.0 mm hook works best to ensure tight, neat stitches.
- Tapestry / Embroidery Needle: Essential for closing small gaps and weaving in ends effortlessly.
- Optional Craft Wire: If you want poseable hands that can grip small items.
Method 1: Crocheting Separate Fingers & Joining
This classic method involves crocheting individual tiny tubes for each finger and then joining them together in a round to form the palm.
Step-by-Step Finger Creation:
- Magic Ring: Work 4 or 5 single crochet (sc) stitches into a magic ring.
- Crochet in Rounds: Work 3-4 rounds without increasing to create a tiny cylinder. Fasten off for the first finger.
- Repeat: Crochet two more fingers using the same pattern. Do not cut the yarn on the final finger, as you will use it to join them together!
Pro Tip: A hand with 4 fingers (thumb + 3 fingers) often looks proportional and is much easier to manage than attempting 5 tiny fingers on smaller dolls.
Joining the Fingers:
- Using the active yarn from the last finger, crochet across the stitches of the middle finger, then around the index finger, working in a continuous circle around all fingers to form the palm.
- Secure any small gaps between the fingers using the yarn tails and your tapestry needle from the inside.
Method 2: Wire-Framed Poseable Hands
For dolls that need to hold props or pose dynamically, adding a wire structure inside the fingers works wonders.
- Bend thin floral or craft wire into the shape of fingers.
- Insert the wire structures inside the tiny crocheted finger tubes before joining.
- Secure the ends inside the palm and forearm.
Safety Reminder: If creating toys for babies or toddlers, ensure wire ends are bent inward and wrapped with tape, or avoid wire entirely for child safety.
Quick Tips for Success
- Count Your Stitches: It's easy to lose track on 4-stitch rounds. Double check every round.
- Skip Stuffing: Tiny fingers do not need fiberfill; the density of the crochet stitches provides enough structure.
- Patience is Key: Micro-crochet requires a gentle touch and practice. Take your time and enjoy the process!
We would love to see your detailed amigurumi creations! Have you tried crocheting fingers before? Tag us in your beautiful work on Instagram at @aylawangurumi and inspire our growing crochet family!