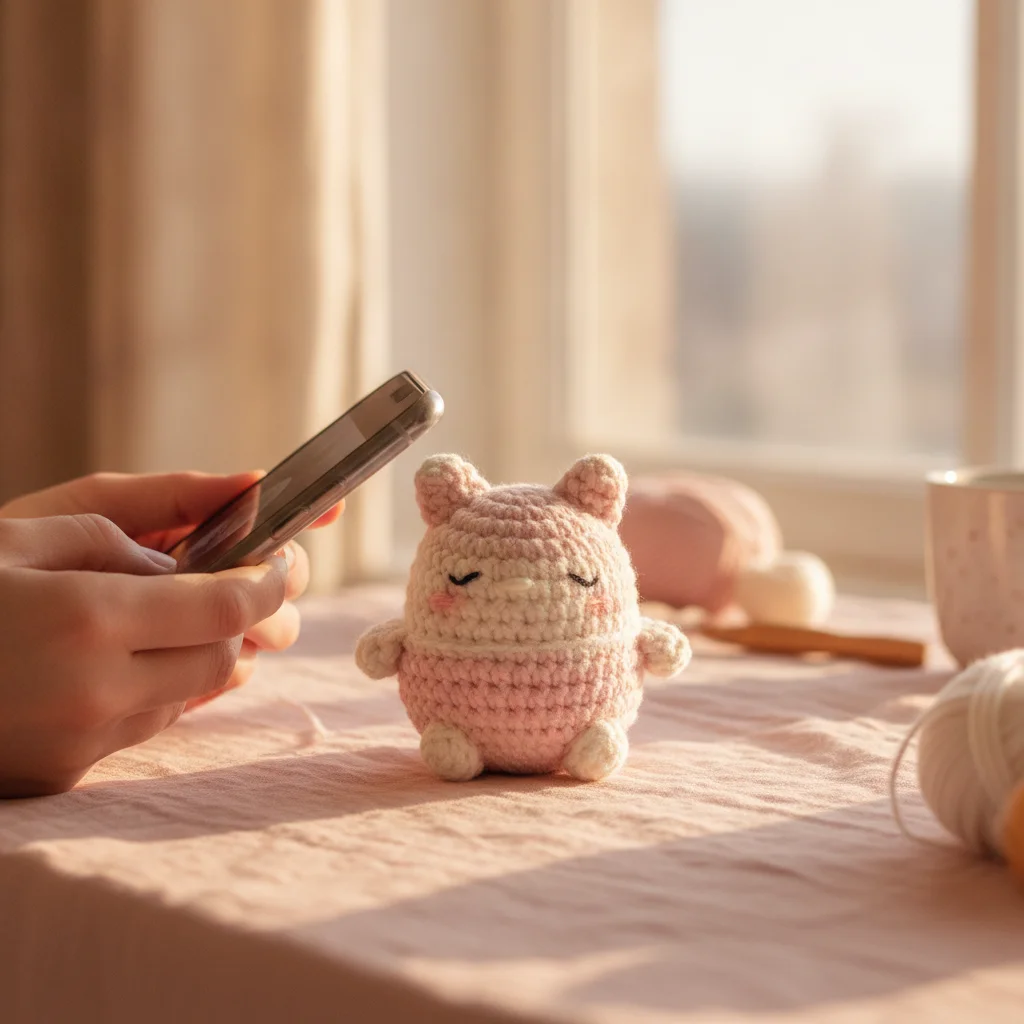
Picture Perfect Plushies: How to Photograph Your Amigurumi for Shops & Social Media
Want to show off the craftsmanship of your handmade crochet toys? Discover practical tips for photographing your amigurumi for social media and online shops.
We all know that wonderful feeling of pride when completing a handmade amigurumi project. Hours of dedicated stitching, carefully choosing soft yarns, and sewing on tiny details with love... However, when it comes to showcasing your creations on social media or in your online shop, capturing their true magic in photos can sometimes feel tricky.
Don't worry! You don't need an expensive professional camera or a complex studio setup. With just your smartphone and a few simple techniques, you can highlight every beautiful detail of your amigurumi. Here are our essential tips for photographing your handmade crochet toys like a pro!
1. Harness the Magic of Natural Light
Natural daylight is your best friend when taking amigurumi photos. Artificial room lights or phone flashes often distort yarn colors, creating unwanted yellow tones or harsh reflections.
- Window Light: Set up near a big window with soft, indirect sunlight (sheer curtains work wonders to diffuse light).
- Golden Hours: Early morning or late afternoon light offers a warm, gentle glow that makes stitches look dreamlike.
- Soften Shadows: Use a simple piece of white board opposite your light source to reflect light back and soften dark shadows.
Quick Tip: Avoid using your phone's flash at all costs! Flash flattens the dimension of your plushie and washes out the cozy yarn texture.
2. Choose Simple Backdrops & Subtle Props
Remember, your amigurumi toy should always be the star of the image. A cluttered background distracts viewers from your hard craftsmanship.
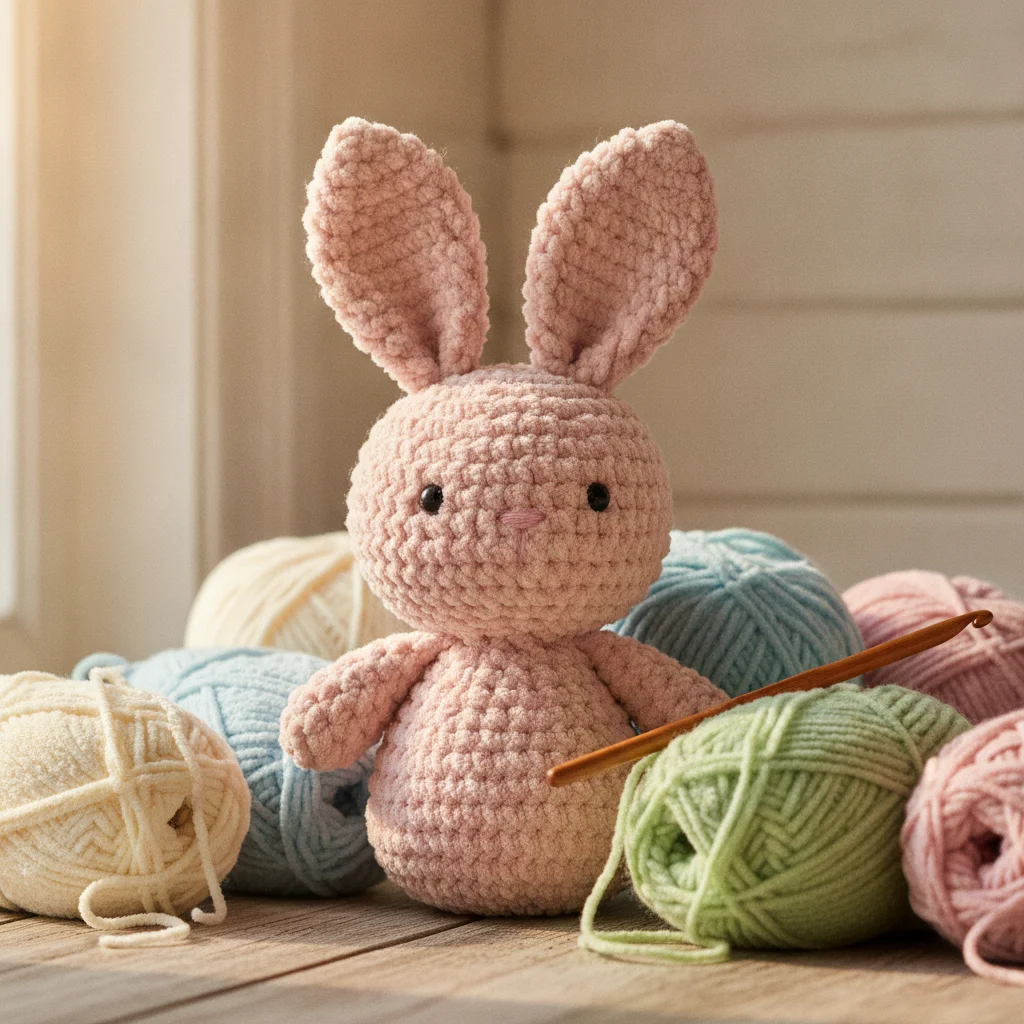
- Pastel & Neutral Tones: Soft cream, light wood, dusty pink, or pale grey backdrops make your crochet stitches pop.
- Storytelling Props: Add context by including a matching skein of yarn, a wooden crochet hook, or small embroidery scissors in the scene.
- Cozy Textures: Linen tablecloths, rustic wood surfaces, or smooth pastel paper sheets serve as perfect backdrops.
3. Find the Right Angles and Close-ups
Amigurumi toys have unique personalities and expressions. Finding the right camera angle helps convey that character to your audience.
- Eye Level: Get down to your toy's eye level. Shooting straight-on creates an instant emotional connection with the viewer.
- Texture & Detail Shots: Take close-ups of the neat stitches, safety eyes, or hand-embroidered faces. Buyers love seeing the quality of handmade work.
- Flat Lay Angle: Arrange your amigurumi flat on a surface surrounded by your crafting tools for an aesthetically pleasing top-down photo.
4. Keep Colors True with Simple Mobile Editing
A little post-processing can elevate your photo, but moderation is key. Your goal is to represent the actual yarn colors as accurately as possible.
- Use free mobile apps like Lightroom Mobile or Snapseed.
- Slightly boost exposure and contrast if the photo looks a bit dim.
- Avoid over-saturating; keeping colors true builds trust with your craft shop customers.
Share Your Stitches with the World!
Photographing your creations is a creative skill that improves with every try. Don't hesitate to experiment with different setups until you find a photo style that feels uniquely yours.
We would love to see your freshly photographed amigurumi projects! Tag us in your photos on Instagram at @aylawangurumi so we can admire your beautiful work. Happy snapping!