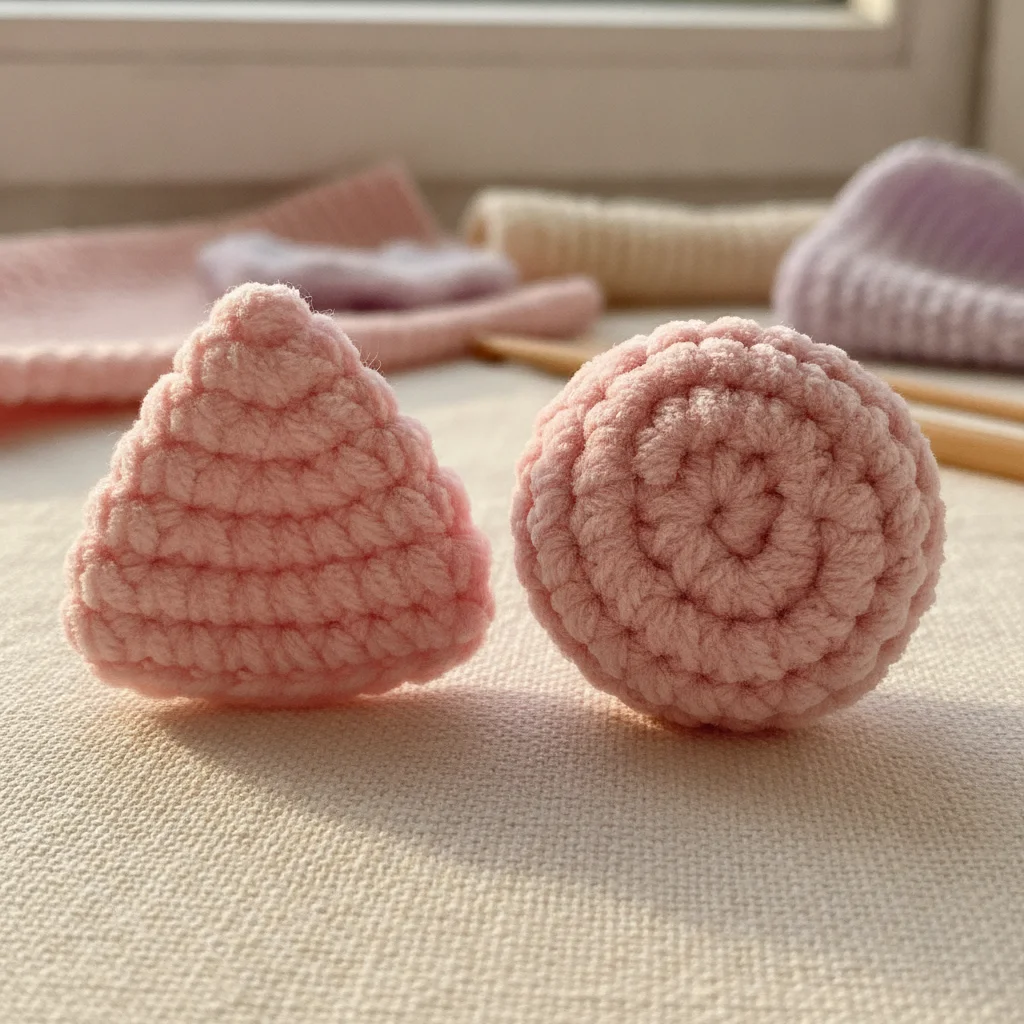
Shaping Pointed and Rounded Ears in Amigurumi: Essential Techniques
Discover step-by-step techniques for crocheting perfect pointed and rounded amigurumi ears, complete with symmetry tips and shaping logic!
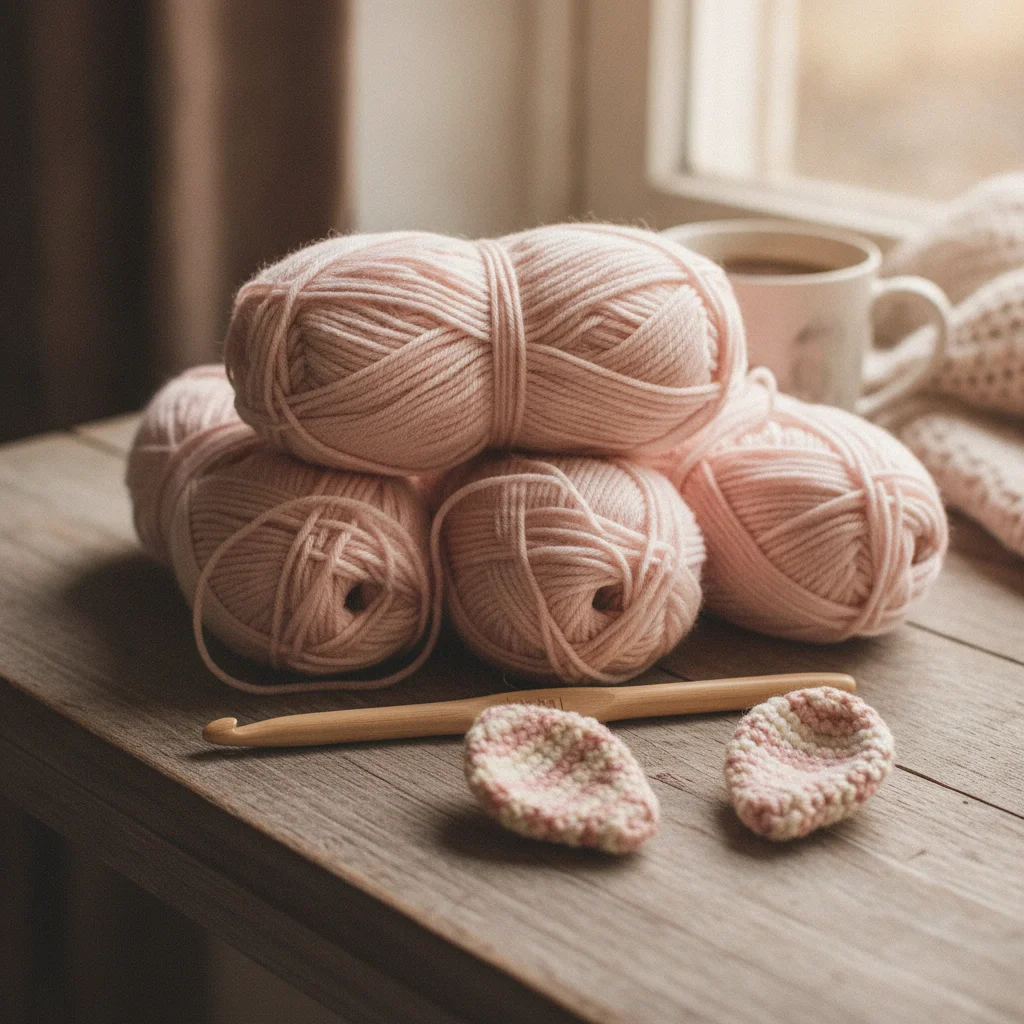
The Role of Ears in Giving Character to Amigurumi
In the world of amigurumi, personality lies in the subtle details. Ears play a crucial role in bringing your handmade toys to life. The same round head shape can transform into a gentle teddy bear with rounded ears or a clever fox with pointed, upright ears.
In this comprehensive guide, we will explore the techniques for shaping both rounded ears and pointed ears, ensuring your amigurumi creations look clean, proportional, and adorable.
Shaping Rounded Ears (Bears, Mice, and Monkeys)
Rounded ears generally rely on spherical shaping that is flattened or folded at the base. The key is to maintain a smooth curve without warping the edges.
Basic Logic of a Rounded Ear
To create a classic round shape, increases are distributed evenly around the magic ring (MR).
- Round 1: 6 sc in MR (6)
- Round 2: Inc in each st around (12)
- Round 3: (1 sc, inc) * 6 (18)
- Rounds 4-5: Sc in each st around (18)
Ayla Wan Gurumi Tip: Do not stuff rounded ears with fiberfill. Leaving them un-stuffed allows them to lay flat against the head, giving a much cleaner finish when sewn on.
| Ear Type | Starting Stitches | Shape Characteristics | Fiberfill |
|---|---|---|---|
| Bear Ear | 6 sc | Flat half-circle | Unfilled |
| Mouse Ear | 6 - 8 sc | Wide, flat circular disk | Unfilled |
| Monkey Ear | 6 sc | Curved C-shape | Minimal or none |
Shaping Pointed Ears (Cats, Foxes, and Rabbits)
Pointed ears require a conical shape that builds gradually from a sharp tip down to a wider base. Control over increases determines how sharp or wide the ear will be.
Formula for Sharp Pointed Ears
To get a distinct point at the top, start with fewer stitches and alternate between increase rounds and plain rounds.
- Round 1: 4 or 5 sc in MR (a smaller ring creates a sharper tip)
- Round 2: (1 sc, inc) * repeat
- Round 3: Sc around (no increases)
- Round 4: (2 sc, inc) * repeat
Adding non-increase rounds creates depth and prevents the ear from flaring out too quickly into a flat dish.
Pointed Ear Depth Diagram:
[MR: 4 sc] -> [Increase Round] -> [Plain Round] -> [Increase Round] -> Sharp Cone Structure
Attachment & Symmetry Tips
Even a perfectly crocheted ear needs careful attachment to look its best.
- Pin First: Always use glass-head pins to position both ears before sewing. Check symmetry from the front, side, and top views.
- Curve the Base: Gently pinch or curve the base of pointed ears into a slight 'C' shape before sewing to give them realistic depth.
- Invisible Join: Use the yarn tail to pick up one stitch from the head and one from the edge of the ear systematically.
We would love to see your newly shaped amigurumi creations! Tag us on Instagram @aylawangurumi so we can share your lovely work with our community!