Playful Amigurumi Details: How to Shape and Attach Tails Neatly
Tails are one of the cutest details that bring amigurumi characters to life. Learn step-by-step tail shaping and neat attachment techniques!
The Magical World of Amigurumi Tails
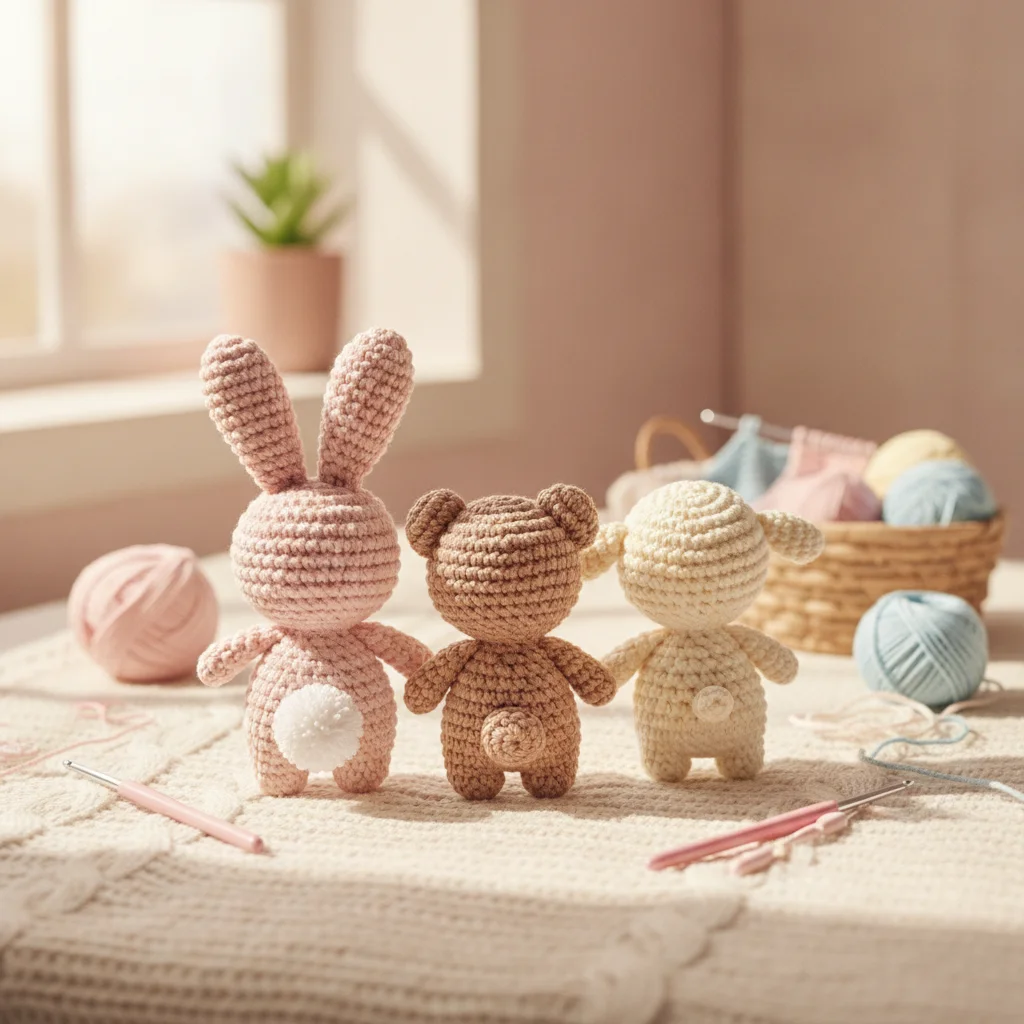
Completing the head and body of an amigurumi toy is always an exciting milestone. However, it's the tiny details that truly awaken the character's unique personality and charm. Among these, tails undoubtedly take center stage! A curled cat tail, a fluffy bunny puff, or a wagging puppy tail instantly breathes life into your handmade creation.
But how can we shape these tails exactly as we imagine and attach them seamlessly without puckering the fabric? In this guide, we'll explore techniques for shaping amigurumi tails and joining them flawlessly to the body.
Different Tail Types and Shaping Techniques
Every crochet creature requires a specific tail structure. Achieving the correct silhouette relies on combining intelligent stitch patterns with the right internal supports.
1. Curled and Poseable Tails (Craft Wire / Pipe Cleaners)
For long, curved tails like those of cats, foxes, or monkeys, fiberfill alone might cause the tail to droop over time. To achieve a lovely poseable bend:
- Pipe Cleaners or Aluminum Craft Wire: Fold the wire end over and wrap it securely with masking tape or cotton yarn. This prevents the sharp end from poking through stitches.
- Inserting: Place the wrapped wire inside your crocheted tail piece and lightly stuff around it with fiberfill.
- Posing: Once attached, gently bend the tail to give your character a playful stance.
2. Upright and Firm Tails
For tails that need to stand straight, such as dogs or dinosaurs, stuffing density is key. Fill the tip firmly while keeping the base slightly lighter to create a natural tapered look.
3. Fluffy Pom-Pom Tails (Bunny Tails)
Round tails usually start with a magic ring. Focus on maintaining a spherical shape while stuffing, and flatten the base slightly right before attaching it to the body.
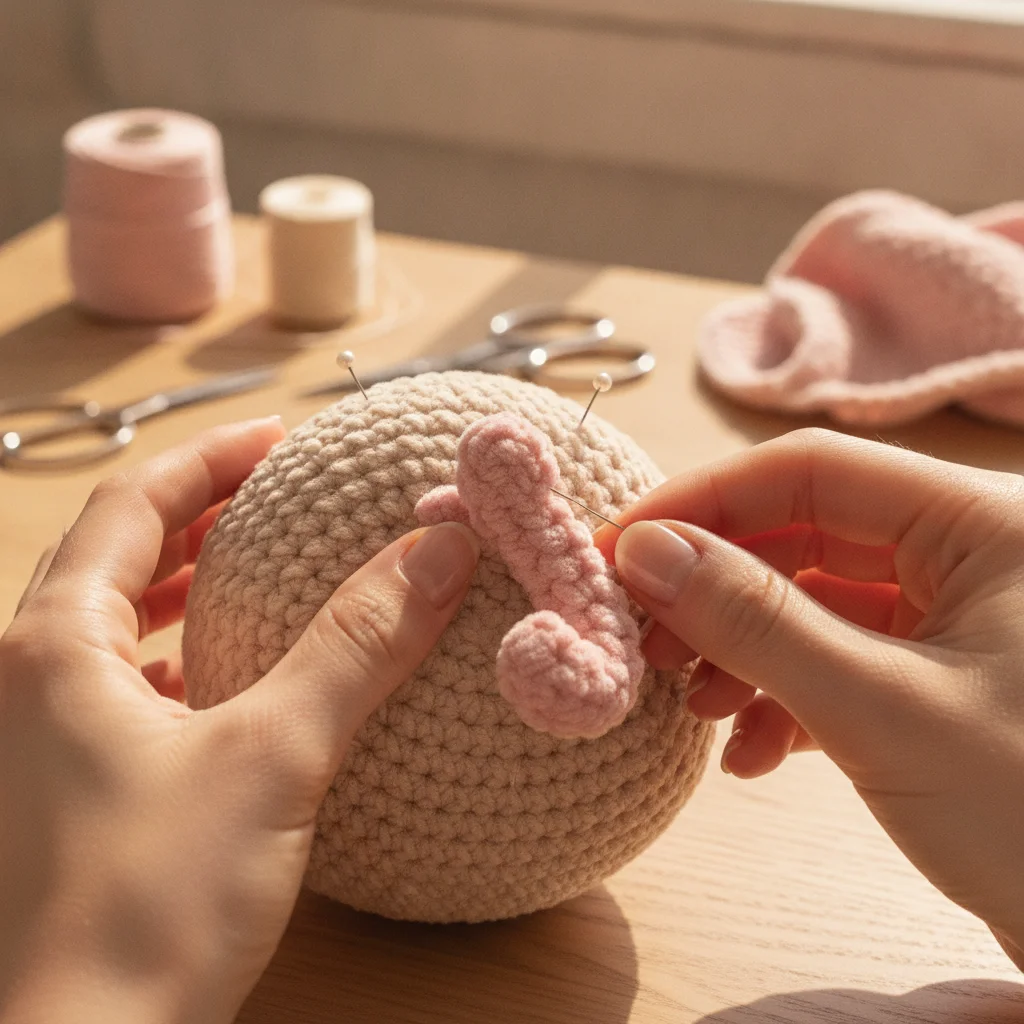
Step-by-Step: Seamless Tail Attachment
Crafting the tail is only half the journey; attaching it neatly with invisible seams completes the masterpiece.
| Step | Action | Pro Tip |
|---|---|---|
| 1. Positioning | Align the tail along the round lines of the body. | Sit the toy on a flat surface to test balance before sewing. |
| 2. Pinning | Secure with at least 3-4 pearl head pins. | Pin around the entire base perimeter to keep it from shifting. |
| 3. Invisible Stitch | Alternate stitches between the body loop and tail loop. | Pull the yarn moderately tight to match tension on every stitch. |
| 4. Knotting | Hide the remaining tail yarn inside the body. | Pull the yarn tail through the same hole to pop the knot inside. |
Ayla Wan Gurumi Tip: Always leave a long yarn tail when finishing your tail piece. Using the same yarn for sewing ensures perfect color matching and durable hold.
Safety Notes for Baby Toys
If your amigurumi is intended for a baby or toddler, avoid using wires or pipe cleaners inside. Instead, rely on clever crochet techniques like short-row shaping or spiral increases/decreases to create natural curves safely.
Going around the attachment circle twice with an invisible stitch adds double security, ensuring the tail stays firmly attached during play.
Infuse Love into Every Detail
Crochet is a journey of patience and passion. Getting a small element like a tail placed just right is what makes people smile when they look at your finished doll. Don't hesitate to re-pin and adjust until it feels perfect!
Don't forget to share your beautifully detailed amigurumi creations with us! Tag @aylawangurumi on Instagram to show us your lovely work and inspire our community.