Embroidered Eyes for Amigurumi: A Safe and Charming Alternative to Plastic Safety Eyes
Looking for a safer and more personal touch for your amigurumi toys? Embroidered eyes are a wonderful alternative to plastic safety eyes, especially for toys made for babies and young children, offering both security…
Embroidered Eyes for Amigurumi: The Secret to Safety and Cuteness
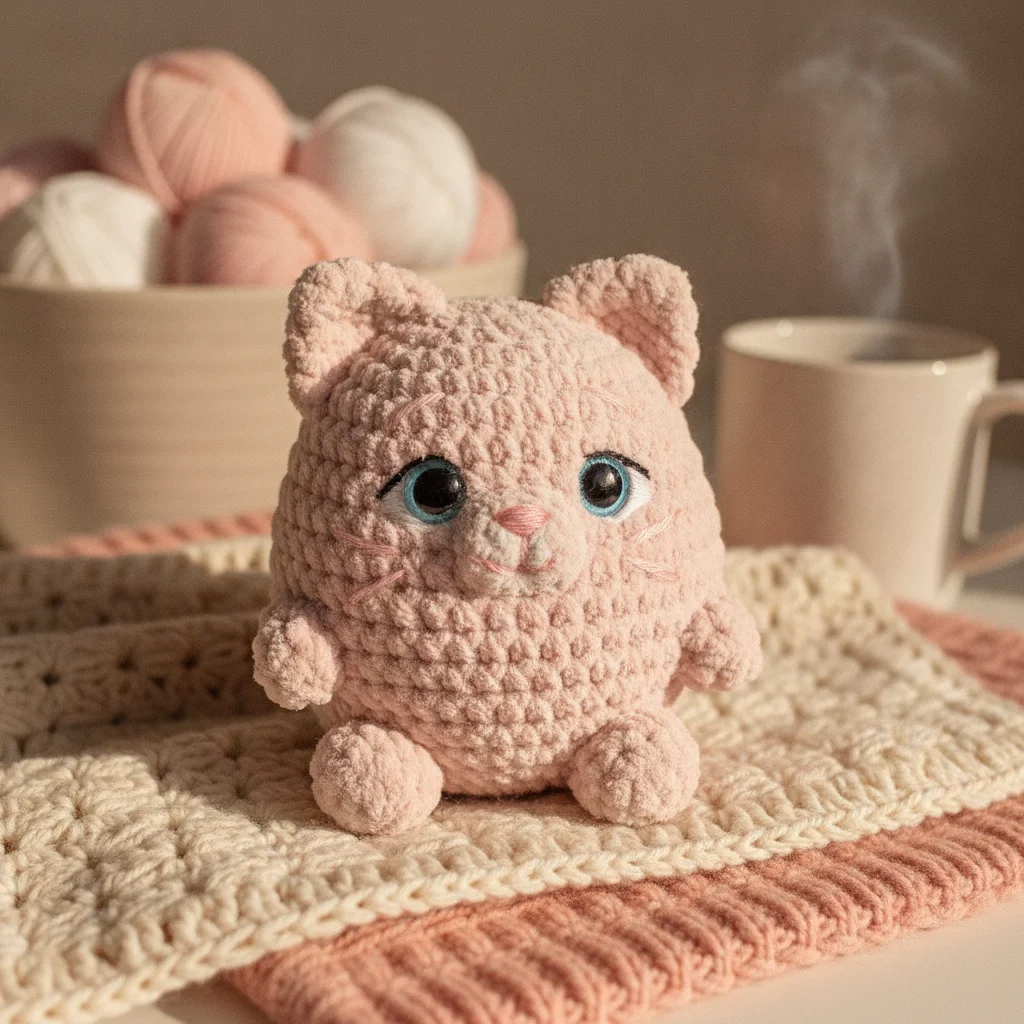
Amigurumi toys hold a special place in our hearts as handmade treasures. One of the details that truly brings them to life is undoubtedly their eyes. While plastic safety eyes are often preferred, especially for toys crafted for babies and young children, embroidered eyes offer a wonderful alternative, providing both superior safety and a unique aesthetic. As Ayla Wan Gurumi, in this post, we'll guide you step-by-step on how to create charming and secure embroidered eyes for your amigurumi toys.
Why Choose Embroidered Eyes?
Plastic safety eyes are a popular choice in the amigurumi world. However, they can raise concerns, especially for toys intended for children under 3 years old. The risk of small parts detaching can pose a choking hazard. This is where embroidered eyes come in:
- Superior Safety: Since embroidered eyes are made entirely of yarn, there's no risk of them detaching from the toy or being swallowed. This makes them an ideal choice for all toys made for babies and young children.
- Soft Touch: Unlike the hardness of plastic eyes, embroidered eyes integrate seamlessly with the toy, offering a soft and cuddly feel. This is much more comfortable for your baby's delicate skin.
- Personalization Potential: Embroidery offers limitless creativity. You can add unique expressions to your toys with different colors, sizes, and styles. Happy, sleepy, surprised... you can capture any emotion with thread.
- Natural and Handmade Feel: Embroidered eyes further enhance the handmade, warm, and intimate spirit of amigurumi toys. They lend a more authentic look to your creations.
What Yarns and Materials Should You Use?
Choosing the right materials for embroidered eyes is the first step to achieving a successful result.
- Embroidery Floss: The most common and suitable option is cotton embroidery floss (DMC or similar). It offers a wide range of vibrant colors and is durable. For a thicker look, you can also use thin acrylic or cotton knitting yarn.
- Embroidery Needle: A sharp-tipped embroidery needle or a tapestry needle (blunt tip) that can easily pass your chosen thread will make your work much easier.
- Scissors: For cutting your thread.
- Stitch Marker (optional): You can use a straight pin or a stitch marker to determine the placement of the eyes.
Basic Embroidered Eye Techniques
You can use a few basic embroidery techniques to give your amigurumi toys different expressions.
1. Simple Dot Eyes
This is the easiest method for beginners. It's often done with a French knot, but small dots can also be created with straight stitches.
- French Knot: Bring the needle up through the fabric, wrap the thread around the needle 2-3 times, insert the needle back into the fabric right next to where it first emerged, and pull the knot tight to form a small, raised dot.
- Straight Stitch Dot: Bring the thread up, insert it back down at the desired spot, and create a tiny dot with a small straight stitch.
2. Filled Round Eyes (Satin Stitch)
For larger and more prominent eyes, the satin stitch technique is ideal.
- First, define the outline of the eye.
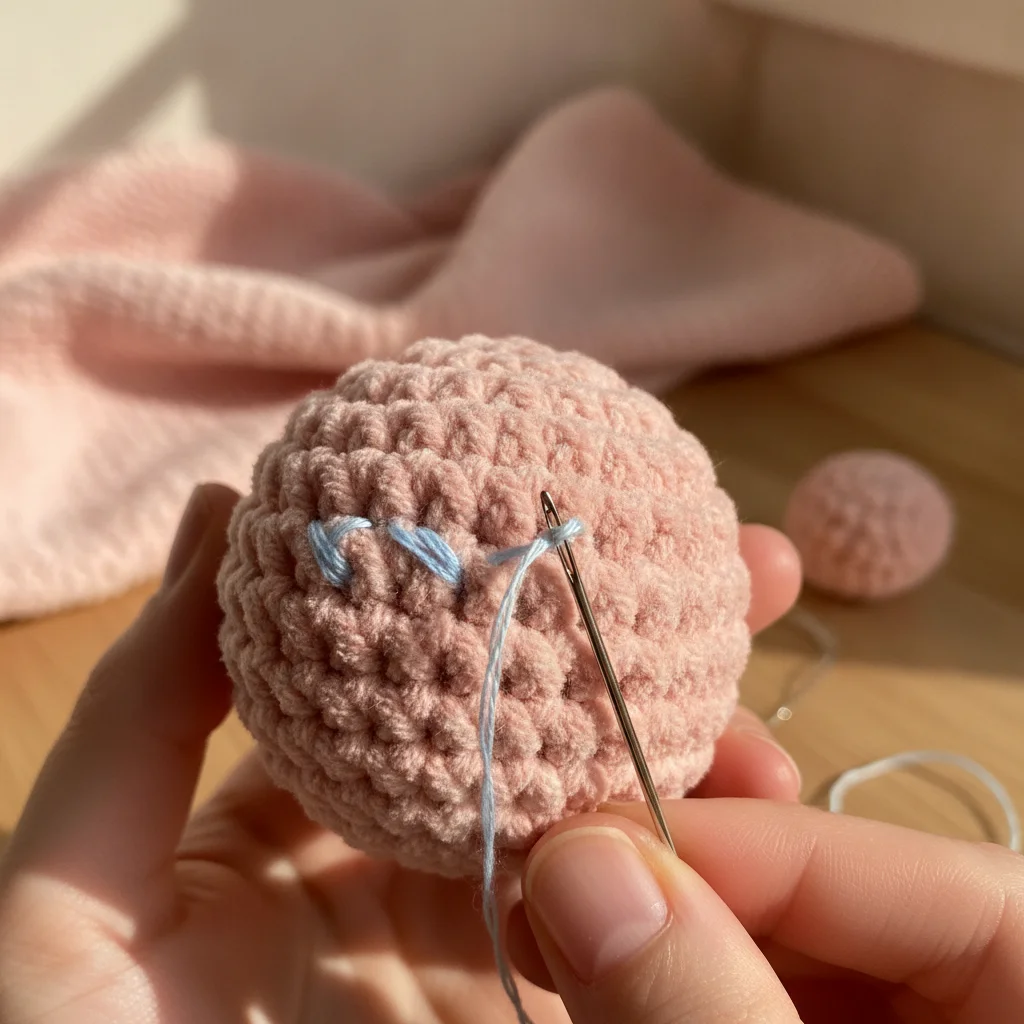
- Bring the needle up from one edge, and insert it down at the opposite edge. Repeat this process side-by-side, with tight and parallel stitches, to completely fill the area. It's important for the stitches to be close together and even.
3. Adding Eyelashes and Eyebrows
To add more character to the eyes, you can include eyelashes or eyebrows using simple straight stitches. Fine, short stitches will provide a natural look.
Step-by-Step Guide to Embroidering Eyes
Now it's time to put it into practice! Here's your step-by-step guide to embroidering eyes:
- Determine Placement: It's crucial for the eyes to be symmetrical and correctly positioned. Mark the spots where you want the eyes to be on the head of your toy using pins. Typically, a gap of 4-6 stitches is left between them, but this can vary depending on the size of your toy and the expression you desire.
- Prepare the Thread: Cut a sufficient length of your chosen embroidery floss (about 15-20 inches or 40-50 cm). Tie a knot at the end of the thread or prepare it to be secured inside with your first stitch.
- Secure the Thread: Insert the needle from the back of the toy's head or neck area (a point far from where the eye will be) and bring it out at the first point where the eye will begin. Leave the knotted end of the thread inside the toy. This ensures the knot is hidden and not visible.
- Embroider the Eye: Start embroidering the eye using your chosen technique.
- For dot eyes: Bring the needle up, make a French knot or a small straight stitch.
- For filled eyes: Fill the area around the eye with tight, parallel stitches.
- Finish the Thread: Once you've completed the eye, re-insert the needle into the toy right next to where the eye finished. Bring the thread out from another point a few stitches away. Before cutting the thread, gently pull it to check the tension of the stitch. Then, secure the thread by passing it through several other stitches inside the toy and trim any excess. This prevents the thread from unraveling.
- Create the Other Eye: Repeat the same steps for the other eye. Pay close attention to symmetry!
Tips and Tricks
- Symmetry: Use plenty of pins and stand back to observe before you start stitching to ensure both eyes are aligned and of similar size.
- Thread Tension: Don't pull the thread too tightly, as this can pucker the fabric. Don't leave it too loose either, as the stitches might sag. Medium tension is ideal.
- Different Expressions: You can create various expressions for your toys by changing the shape, size, and placement of the eyes. For instance, slightly downturned eyes can give a sleepy look, while upward-turned eyes might convey surprise.
- White Highlight: Add a small white straight stitch to the eyes to give them a sparkle and a more lively expression.
Conclusion
Embroidering eyes on your amigurumi toys is a wonderful way to enhance safety and add a personal, unique touch. Especially when you're crocheting for loved ones, particularly little ones, this method will give you peace of mind. Remember, practice makes perfect when mastering these techniques.
For more amigurumi tips, patterns, and inspiration, don't forget to follow us on Instagram: @aylawangurumi! Keep crocheting with love!