The Ultimate Guide to Seamless Amigurumi Assembly: Sewing Techniques and Tips
Crocheting amigurumi is a joyful process, but assembling the parts can sometimes feel daunting. With this guide, you'll learn step-by-step how to sew your amigurumi pieces together neatly, securely, and with nearly…
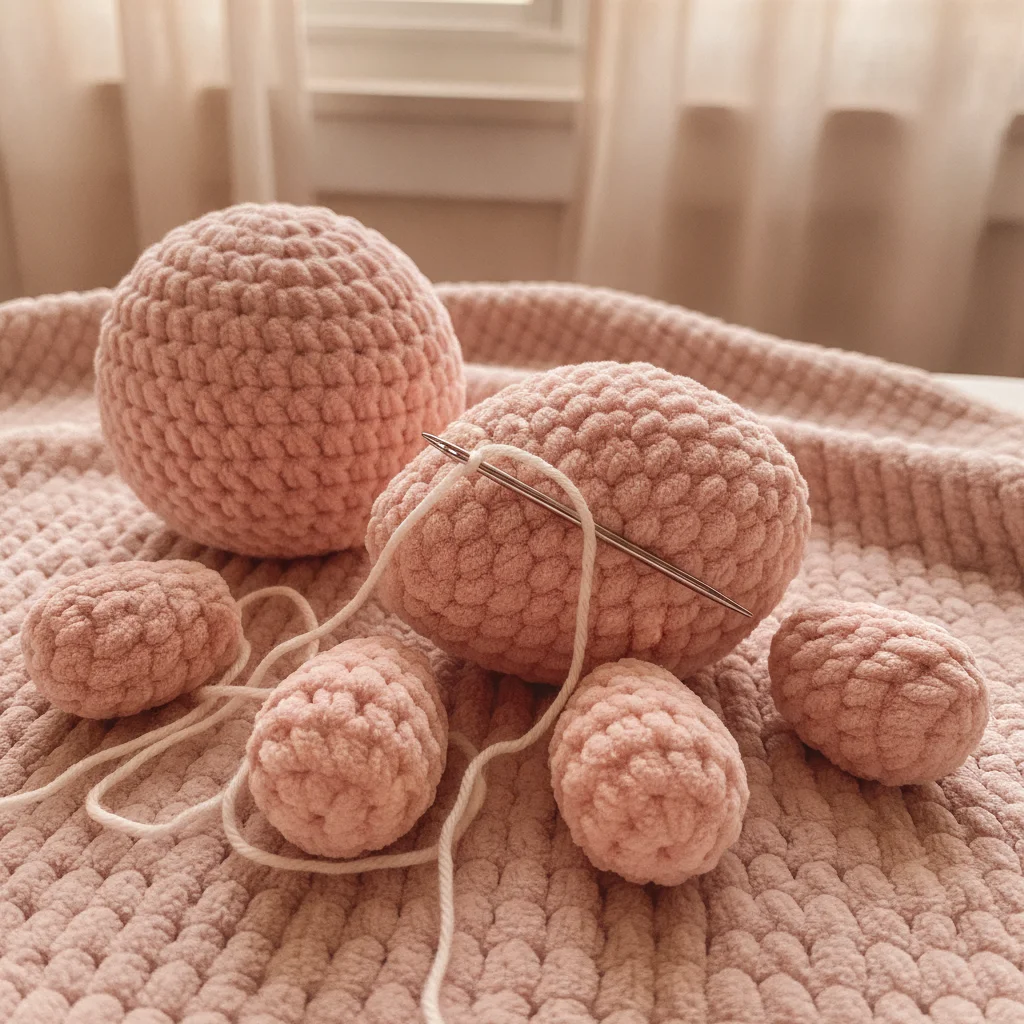
Welcome to the wonderful world of amigurumi! Crocheting adorable characters is so much fun, isn't it? After meticulously crocheting each piece stitch by stitch, you arrive at the most critical and sometimes challenging step: assembling the parts. Don't worry, with the right techniques and a little practice, assembling your amigurumi toys will become as enjoyable as crocheting them.
Why Neat Assembly Matters
The final appearance and durability of your amigurumi toy depend heavily on how carefully you assemble its parts. Neatly sewn pieces ensure your toy looks more professional, sturdier, and, of course, cuter. Loose or crookedly sewn parts can detract from the quality of your hard work and even cause your toy to wear out quickly.
Essential Tools You'll Need
Before you begin, make sure you have the right tools at hand:
- Tapestry Needle (Blunt-tipped): A needle with a blunt tip that allows you to thread yarn easily without splitting your stitches or damaging your work.
- Matching Yarn: Using yarn that is the exact same color as the pieces you're joining will help your stitches blend in and become virtually invisible.
- Scissors: For cutting yarn ends.
- Straight Pins or Stitch Markers: Indispensable for securing parts in the correct position before sewing.
- Stuffing (if needed): To add extra filling during the assembly process.
Step-by-Step Amigurumi Assembly Guide
Step 1: Prepare Your Pieces
When finishing each crocheted piece, ensure you leave a sufficiently long yarn tail for sewing. Typically, a tail that's 2-3 times the circumference of the piece is ideal. Thread this yarn tail onto your tapestry needle. Make sure your pieces are evenly and firmly stuffed, but avoid overstuffing to prevent distortion.
Step 2: Positioning and Securing
This step is key to a flawless assembly. Before you start sewing, use straight pins to secure the pieces exactly where you want them to be joined. Pay close attention to symmetry and proportion. For example, when attaching arms or legs, ensure both sides are perfectly aligned. When joining larger parts like the head and body, check from several different angles to confirm the neck is centered.
Tip: Checking your pieces in a mirror or taking a photo can help you spot any potential crookedness you might miss otherwise.
Step 3: The Invisible Stitch Technique (Mattress Stitch Variation)
The invisible stitch is one of the most popular and cleanest techniques for amigurumi assembly. Here's how to do it:
- Catch the First Loop: Insert your needle from bottom to top through one of the outer loops on the top edge of the first piece you're joining (e.g., the body).
- Catch the Opposite Loop: Now, insert your needle from bottom to top through the corresponding outer loop on the bottom edge of the second piece (e.g., the head).
- Return to the First Piece: Insert the needle back into the first piece (body), but this time, come up through the next outer loop adjacent to the previous one.
- Return to the Second Piece: Similarly, insert the needle back into the second piece (head) and come up through the next outer loop adjacent to the previous one.
- Repeat: Continue these steps around the entire circumference where the pieces meet. After every few stitches, gently pull the yarn to tighten the stitches, ensuring they become secure and virtually invisible. Be careful not to pull too tightly, as this can cause the fabric to pucker.
Tip: Picking up only the outer loops from both pieces makes the seam less noticeable.
Amigurumi Assembly Tips and Tricks
- Tight but Not Pulled: Keep your stitches firm so the parts are secure, but don't pull the yarn so tightly that the crochet fabric puckers or distorts its shape.
- Hiding the Seam: Once you've finished sewing, weave the yarn tail into the inside of the toy several times in random directions to secure it, then trim any excess. This prevents the seam from unraveling.
- Sewing as You Stuff: In some cases, especially when joining smaller pieces, it might be easier to start sewing before the piece is fully stuffed, adding small amounts of stuffing as you go.
- Reinforcing Joints: For parts that are expected to be mobile, like arms and legs, you can add extra security by going over the stitches a couple of times or by adding an additional row of stitches.
- Practice Makes Perfect: Your first attempts might not be flawless, and that's okay! The important thing is to practice and find what works best for you. You'll get better with every new project.
Assembling amigurumi parts is an art that requires patience and a bit of practice. By following the steps and tips in this guide, you'll achieve cleaner, sturdier, and more beautiful results with every project. Remember, each finished toy is a testament to your hard work and love.
Stay tuned for more inspiration on your crochet journey! Don't forget to visit our Instagram page at @aylawangurumi for new projects and tips. Inspire us with your amazing amigurumi creations!