How to Add Wire Armature to Amigurumi: A Step-by-Step Posing Guide
Want to bring your amigurumi toys to life? Learn how to safely add wire armatures for posing, along with expert tips on materials and safety.
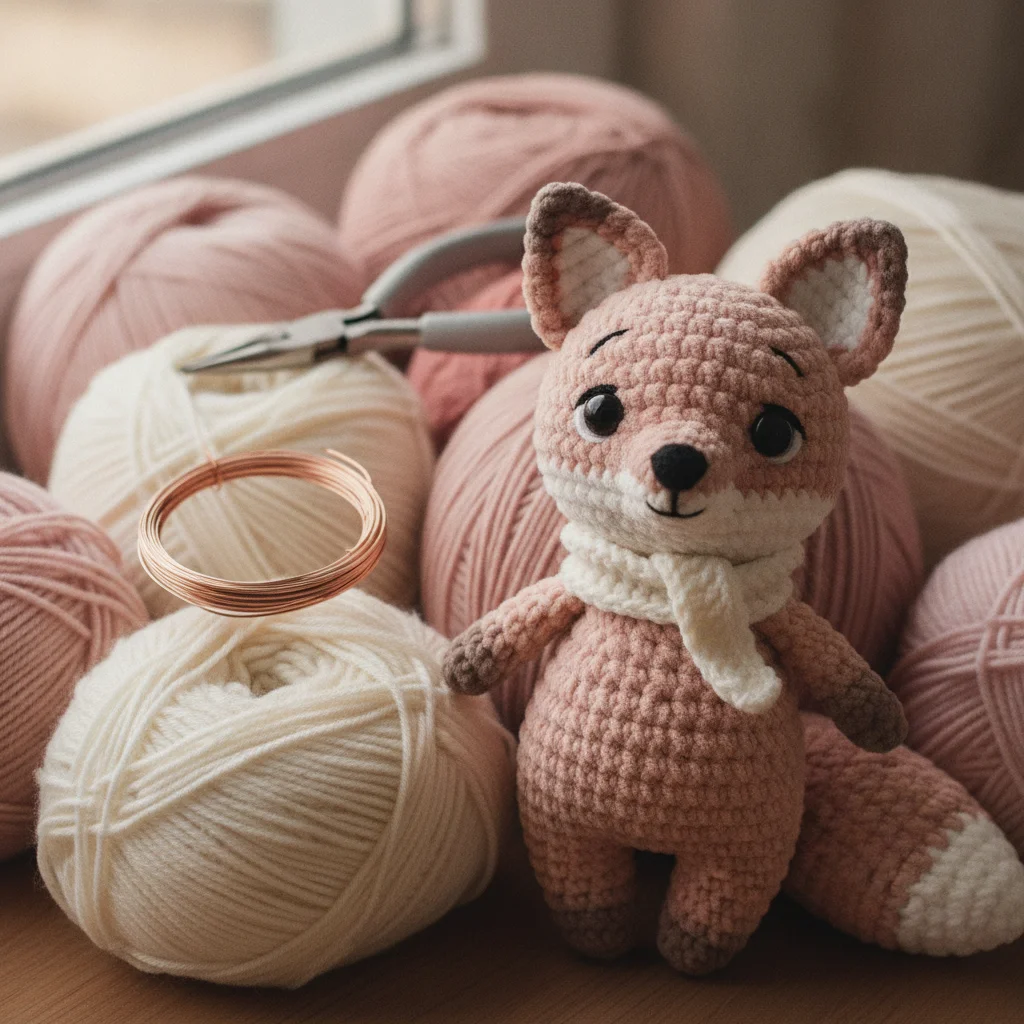
Hello fellow crafters! There comes a time in every crocheter's journey when we want our lovely dolls and animals to do more than just sit still. We want them to wave, sit cross-legged, tilt their heads curiously, or hold a tiny accessory.
This is where a wire armature comes into play. Adding a wire frame inside your amigurumi gives it structure and posing ability. However, using wire requires careful attention to safety and durability. Let's dive into the step-by-step process of safely adding wire to your amigurumi.
Choosing the Right Wire
Not all wires are created equal. Some are too stiff to bend, while others are too weak to hold the weight of the stuffed toy. Rust prevention is also crucial, as your toy might need a gentle wash in the future.
| Wire Type | Pros | Cons | Best Used For |
|---|---|---|---|
| Aluminum Wire (1.5 - 2 mm) | Rust-proof, lightweight, easy to bend. | Can break if bent back and forth excessively. | Medium to large dolls |
| Copper Wire (Insulated) | Highly durable, hard to break. | Heavier and more expensive than aluminum. | Toys meant for heavy posing |
| Pipe Cleaners (Chenille Stems) | Soft, no sharp ends. | Very low weight capacity. | Small toys, fingers, or tails |
Ayla's Tip: For most standard amigurumi dolls, 2mm aluminum craft wire is the gold standard. It offers the perfect balance between flexibility and strength, and it won't rust over time.
Step-by-Step Wire Insertion
Step 1: Measuring and Cutting
Measure the length of your toy's limbs and torso using a measuring tape. Cut the wire, leaving at least 2-3 cm (about 1 inch) of extra length at each end. You will need this extra length to secure the ends.
Step 2: Securing the Wire Ends (Crucial Safety Step!)
Never leave raw, sharp wire ends inside your toy. Over time, the sharp tip can poke through the stitches, which is dangerous—especially for children.
- Use pliers to bend the tip of the wire back on itself, creating a small, smooth loop.
- Wrap this loop tightly with paper masking tape or electrical tape.
- For extra safety, you can wrap a tiny bit of fiberfill around the taped end before inserting it.
Step 3: Inserting the Frame into the Body
As you crochet your toy, you will reach a point (usually after finishing the legs) where it's time to insert the wire.
- Insert the wires into the legs.
- Bring the wires together in the center of the body and twist them together using pliers to create a solid central "spine."
- If the arms are also poseable, wrap a horizontal wire (T-shape) around the main spine at the shoulder level.
Step 4: Stuffing Around the Wire
Once the wire is in place, stuffing becomes a bit of an art form.
- Stuff the fiberfill evenly around the wire, ensuring the wire stays dead-center.
- If the wire shifts to one side, it will be felt through the crochet fabric, causing an uneven shape.
- Use a stuffing tool or the back of a crochet hook to pack the fiberfill firmly around the armature.
Safety and Care Guidelines
- Age Limit: Toys with wire armatures are not suitable for children under 3 years old. Rough play can cause the wire to bend repeatedly and eventually snap inside the toy.
- Washing: Avoid machine washing wired toys. Spot cleaning with a damp cloth is highly recommended to protect both the wire structure and the shape of the toy.
Giving your amigurumi the ability to pose adds so much personality and life to your creations. Give it a try on your next project, and don't forget to share your beautifully posed creations with me!
Happy crocheting! For more tips, tutorials, and daily amigurumi inspiration, follow me on Instagram: @aylawangurumi