Choosing and Using Stitch Markers in Amigurumi: A Complete Guide
Never lose count of your rounds again! Discover how to choose and use the right stitch markers to make your amigurumi journey smooth and enjoyable.
Why Do We Need Stitch Markers in Amigurumi?
One of the most common challenges for crochet beginners is keeping track of stitches and rounds. Unlike traditional flat crochet, amigurumi is usually worked in continuous spirals. This means you don't join rounds with a slip stitch or chain up at the start of a new round.
While continuous spiral crocheting creates a seamless, smooth texture ideal for plush toys, it has one drawback: it is almost impossible to visually spot where a round begins and ends. That is precisely where stitch markers come to save the day!
Types of Stitch Markers and Their Features
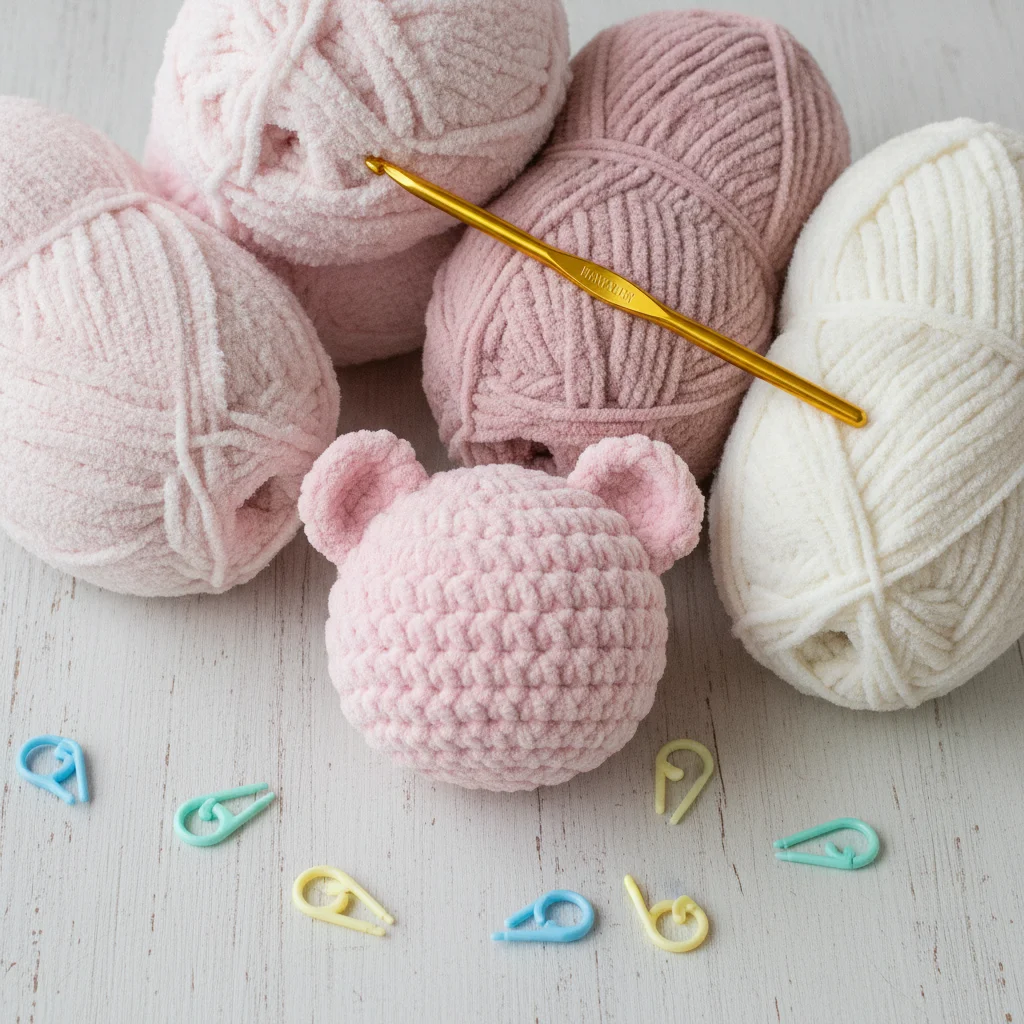
There are several types of stitch markers available, ranging from specialized craft tools to quick household alternatives:
1. Locking Plastic Stitch Markers
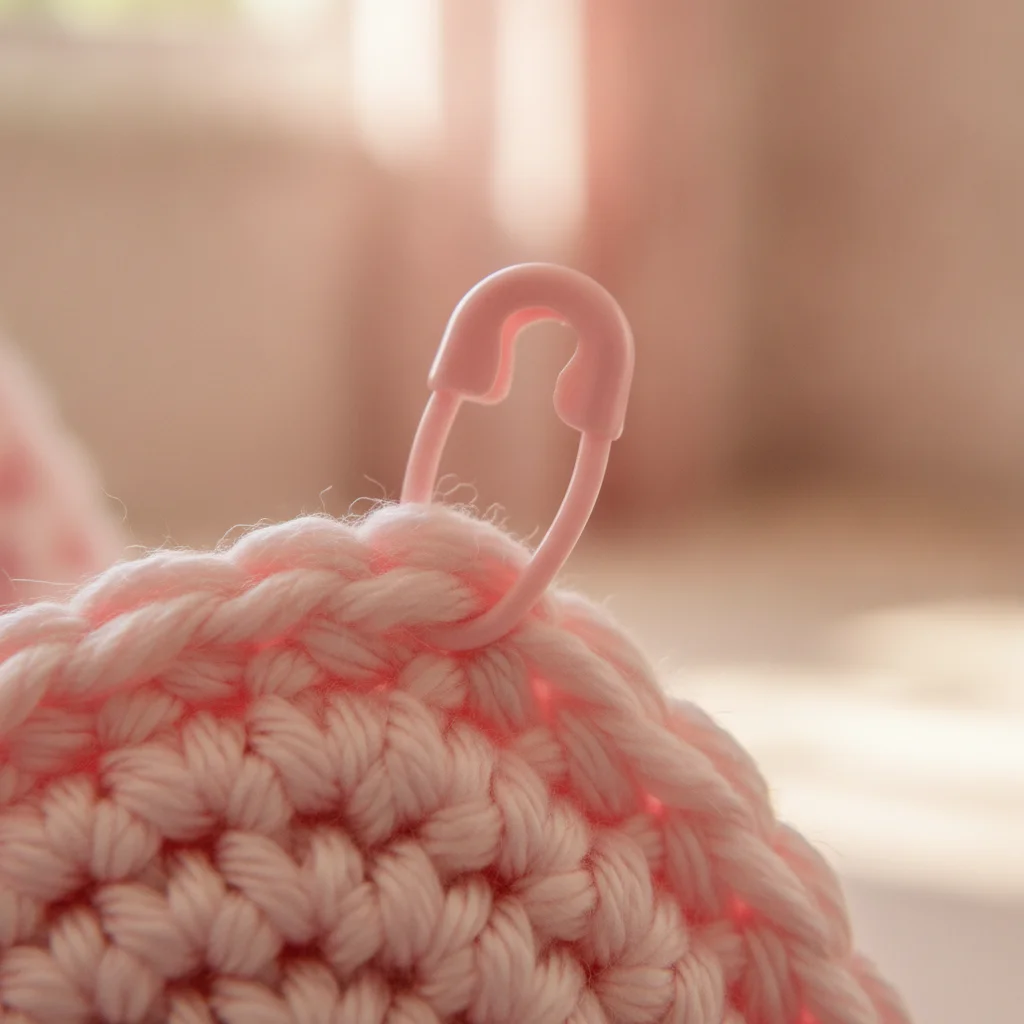
These are the most popular choice among crocheters. Shaped like safety pins, their locking mechanism keeps them securely attached to your work.
- Pros: Secure, stays in place, comes in vibrant colors for color-coding.
- Things to Consider: Thicker plastic markers can stretch fine yarn stitches. Opt for markers with smooth edges.
2. Scrap Yarn Method
A simple, zero-cost, and incredibly effective technique. All you need is a 4–6 inch piece of contrasting yarn.
- Pros: Free, won't stretch or distort your stitches, incredibly fast to move between rounds.
- How to Use: Simply lay the scrap yarn across your working loop before making the first stitch of each round.
3. Bulb Pins / Metal Safety Pins
Often preferred for fine thread or intricate micro-amigurumi projects.
- Pros: Very thin, leaves no gaps or stretched stitches.
- Things to Consider: Can snag delicate yarn fibers if not removed carefully.
Stitch Marker Comparison Table
| Marker Type | Ease of Use | Stitch Protection | Recommended Level |
|---|---|---|---|
| Locking Plastic | High | Medium | Beginner & Intermediate |
| Scrap Yarn | Very High | Excellent | All Levels |
| Metal Bulb Pin | Medium | Good | Intermediate & Advanced |
How to Use a Stitch Marker Correctly: Step-by-Step
Placing your stitch marker in the right spot ensures your stitch count remains accurate throughout your project:
- First Stitch of the Round: When you start a new round, make your very first single crochet stitch. Insert your marker into the top V-shape of this newly made stitch.
- Crochet the Round: Follow your pattern instructions until you reach the end of the round. Your final stitch will land right before the marked stitch.
- Moving the Marker: Remove the marker, complete the first stitch of the next round, and immediately place the marker into this new stitch.
Pro Tip: Always place your marker into the FIRST stitch of the new round, rather than the last stitch of the previous round. This establishes a clear mental landmark.
Practical Tips for Effortless Round Tracking
- Use Color Coding: For complex patterns with precise shaping, use different colored markers to highlight increases, decreases, or limb attachment points.
- Leave the Running Scrap Yarn In: If using the scrap yarn method, flip the yarn back and forth at the start of each round without pulling it out. This creates a zigzag line of scrap yarn that makes counting past rounds effortless! Pull it out in one smooth motion once the piece is finished.
- Mind Your Tension: Avoid pulling or tugging on plastic markers while working, as stretched stitches can allow stuffing to show through later.
Mastering small tools like stitch markers makes a world of difference in your handmade journey, saving time and keeping your stitches tidy.
We would love to see your cozy crochet moments and works in progress! For daily inspiration, friendly tips, and cute amigurumi patterns, follow us on Instagram at @aylawangurumi and join our warm crafting community.