How to Attach Amigurumi Legs to the Body
Discover how to attach amigurumi legs perfectly. Step-by-step guides for both seamless crochet-join and sewing methods for beautiful, sturdy toys.
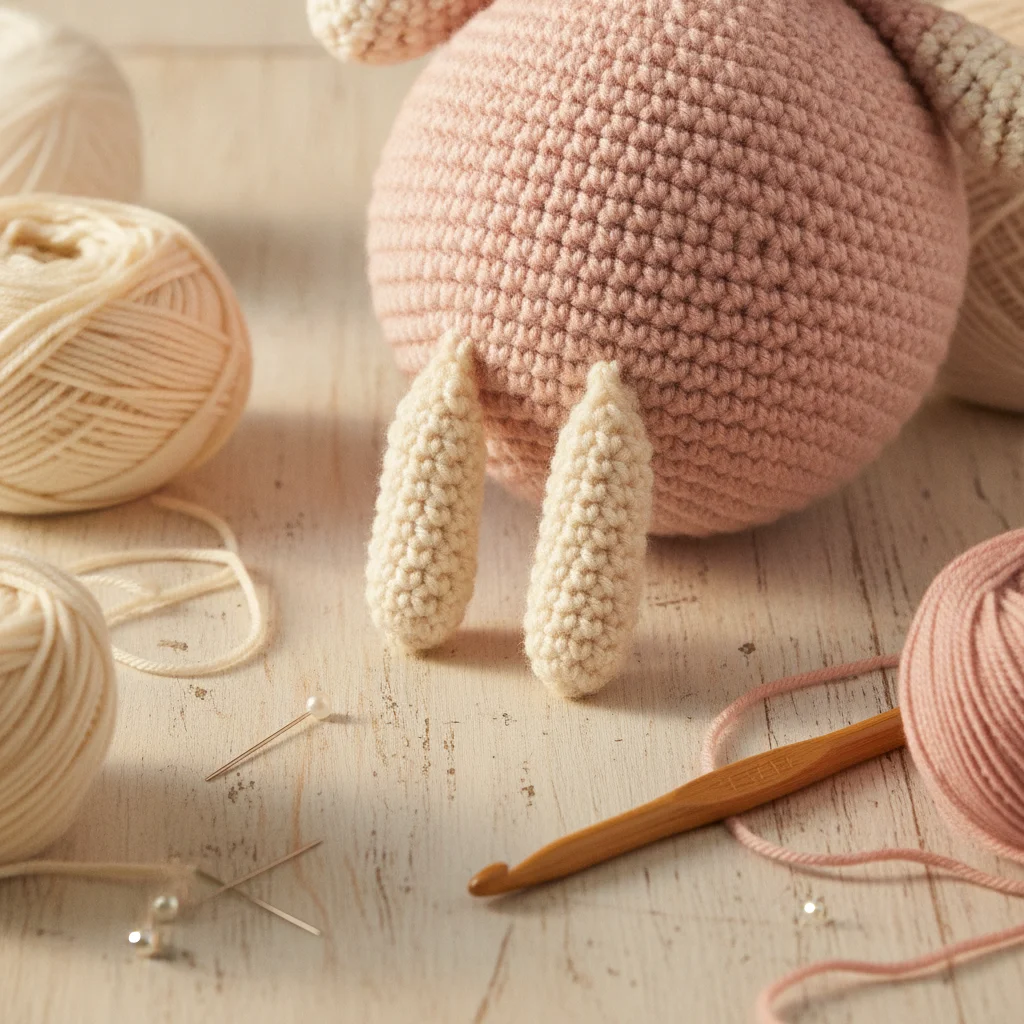
Bringing Your Amigurumi to Life: How to Attach Legs Perfectly
One of the most exciting moments in amigurumi is when the separate pieces finally come together, and your character begins to show its true personality. However, for many crafters, attaching the legs symmetrically, securely, and neatly can be a bit of a challenge. Crooked legs or loose stitches can easily affect the overall look of a project you’ve spent hours on.
In this guide by Ayla Wan Gurumi, we will explore the two most popular and secure methods for attaching amigurumi legs: the Seamless Crochet-Join Method and the Sewing Method.
1. The Seamless (Crochet-Join) Method
If you aren't a fan of sewing or want your toy to be extra durable and child-safe, this method is perfect for you! With this technique, the legs are joined directly into the body row as you crochet.
Step-by-Step Seamless Join:
- Prepare the Legs: Crochet the first leg, fasten off, and cut the yarn. Crochet the second leg, but do not cut the yarn.
- Create a Chain Bridge: From the end of the second leg, chain a few stitches (usually 2 to 5, depending on the size of your toy). This chain determines the distance between the legs.
- Connect to the First Leg: Join the chain to the first leg with a single crochet, making sure both legs are facing forward and aligned symmetrically.
- Work Around the Body: Crochet around the first leg, work single crochets across one side of the chain bridge, crochet around the second leg, and finally, work across the other side of the chain bridge to complete the round.
Ayla's Tip: Always ensure the front of your toy is facing you when joining. This keeps the starting and ending points neatly tucked at the back.
2. The Sewing Method
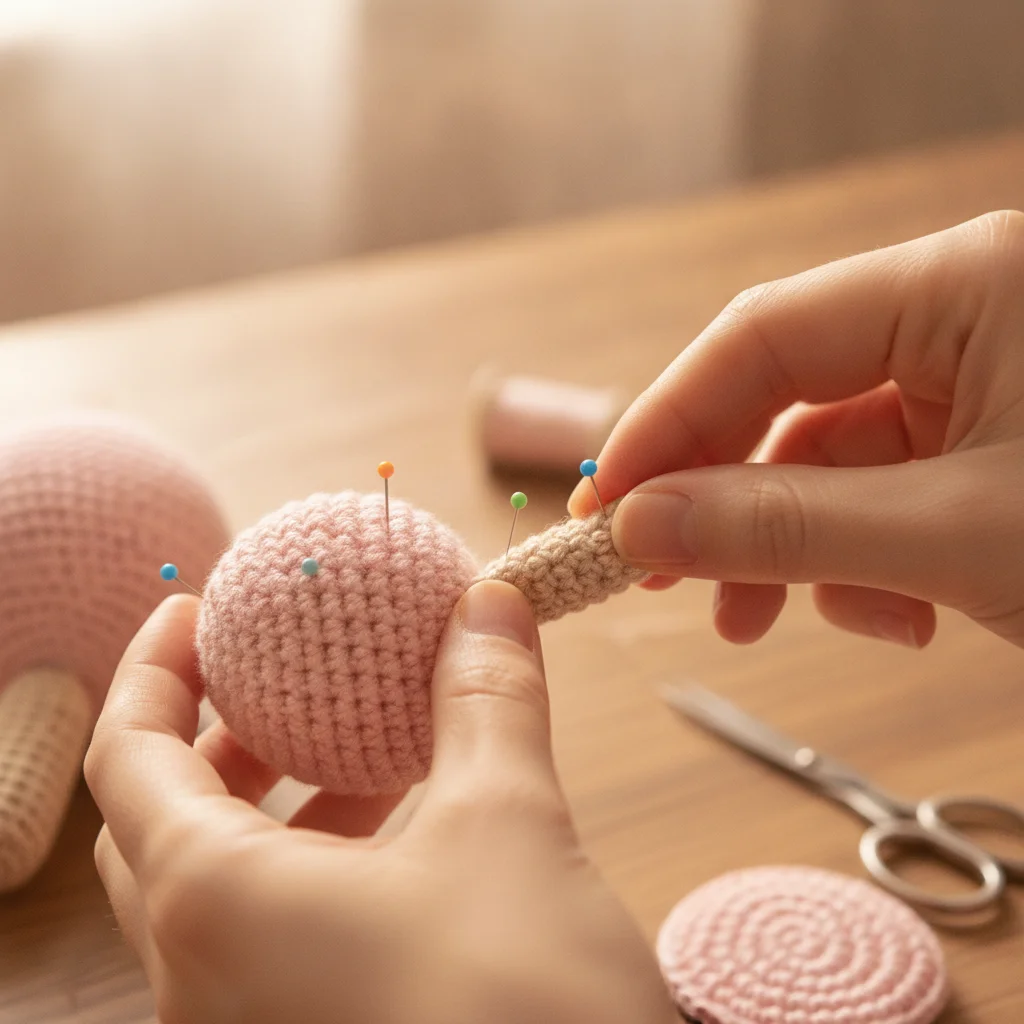
This method gives you much more flexibility in positioning the legs. It is especially useful for toys designed to sit down or those with jointed, movable legs.
Tips for Perfect Sewing:
- Use Stitch Pins: Always pin the legs to the body before sewing. Place the toy on a flat surface to check if it stands or sits symmetrically.
- Control the Stuffing: Do not overstuff the very top of the legs. Leaving the top slightly understuffed makes sewing easier and prevents the legs from flaring out awkwardly.
- Invisible Stitching: Pass your yarn needle through one stitch of the body and then through one stitch of the leg. Pull the yarn gently after each stitch to hide the seam.
Comparison Table
| Feature | Seamless Join | Sewing Method |
|---|---|---|
| Difficulty | Intermediate (Requires stitch counting) | Easy (Requires symmetry eye) |
| Durability | Extremely High (No risk of detaching) | High (If sewn securely) |
| Appearance | Seamless and smooth | Natural and posable |
| Flexibility | Fixed stance | Adjustable positions |
Which Method Should You Choose?
If you are making toys for babies or toddlers, we highly recommend the seamless crochet-join method to eliminate any risk of parts coming loose. On the other hand, if you are designing a decorative doll that needs to sit or wear clothes, the sewing method offers the best aesthetic flexibility.
Remember, practice makes perfect! Whichever technique you choose, your muscle memory will improve with each toy you create.
We would love to see your beautiful creations! Join our warm community and stay updated with our latest patterns by following us on Instagram: @aylawangurumi