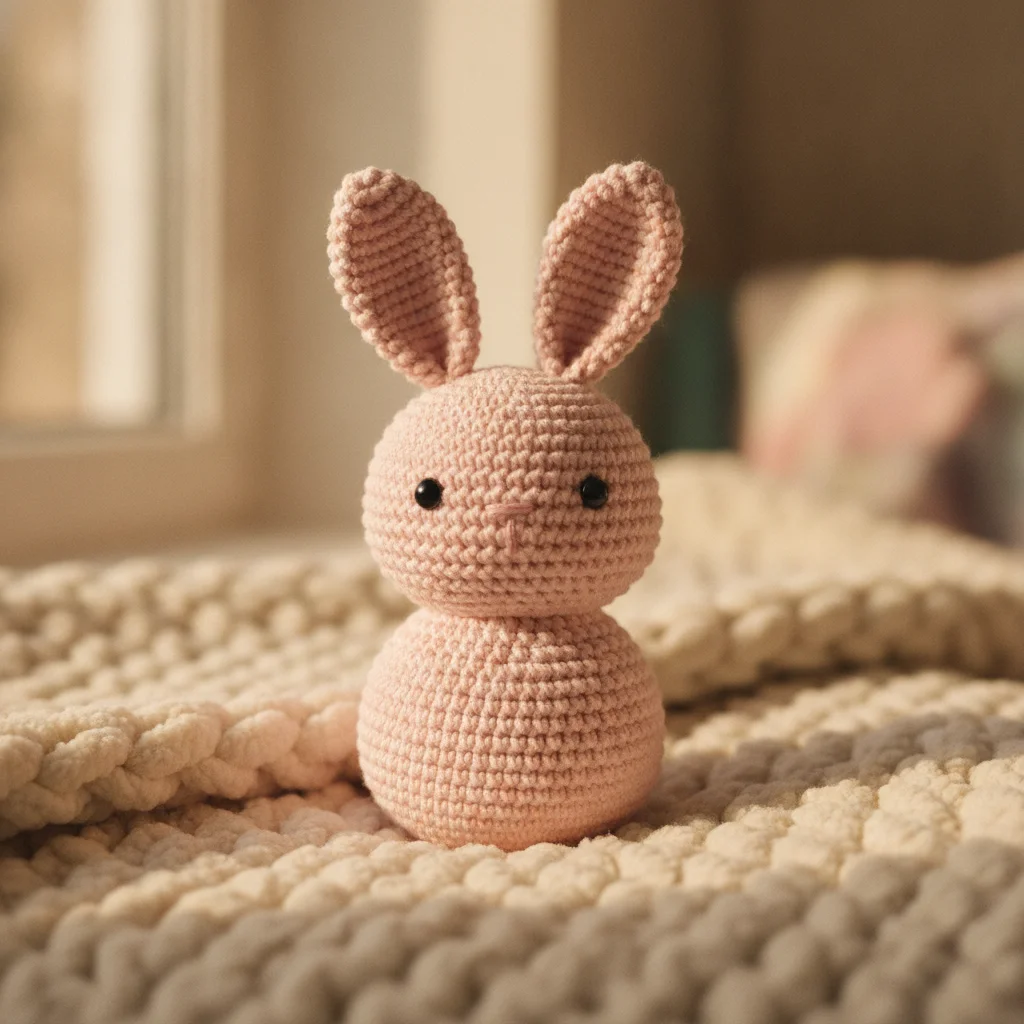
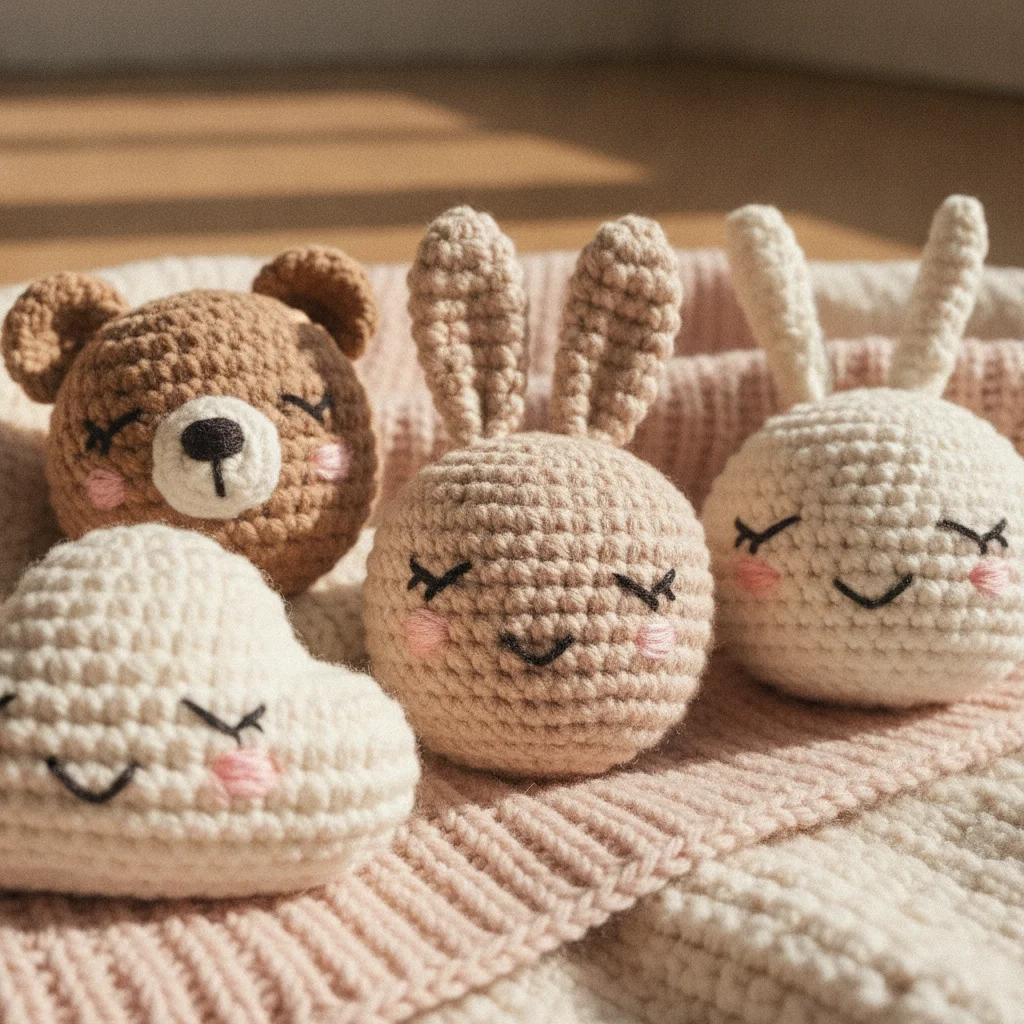
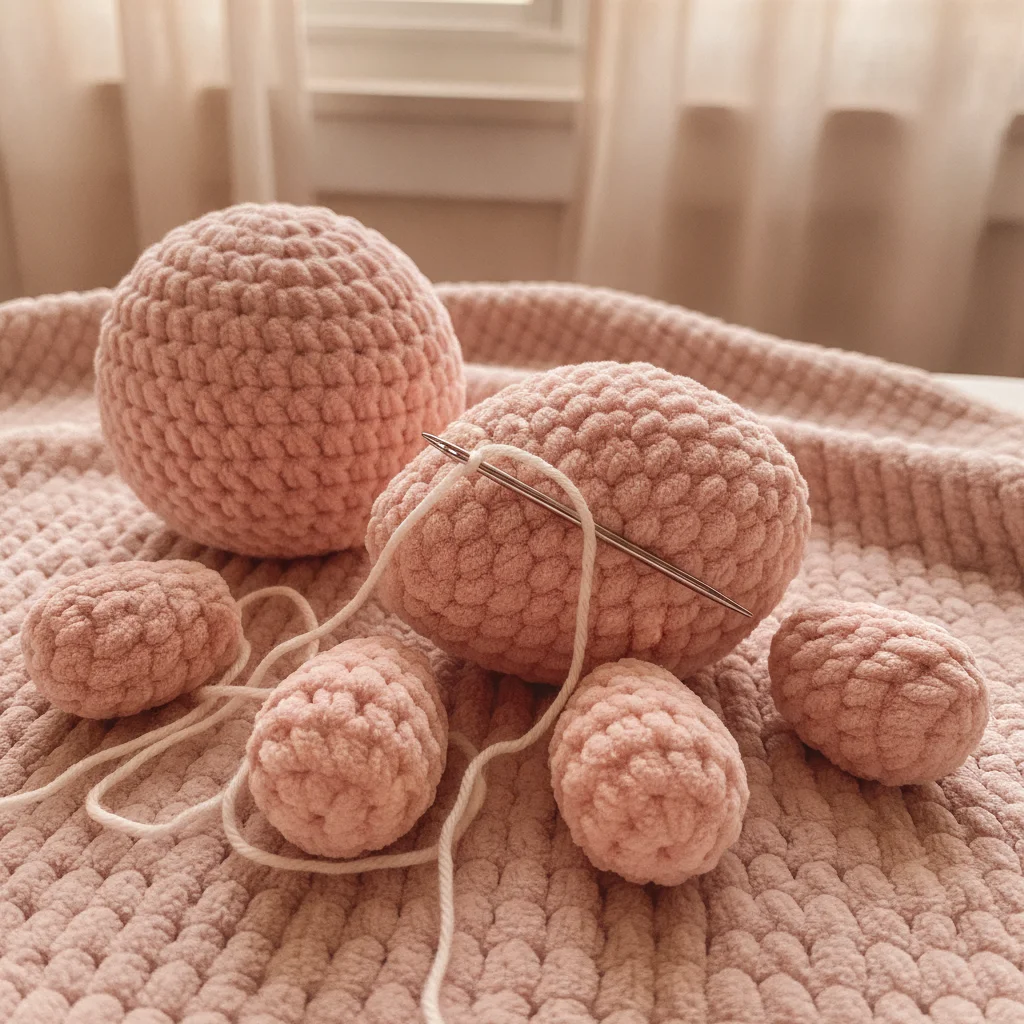
Mastering Amigurumi: How to Avoid Gaps and Holes for Flawless Creations
Tired of frustrating gaps and holes in your amigurumi projects? Learn essential tight crocheting techniques with this comprehensive guide and create perfect, seamlessly stuffed toys!
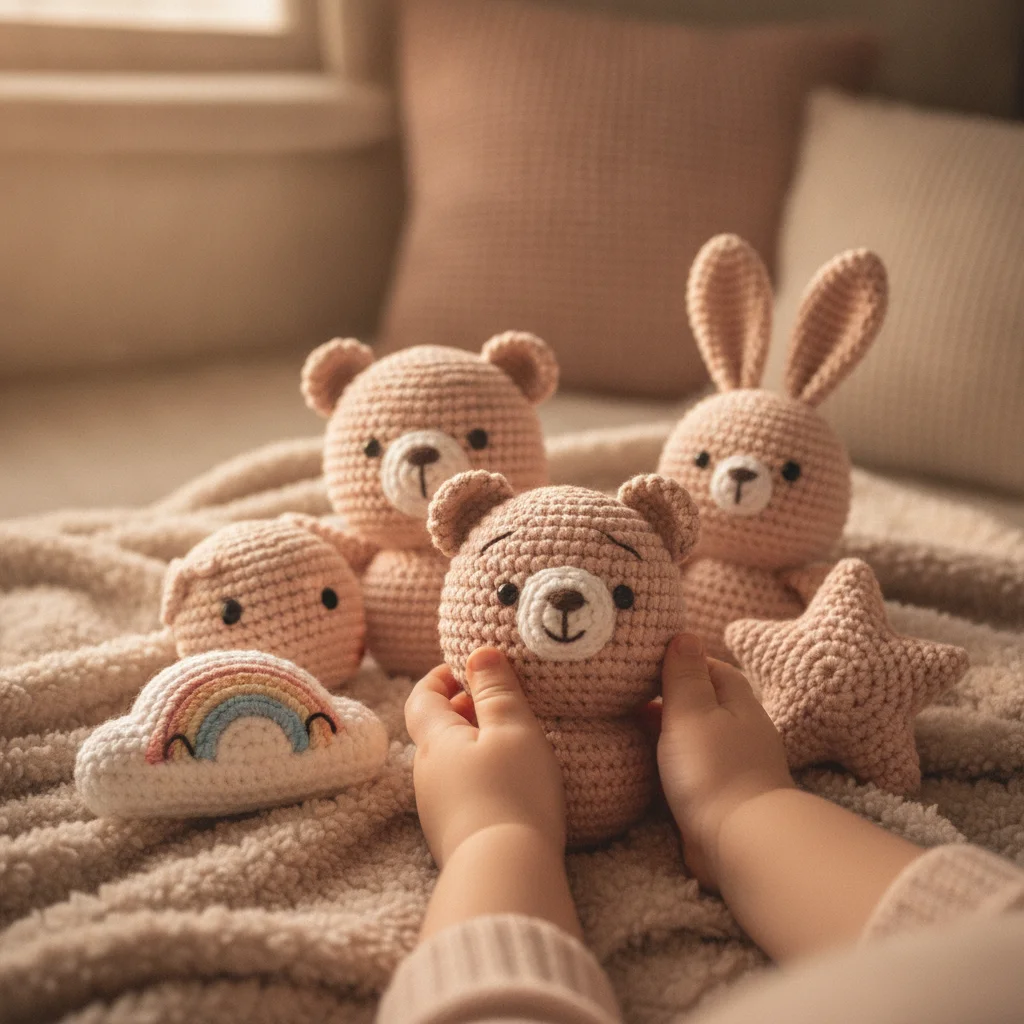
Mastering Amigurumi: How to Avoid Gaps and Holes for Flawless Creations
Crafting handmade amigurumi toys is a delightful and rewarding hobby. However, sometimes we encounter unwanted gaps or holes in our carefully crocheted pieces. These gaps can cause the stuffing material inside our toy to show through, negatively impacting the finished look of our project. This can be particularly frustrating for beginner crocheters. But don't worry! In this guide, you'll learn step-by-step how to prevent gaps and holes in your amigurumi projects, enabling you to create smooth, dense, and flawless toys.
1. The Right Hook and Yarn Combination: The Key to Your Foundation
The first and most crucial step in preventing gaps in amigurumi is selecting the right hook and yarn. The general rule is to use a crochet hook that is smaller than what is suggested on your yarn label.
- Yarn Choice: Cotton or acrylic yarns are generally preferred for amigurumi. The thickness of your yarn will determine your hook choice. Using a very large hook with a very thin yarn will inevitably lead to gaps.
- Hook Selection: Your yarn label will usually suggest a hook size like "3.0 mm - 4.0 mm hook recommended." For amigurumi, opt for the lower end of this range or even slightly smaller. For example, if a 3.0 mm hook is suggested, try using a 2.5 mm or 2.75 mm hook. A smaller hook ensures your stitches are tighter, creating an ideal density that prevents stuffing from peeking out.
Tip: To test your hook and yarn combination, crochet a small swatch (e.g., 10 chains, then single crochet rows). If you can't see the stuffing through the stitches when you place it inside, you're on the right track.
2. Mastering the Tight Stitch: The Soul of Amigurumi
At the heart of achieving gap-free amigurumi lies the "tight stitch" technique. This refers to the tension you maintain while pulling the yarn through the loops on your hook and closing the stitches.
- Correct Yarn Hold: How you hold the yarn in your hand directly affects tension. Holding the yarn too loosely will result in loose stitches and, consequently, gaps. You should feel a slight resistance as the yarn flows through your fingers.
- "Yarn Under" Technique: In traditional single crochet (yarn over), you insert your hook, then yarn over the hook from top to bottom before pulling through. In the "yarn under" technique, you insert your hook, then yarn under the hook from bottom to top before pulling through. This method creates shorter, tighter stitches, producing the dense fabric ideal for amigurumi. It might feel awkward at first, but with practice, you'll quickly get used to it.
3. A Solid Start with the Magic Ring
Most amigurumi projects are crocheted in a spiral, starting from the center. The magic ring (also known as a magic circle or adjustable ring) is the best method for this beginning because it provides a tightly closing starting point that prevents stuffing from escaping. Chain-based beginnings often leave a small hole in the center. Ensure you pull your magic ring tightly closed.
4. Using a Stitch Marker: Don't Miss a Single Stitch
In spiral crochet, accurately marking the beginning and end of each round is critical. Using a stitch marker prevents you from inserting your hook into the wrong stitch or skipping a stitch. Skipped or misplaced stitches can lead to gaps and deformities in your project's structure.
5. Accurate Stitch Counting: The Key to Consistency
Ensure that your stitch count for each round matches the pattern. Incorrect stitch counts can result in extra or missing stitches at the end of a round, leading to tension and gaps in the fabric. Regularly counting your stitches helps you catch errors early.
6. Stuffing Technique: Place Your Filling Wisely
Being careful when stuffing your amigurumi toys plays a significant role in preventing gaps.
- Avoid Overstuffing: Overstuffing the toy stretches the stitches and can cause gaps to appear between them. Add stuffing material slowly and evenly.
- Firm but Not Stretched Stuffing: The toy should feel firm but not so taut that the fabric is stretched, causing the stitches to open up. Add stuffing in small pieces, shaping it gently with your fingers.
- Appropriate Stuffing Material: Polyester fiberfill is commonly used for amigurumi. Choosing quality, non-clumping fiberfill ensures the interior of your toy remains smooth.
7. Care During Color Changes
When changing colors in amigurumi, ensure the join is tight and neat. Techniques like slip stitching or invisible finishes can minimize gaps that might appear at color transitions. Make sure to pull the new color yarn tightly when joining.
8. Joining Parts and Hiding Stitches
When joining amigurumi pieces or finishing off, pay attention to making your needle stitches tight and invisible. Try to stitch into the stitches themselves or the small spaces directly under the stitches, rather than just through the loops. This prevents gaps from forming at the seams.
Conclusion: Achieve Perfection with Practice and Patience
Preventing gaps and holes in amigurumi is achievable with a bit of practice and by applying the right techniques. By following steps like selecting the correct hook and yarn, mastering tight crochet, using the magic ring, and careful stuffing, you can create flawless amigurumi toys you'll be proud of every time. Remember, every project is a new learning opportunity.
We're here to support you on your crochet journey! Don't forget to follow us on Instagram for more tips and inspiration: @aylawangurumi. Happy crocheting!