Why Gauge Matters in Amigurumi and How to Check It
Discover why gauge matters in amigurumi! Learn how to measure your tension to prevent stuffing leaks and get perfect toy dimensions every time.
The Unsung Hero of Crochet Toys: Gauge in Amigurumi
When diving into the world of amigurumi, beginners often encounter the term gauge (or stitch tension). While gauge is famously critical for garments like sweaters and cardigans, many are surprised to learn that it plays an equally vital role in amigurumi crafting.
Have you ever wondered why your finished plushie turned out much larger than expected, or why the fiberfill stuffing keeps peeking through the stitches? The secret lies entirely in your gauge control.
Why Does Gauge Matter for Amigurumi?
Unlike clothing, an amigurumi toy doesn't need to "fit" a human body. So why is tension so important? Here is why ignoring gauge can ruin an otherwise adorable project:
1. Preventing Fiberfill Leaks
Amigurumi relies on a dense, firm fabric to hold its shape once stuffed. If your stitches are too loose, the polyfill stuffing will show through the gaps and eventually poke out, ruining the soft finish of your toy.
2. Ensuring Proportionate Limbs
If your tension changes halfway through a project, your character's arms might end up visibly thicker or longer than its legs. Keeping a consistent gauge ensures symmetry across all pieces.
3. Managing Yarn Requirements
Following a pattern's gauge ensures you won't run out of yarn before finishing your toy. Crocheting looser than intended consumes significantly more yarn.
How to Check Gauge for Amigurumi: Step-by-Step
Checking gauge in amigurumi is quick, simple, and saves you hours of frogging later. Here is how to do it:
Step 1: Crochet a Test Swatch
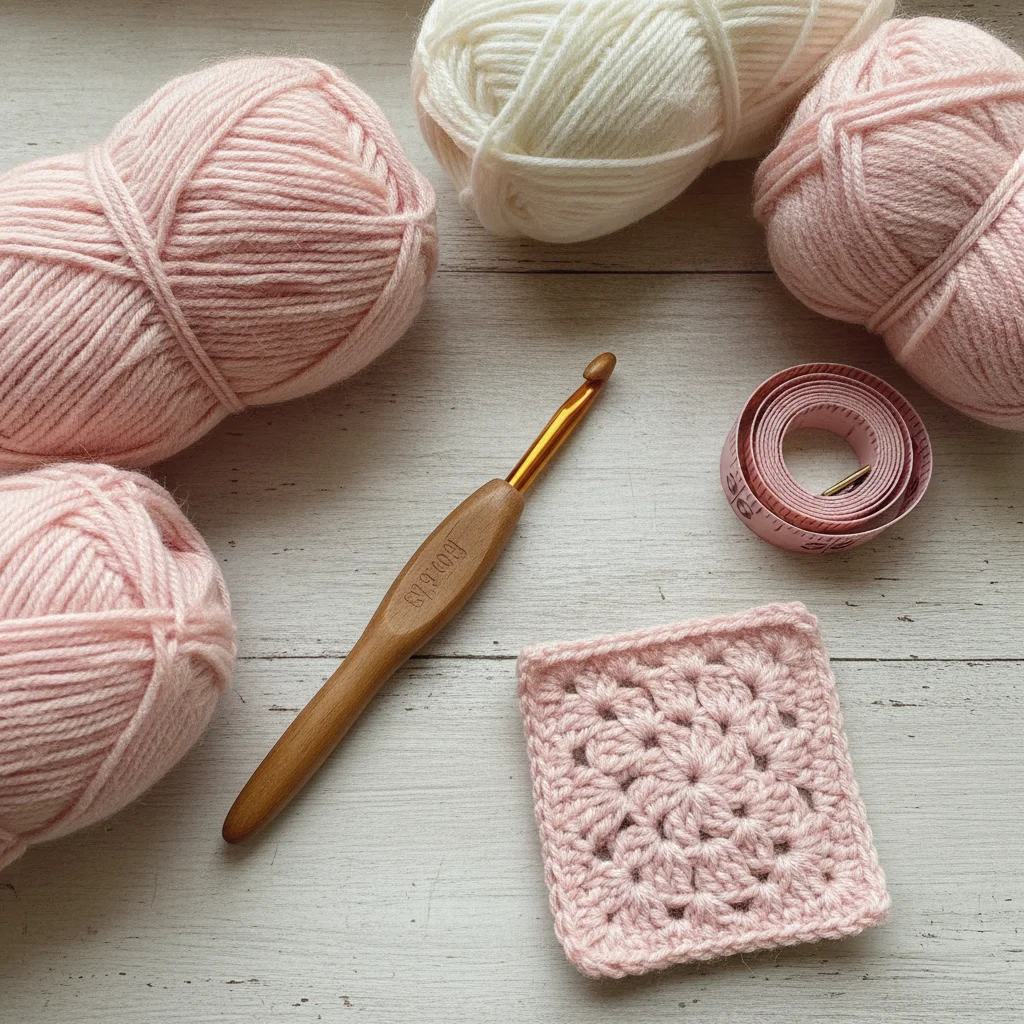
Using the same yarn and hook recommended in your pattern, make a small sample swatch using single crochet (sc).
- Start with a magic ring of 6 sc and increase until you reach 24 or 30 stitches.
- Work a few rounds without increases to form a small cup or flat circle.
- Alternatively, crochet a simple 10x10 stitch square in single crochet.
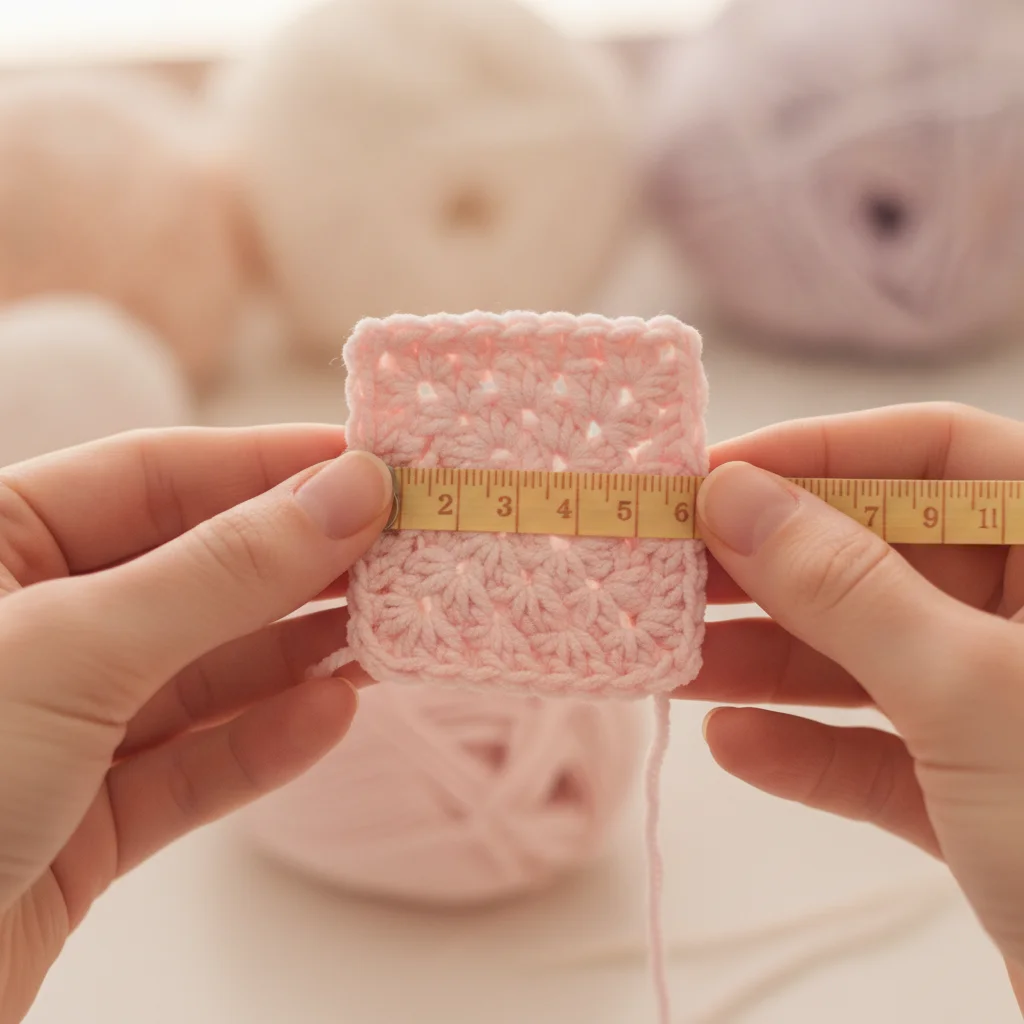
Step 2: Measure Without Stretching
Place your swatch flat on a smooth surface without pulling or stretching it. Use a ruler or tape measure to count how many stitches and rows fit into a 2-inch (5 cm) or 4-inch (10 cm) space.
Tip: Count the neat "V" shapes at the top of your single crochet stitches for the most accurate measurement.
| Measurement Area | Stitch Count (Example) | Row Count (Example) |
|---|---|---|
| 2" x 2" (5 x 5 cm) | 13 Single Crochets | 14 Rows |
| 4" x 4" (10 x 10 cm) | 26 Single Crochets | 28 Rows |
How to Adjust Your Gauge
If your stitch count doesn't match the pattern specification, don't worry! Everyone crocheters with a unique hand tension.
- Too Few Stitches (Fabric is too loose): Your tension is relaxed. Switch to a hook that is 0.5 mm smaller (e.g., down from 2.5 mm to 2.0 mm).
- Too Many Stitches (Fabric is too tight): Your tension is very firm. Switch to a hook that is 0.5 mm larger (e.g., up from 2.0 mm to 2.5 mm).
Pro Tips for Perfect Amigurumi Tension
- Size Down Your Hook: Always select a hook size that is 0.5 mm to 1.0 mm smaller than the hook size recommended on the yarn label. This creates the signature tight weave needed for toys.
- Relax Your Grip: Holding your yarn too tightly can cause wrist fatigue and uneven stitches. Aim for a comfortable, ergonomic hold.
- Practice Consistency: Muscle memory develops over time. The more you crochet, the more natural and consistent your tension will become.
Every stitch you make brings character to your handmade creations! We would love to see your gauge swatches and finished amigurumi projects. Share your work with us on Instagram by tagging @aylawangurumi. Happy crocheting!