Joining Amigurumi Head and Neck: Secrets to a Firm, Seamless Finish
Attaching the head to the body is a crucial step in amigurumi. Discover expert techniques to prevent wobbly heads and achieve clean, invisible stitches.
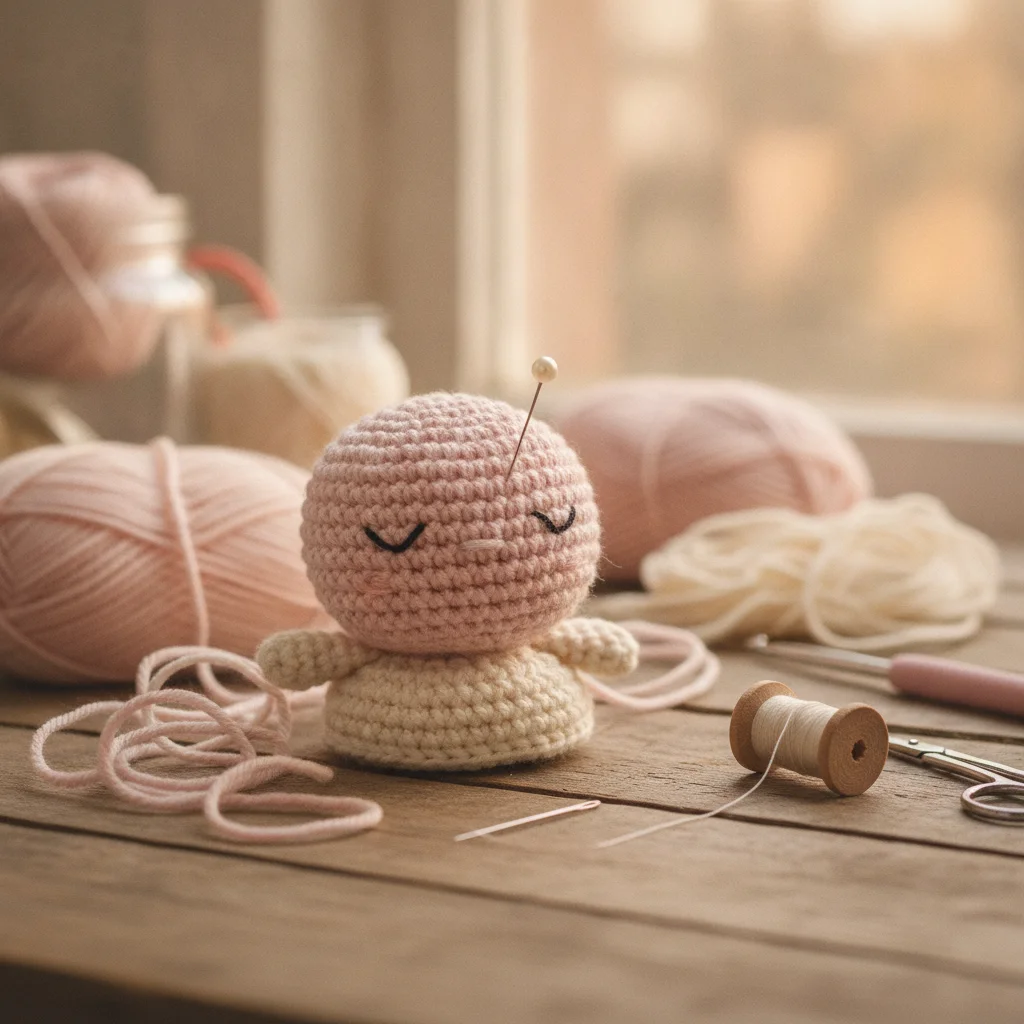
After dedicating hours to crocheting an adorable head and a well-shaped body, you arrive at the most exciting yet intimidating step: attaching the head to the neck. A poorly sewn head can tilt unnaturally or suffer from the dreaded "wobbly head syndrome," affecting the overall balance of your toy.
In this guide, we'll cover the best techniques to ensure your amigurumi stands proud, firm, and beautifully aligned.
1. Preparation: Pinning and Alignment
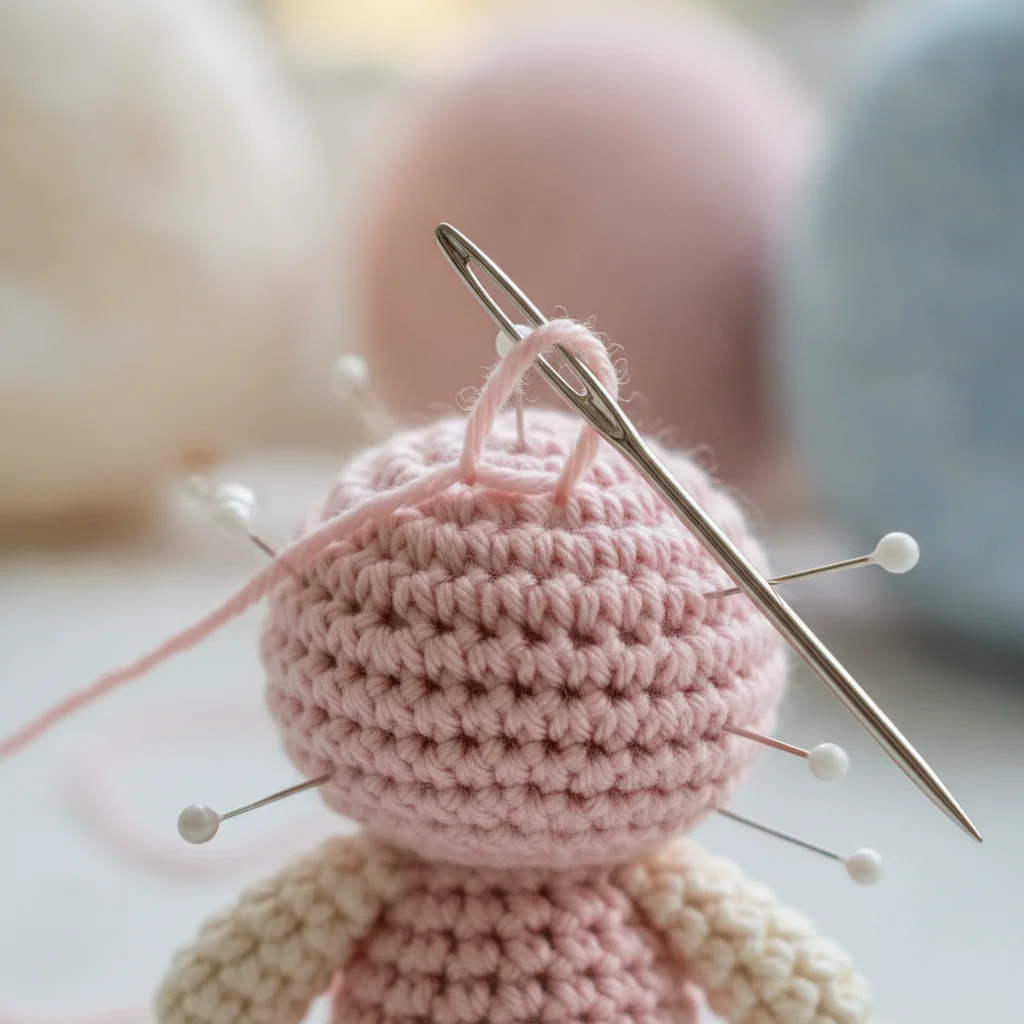
Before picking up your tapestry needle, securing the parts in place is essential. Freehand sewing often leads to accidental shifting, leaving your doll looking sideways by the time you fasten off.
- Use Long Pins: Position the head onto the body and secure it using at least 4–6 long pearl-head sewing pins along the neck perimeter.
- Check Symmetry: Hold the toy at eye level. Check that the facial features align perfectly with the center of the body.
Tip: Always finish facial embroidery (eyes, nose, blush) before sewing the head onto the body. It gives you full control and easier hand movement.
2. Fixing the Floppy Neck Syndrome
Heavier or oversized heads put extra stress on the neck joint. To prevent the head from tilting backward or drooping forward, try these structural reinforcements:
- Last-Minute Stuffing: Right before closing the last 3–4 stitches, use tweezers or the back of a crochet hook to stuff extra fiberfill firmly into the neck cavity.
- Silicone Support Core: For larger dolls, inserting a clean piece of hot glue stick into the neck provides flexible yet firm support.
- Crocheted Support Tube: For child-safe toys without plastic components, crochet a small tight tube (6–8 single crochets wide), stuff it firmly, and insert it inside the neck between the head and body.
3. The Invisible Ladder (Mattress) Stitch
To make your join look as though the piece was crocheted in one continuous go, use the mattress stitch:
- Insert your tapestry needle horizontally through a stitch on the body just below the neck edge.
- Pull through and immediately catch the corresponding horizontal loop directly above on the head.
- Every 3 to 4 stitches, gently tug the yarn tail to close the gap. The yarn will effortlessly disappear into the seam.
| Technique | Key Advantage | Best For |
|---|---|---|
| Mattress Stitch | Completely invisible and ultra-sturdy | All two-piece head & body projects |
| Seamless (No-Sew) | Zero assembly, zero risk of detachment | Mini characters, keychains, small toys |
| Reinforced Core Join | Prevents heavy heads from drooping | Large dolls, human figures, big animals |
4. The Seamless Alternative
If you prefer to avoid sewing altogether, look for patterns that transition directly from body to head. After completing the body decreases, you immediately begin head increases. Remember, even with seamless designs, packing the neck firmly with stuffing remains essential for structural integrity.
With a bit of patience and proper pinning, joining heads will become second nature. We'd love to see your finished creations! Tag us on Instagram @aylawangurumi and share your crochet journey with our community.