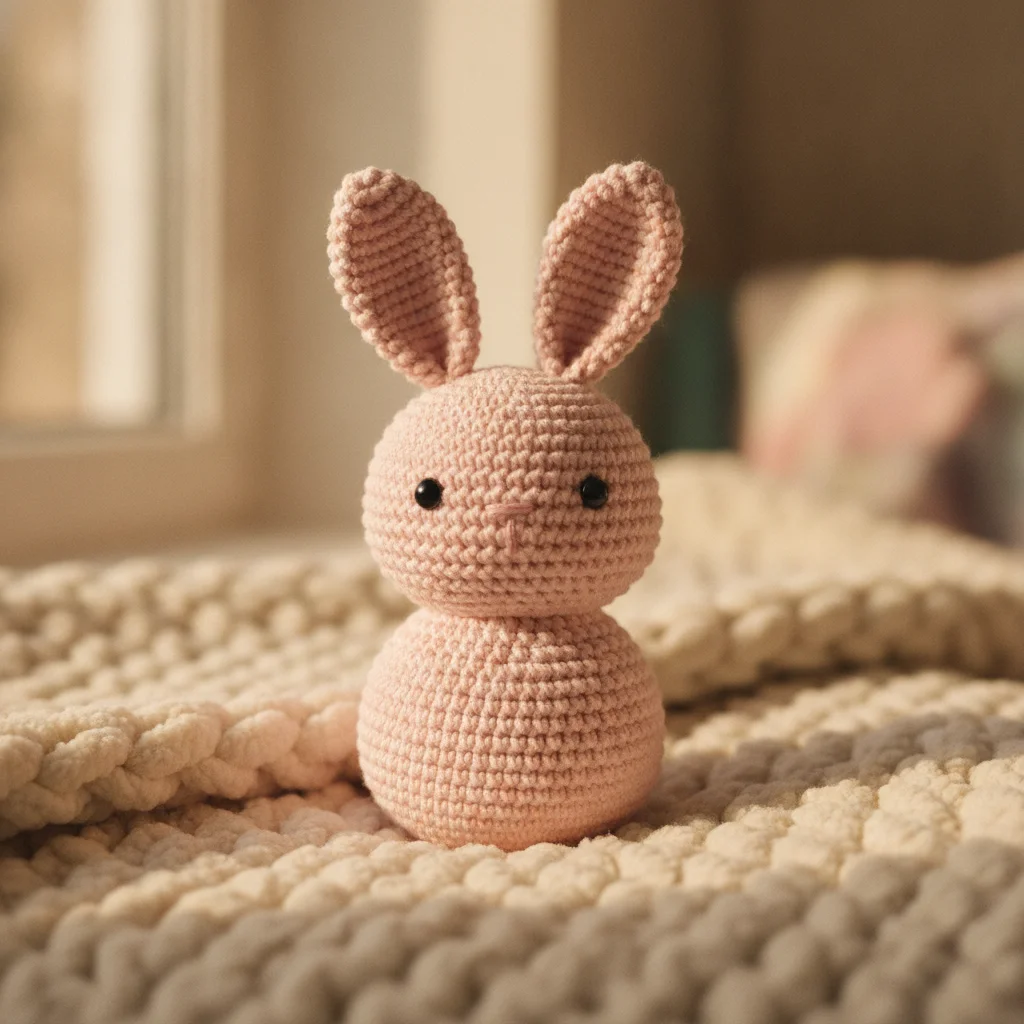
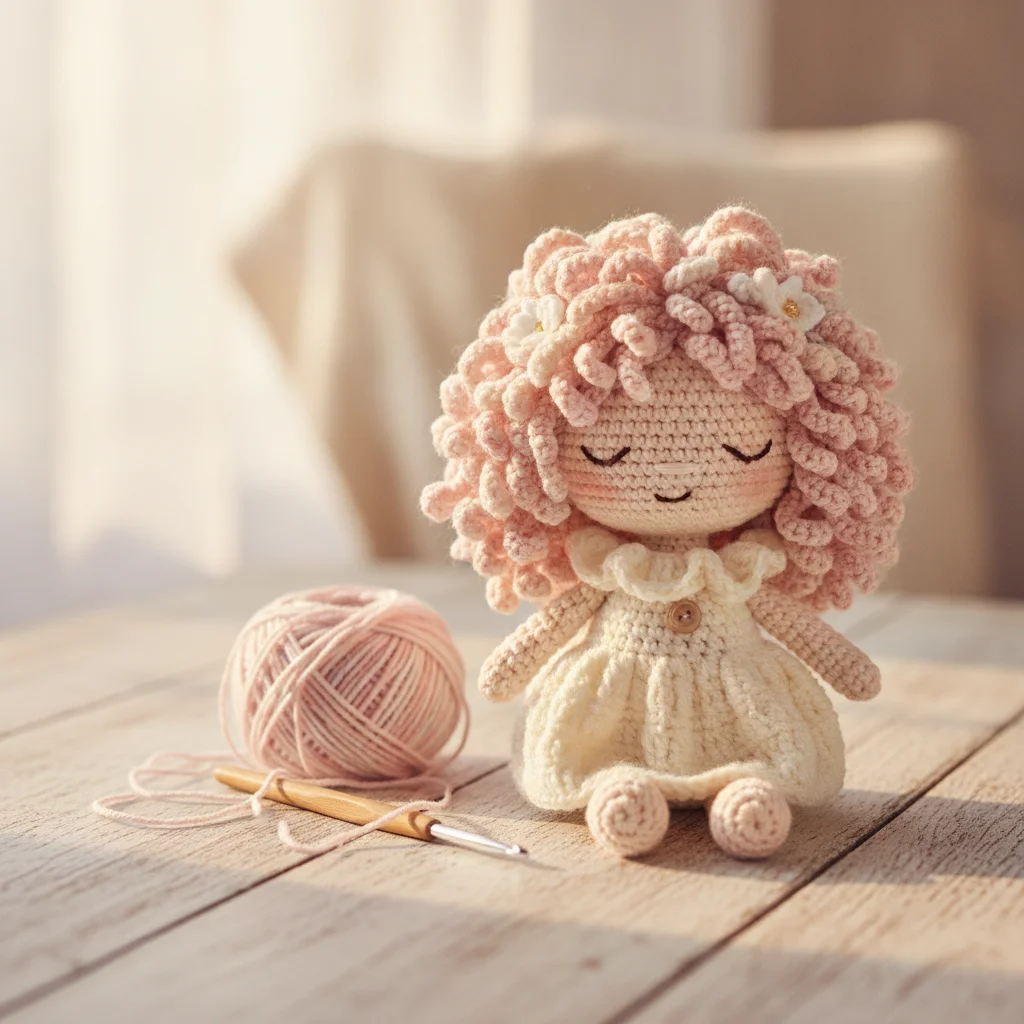
Bring Your Amigurumi to Life: Embroidering Adorable Facial Details
Adding embroidered facial details is a wonderful way to give your amigurumi unique character and charm. This guide will walk you through simple steps to create expressive faces for your handmade toys.
Bring Your Amigurumi to Life: Embroidering Adorable Facial Details
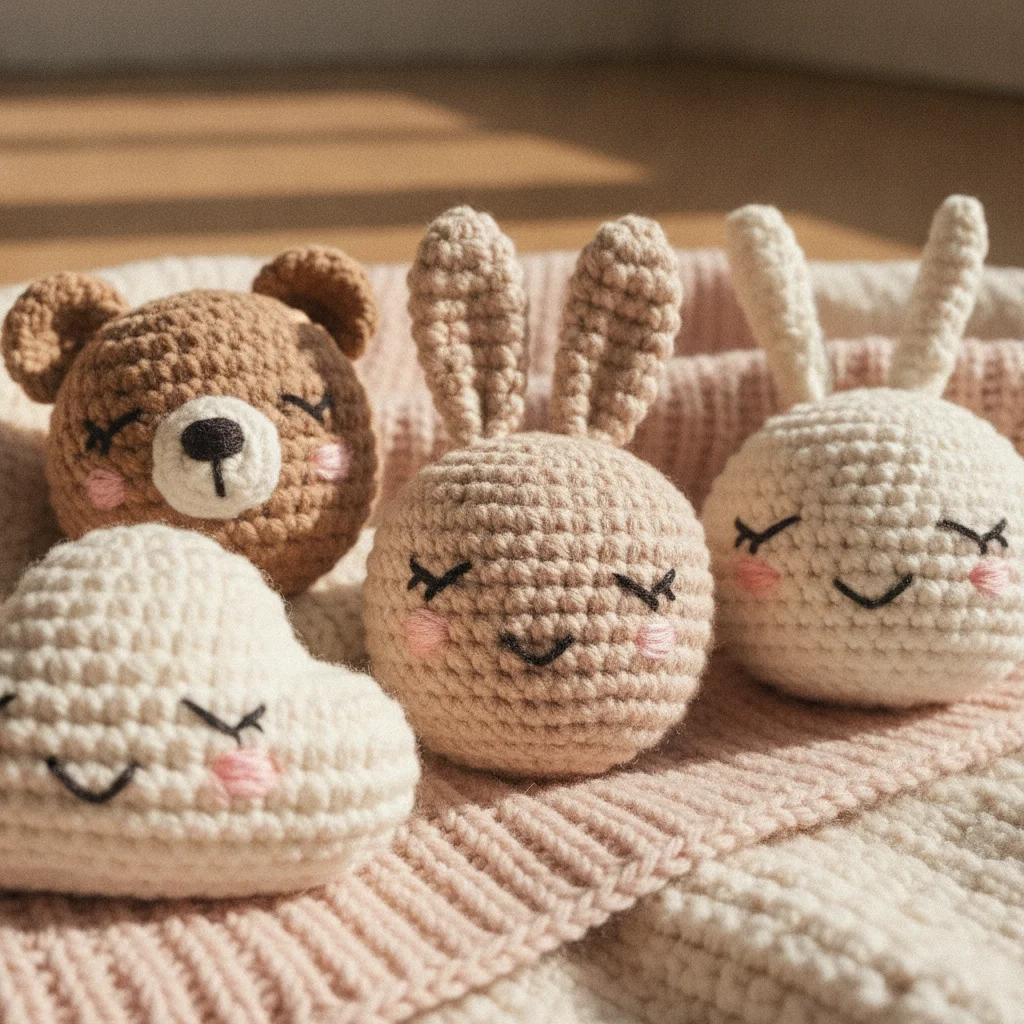
Handmade amigurumi toys are little works of art, lovingly crocheted stitch by stitch. What truly gives them their character and soul are, without a doubt, their facial details. Whether it's a sweet expression or a curious gaze, well-placed and carefully embroidered facial features can transform your toy from ordinary to utterly unique. In this post, we'll learn how to add facial details to your amigurumi toys with embroidery, step by step. Especially for beginner and intermediate crocheters, this technique will elevate your creations to the next level!
Why Choose Embroidery for Facial Details?
There are several options for amigurumi facial details, such as safety eyes or felt applications. However, embroidery stands out with its unique advantages:
- Safety: Especially for toys designed for babies and small children, avoiding small parts that could be swallowed is essential. Embroidery is a completely safe alternative in this regard.
- Customization: It offers the freedom to give each toy a unique expression and character. The size and shape of the eyes, the curve of the mouth are entirely within your control.
- Aesthetic Cohesion: Embroidery perfectly complements the overall texture and handmade feel of the toy. Stitches worked directly onto the crochet fabric create a natural and organic look.
- Flexibility: Made a wrong stitch? No problem! You can easily undo embroidery floss and try again.
Materials You'll Need
Before you start, make sure you have the right materials:
- Embroidery Floss or Amigurumi Yarn: DMC embroidery floss is often preferred due to its wide color range and the fact that its strands can be separated, which is ideal for fine details. You can also use a thinner version of the yarn you used for your amigurumi. Black, brown, pink, and white are the most commonly used colors.
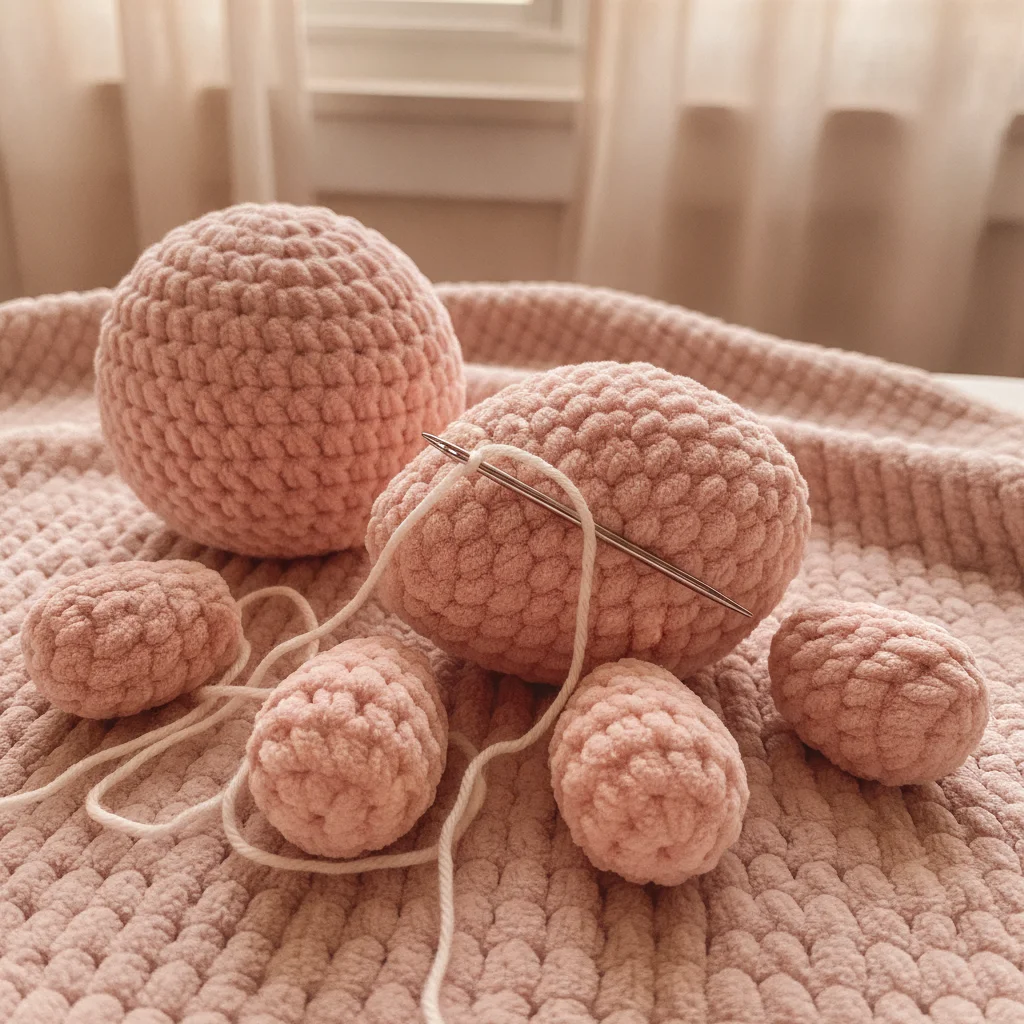
- Blunt-Tipped Needle: You'll need a tapestry needle or yarn needle, which has a blunt tip and a large eye. These needles easily pass through crochet stitches without splitting the yarn.
- Scissors: Small scissors for cutting threads.
- Pins or Stitch Markers: Indispensable for marking the placement of facial details.
- Adequate Light and Patience: Good lighting and plenty of patience are your best friends for detailed work!
Tip: You can separate the strands of embroidery floss to achieve thinner or thicker lines. For example, using 2-3 strands of a 6-strand embroidery floss for eyes can create a more delicate look.
Planning and Placing Facial Details
Before you begin embroidering, planning your toy's face is crucial. Here are the steps:
- Determine Placement: Take your toy's head and consider where you want the eyes, nose, and mouth to be. Your amigurumi pattern will often provide a row or stitch reference for these details.
- Mark with Pins: Mark the desired locations with pins. This helps you maintain symmetry and better visualize the final result. Ensure the eyes are aligned and equally spaced.
- Visualize: After marking with pins, look at the toy from a distance. Is there balance in the expression? Are the eyes too close or too far apart? Make adjustments as needed.
Basic Embroidery Stitches and Application
Now for the fun part: embroidery! Here are some of the most common stitches used for amigurumi facial details:
1. Eyes
Eyes are the most prominent feature of your toy and largely determine its expression.
- French Knot: Perfect for small, round eyes or pupils. Bring the needle up through the fabric, wrap the floss around the needle 2-3 times, then insert the needle back into the fabric very close to where you first emerged, pulling the knot tight.
- Straight Stitch: Can be used to create simpler, horizontal or vertical line eyes. Bring the needle up at one point and down at another to create a straight line.
- Satin Stitch: Ideal for fuller, oval-shaped eyes. Fill a defined area with parallel and closely placed straight stitches from one edge to the other.
2. Nose
The nose is usually small and simple.
- Straight Stitch: Often, a small horizontal or vertical straight stitch is sufficient.
- Satin Stitch: For a fuller nose, you can fill a small triangle or oval area with satin stitches.
3. Mouth
The mouth can give your toy a happy, sad, or surprised expression.
- Straight Stitch (Curved): The simplest method is to bring the needle up at one point, make a slight curve, and insert it back down at another point. Repeat a few times to make it more prominent.
- Chain Stitch: For a more defined and textured mouth, you can use the chain stitch. This involves creating a series of loop-like stitches from one point to the next.
Step-by-Step Embroidery Application (Eye Example)
Here's a step-by-step example of how to embroider an eye:
- Prepare Your Yarn: Cut about 15-20 inches (40-50 cm) of your chosen embroidery floss. Tie a small knot at one end of the floss.
- Starting Point: Insert your needle from the back or bottom of the toy's head (a few stitches away from where the eye will be) and bring it out at the first point of the eye. Pull the yarn through, ensuring the knot remains hidden inside the toy.
- Make the Stitch: If you are making a straight stitch eye, insert the needle back down at the end point of the eye. If you're doing a French knot, follow the steps above.
- Repeat: If necessary, repeat the stitch a few times to achieve the desired thickness and prominence.
- Secure the Yarn: Once finished, insert the needle back into the fabric near where the last stitch was made, and bring it out a few stitches away from the inside of the toy. Pull the yarn taut and trim the excess, allowing the yarn tail to disappear inside the toy. Embroider the other eye in the same manner.
Important Tip: When embroidering, be careful not to pull the yarn too tightly, as this can pucker the amigurumi fabric. A light and even tension yields the best results.
General Tips
- Symmetry: Always use pins to ensure that both eyes or eyebrows are symmetrical, and frequently check from a distance.
- Practice: Your first attempts might not be perfect. Practice on small scrap pieces of yarn or a small amigurumi piece you crocheted for practice.
- Patience: Embroidery requires a bit of patience and attention to detail. Don't rush, and enjoy each stitch.
- Color Choice: You can create different expressions by choosing colors that contrast with or complement the main color of your toy.
Adding embroidered facial details to your amigurumi toys is a wonderful way to give them a personal touch and transform each one into a unique character. With these simple techniques, your handcrafted toys will go beyond being just crocheted pieces and become little friends with stories to tell.
We hope this guide has inspired you to try adding embroidered facial details. Don't forget to share your adorable amigurumi creations with us! For more inspiration and crochet tips, follow us on Instagram at @aylawangurumi. Happy crocheting!