A Complete Guide to Safely Adding Rattles and Squeakers to Amigurumi
Make your crochet toys engaging for babies by adding rattles and squeakers. Learn how to securely and safely embed sound inserts step by step!
Handcrafted amigurumi toys are beloved companions for babies thanks to their soft texture and charming aesthetics. Adding a subtle rattle sound or a fun squeaker enhances sensory development, transforming a simple plush into an interactive treasure.
However, incorporating sound inserts into crocheted toys requires careful attention to safety and durability. In this guide, we will cover everything you need to know about choosing and inserting sound modules safely into your amigurumi.
Types of Sound Inserts for Crochet Toys
There are three common types of sound inserts used in amigurumi projects:
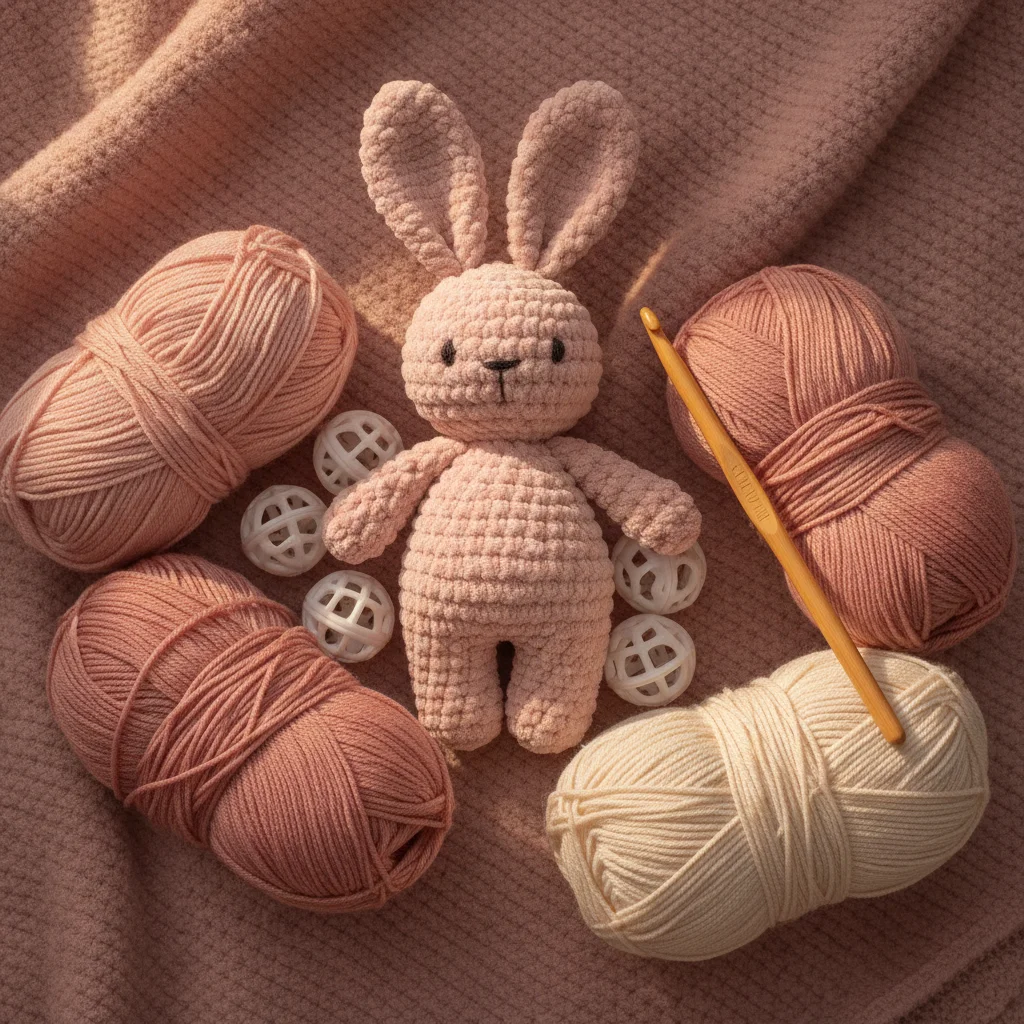
- Rattle Spheres: Sealed plastic spheres containing tiny beads that produce a gentle chime when shaken. They are the most popular choice for baby rattles.
- Squeakers: Flexible plastic inserts that emit a cheerful squeak when pressed. Ideal for animal bellies and interactive plushies.
- Music Boxes: Pull-string or wind-up modules that play lullabies. Perfect for larger sleep companion toys.
Essential Safety Rules for Baby Toys
When crafting toys for infants, child safety must always be the top priority. Follow these non-negotiable rules when adding sound inserts:
- Choose Waterproof & Durable Materials: Ensure the insert is made of sturdy, non-toxic, and waterproof plastic. Avoid metal, glass, or brittle materials that could break upon impact.
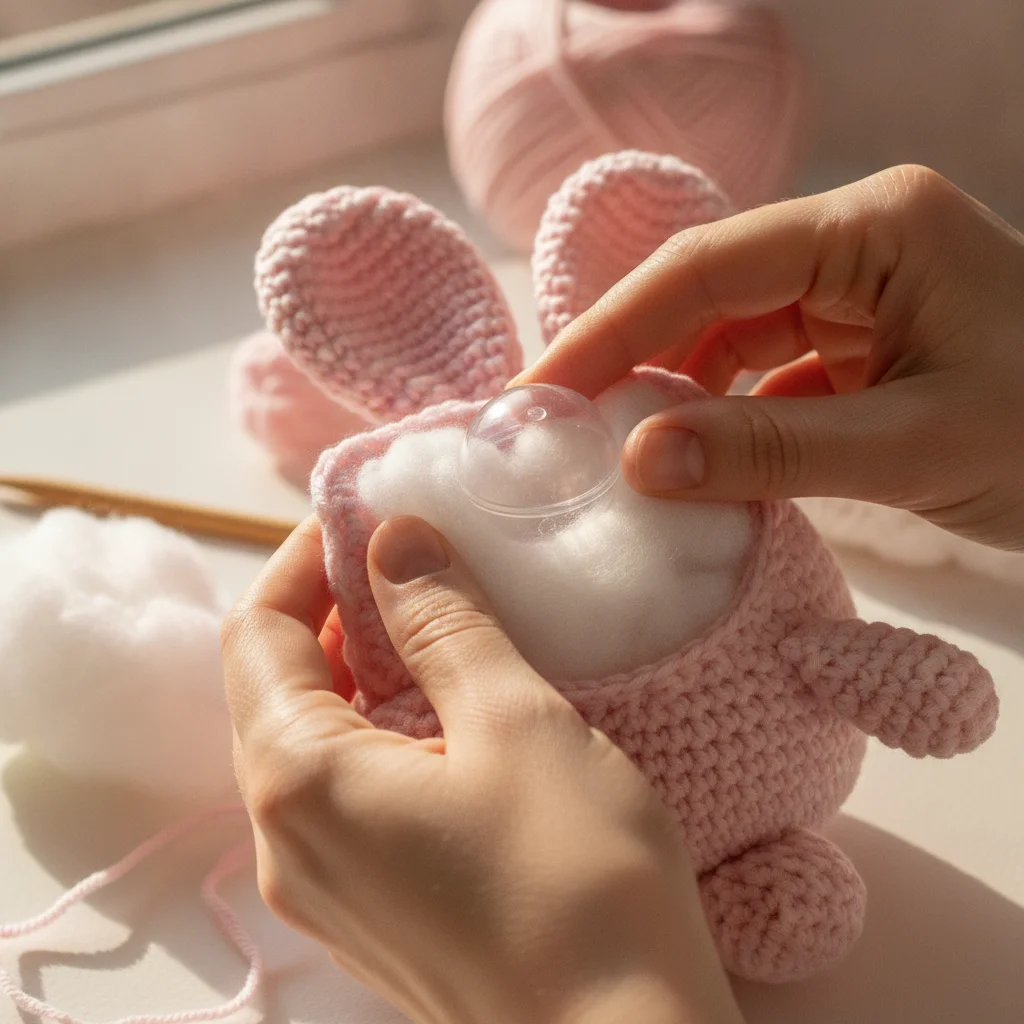
- Double Padding with Fiberfill: Never place the rattle element directly against the crochet stitches. Wrap the sound insert generously in soft fiberfill stuffing and position it at the dead center of the toy.
- Maintain Tight Stitch Tension: Use a smaller hook size to ensure your crochet stitches are dense and tight. This prevents stuffing and plastic inserts from poking through the holes.
Safety Tip: Wrapping the rattle insert inside a small piece of nylon mesh or fabric pouch before stuffing adds an extra layer of protection, preventing beads from escaping in case of extreme damage.
Step-by-Step Placement Guide
- Build the Base: Crochet the toy body or head and pad the bottom third with high-quality polyester fiberfill.
- Center the Module: Nest the sound module directly into the middle of the fiberfill.
- Pack around evenly: Add more stuffing around and on top of the insert, making sure it stays centered and cushioned on all sides.
- Close securely: Continue your decrease rounds tightly while holding the stuffing shape intact.
Care and Washing Instructions
Amigurumi toys containing sealed plastic rattles can be safely hand-washed or machine-washed on a gentle cycle at 30°C. Reshape the toy and allow it to air-dry completely on a flat towel to prevent moisture retention inside.
We would love to see your sound-enhanced creations! Follow and tag us on Instagram at @aylawangurumi to join our creative community and share your handmade joy!