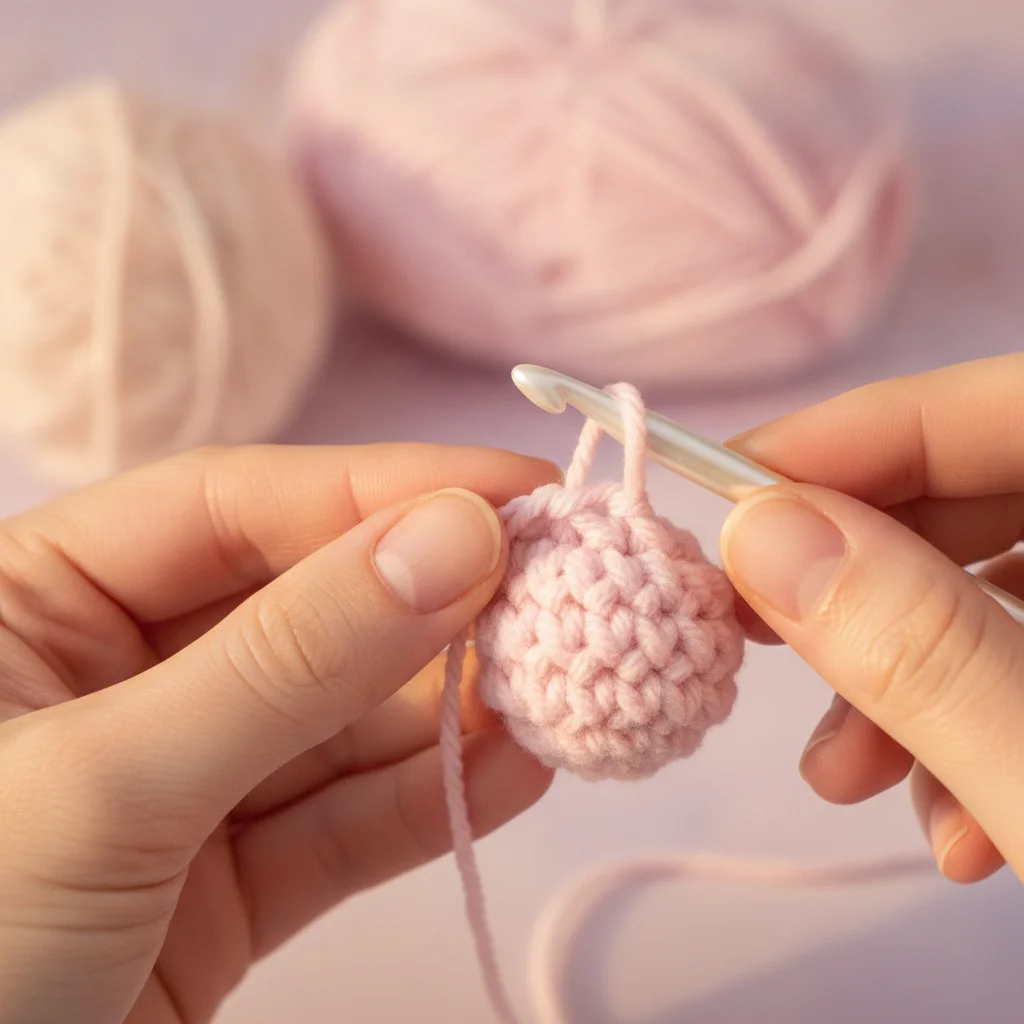
How to Crochet an Invisible Decrease in Amigurumi: The Secret to Seamless Finishes
Tired of noticeable decreases in your amigurumi projects? The invisible decrease technique creates smooth, almost undetectable seams. Learn how to do it step-by-step in this guide.

How to Crochet an Invisible Decrease in Amigurumi: The Secret to Seamless Finishes
When you start crocheting amigurumi, you quickly realize how crucial every stitch and every technique is. As we shape our little friends, we often need to create narrower sections, especially for parts like heads, arms, or legs. These decreases significantly impact the final look of your toy. Standard decreases can sometimes leave a noticeable line or a small gap, detracting from a professional and smooth appearance. But don't worry, here at Ayla Wan Gurumi, we're going to tell you about a magical technique that eliminates this problem: the Invisible Decrease.
In this post, you'll learn why you should use the invisible decrease in your amigurumi projects, how it differs from a standard decrease, and how to perform it step-by-step. If you're ready, grab your hook and yarn, and let's uncover the secret to seamless amigurumi finishes!
Why Should You Use the Invisible Decrease?
The goal in amigurumi is for the toys to look as realistic and aesthetic as possible. A standard single crochet two together (sc2tog) decrease creates one stitch from two. However, this method can leave a small gap or a noticeable "bump" in the finished piece. This can be even more pronounced with lighter-colored yarns or in projects that aren't crocheted very tightly.
The invisible decrease, as its name suggests, is almost imperceptible once made. By working into the front loops of the stitches, it makes the decrease point tighter and neater. As a result, you achieve a cleaner and more professional finish in your amigurumi pieces. This is particularly important for delicate areas like animal faces or body parts.
What is the Invisible Decrease (Inv Dec) and How Does It Work?
The invisible decrease is a special way to transform two stitches into a single stitch. The key difference is that you work into the front loops only of the stitches. This ensures that the stitches remaining behind the decrease lay more neatly, allowing the decrease point to blend better with the surrounding stitches.
What You'll Need:
- A crochet hook suitable for your amigurumi project
- The yarn you are working with
- A little patience and practice!
Step-by-Step: How to Crochet an Invisible Decrease
While the invisible decrease might seem a bit complex at first, after a few tries, your fingers will get used to it, and you'll see how easy this technique truly is.
- Insert Your Hook into the Front Loop of the First Stitch: Insert your hook into only the front loop (the part of the stitch closest to you) of the first stitch in the current row. Leave the back loop free.
- Insert Your Hook into the Front Loop of the Second Stitch: Without removing your hook from the first stitch, insert your hook into only the front loop of the very next stitch. You should now have three loops on your hook (one starting loop and two front loops).
- Yarn Over and Pull Through the Two Front Loops: Yarn over and pull your hook through the first two loops on your hook (i.e., both front loops). You should now have two loops remaining on your hook.
- Yarn Over and Pull Through the Remaining Two Loops: Yarn over again and pull your hook through the two remaining loops on your hook.
Congratulations! You've completed your invisible decrease. You can now continue with your next stitch as normal.
Tip: Crocheting Tightly is Key!
In amigurumi, crocheting tightly generally prevents stuffing from showing through and helps your toy maintain its shape better. When making invisible decreases, make sure your stitches are tight. This will help the decrease become even more "invisible."
Benefits of the Invisible Decrease
- Smooth Surface: The biggest benefit is achieving a completely smooth surface on your amigurumi pieces, without noticeable lines or gaps.
- Professional Finish: It adds a professional touch to your handmade toys, making them look as if they were store-bought.
- Shape Retention: Because there's less gap at the decrease point, it helps your toys retain their shape better. This is ideal for maintaining the round curves of heads or limbs.
- Less Stuffing Visibility: Thanks to its tight structure, it reduces the likelihood of stuffing showing through the stitches.
Practice and Patience
Like any new technique, the invisible decrease requires a bit of practice. Your first attempts might not be perfect, but don't give up! After a few tries, your hands will get used to it, and you'll find yourself applying this technique with ease. In fact, after a while, you might not even want to use the standard decrease anymore!
The invisible decrease is a fantastic technique that will elevate your amigurumi skills to the next level. With it, your beloved handmade toys will not only be adorable but also shine with flawless craftsmanship.
Stay tuned for more tips, techniques, and inspiration from the world of amigurumi! Don't forget to share your amigurumi creations with seamless decreases with us. Visit @aylawangurumi on Instagram to see our other designs and get inspired. Happy crocheting!