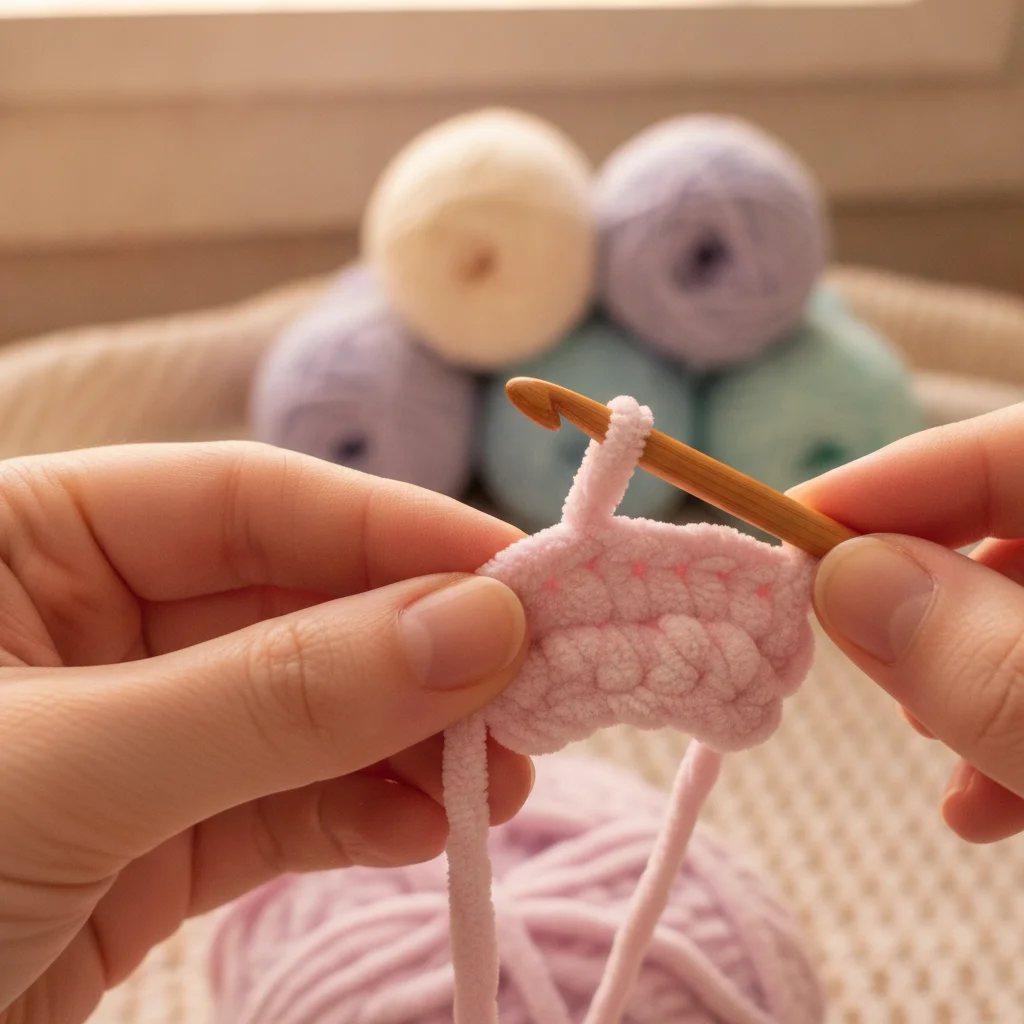
Amigurumi Guide for Left-Handed Crocheters: Crafting with Your Left Hand
Struggling to find your way in the amigurumi world as a lefty? Discover the easiest ways to hold your hook, read patterns, and master the magic ring with your left hand.
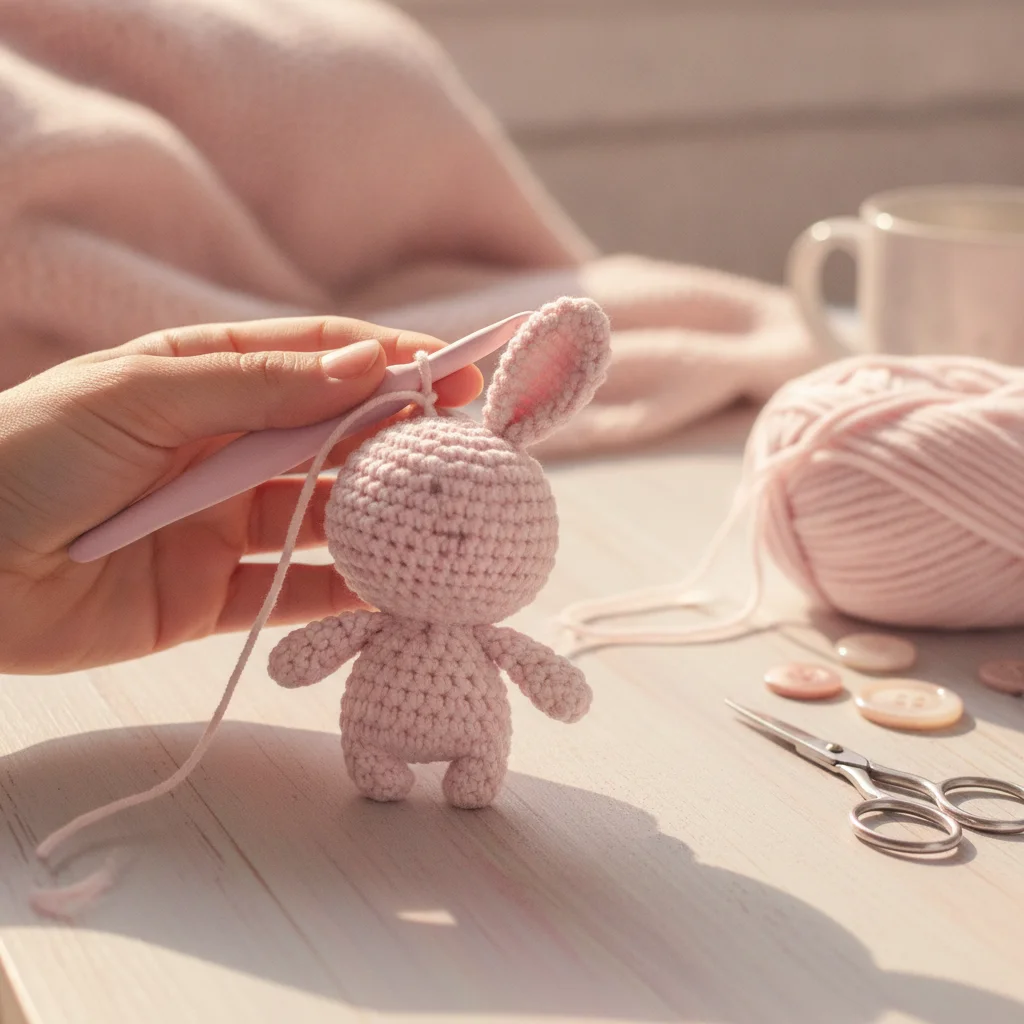
When you first step into the world of amigurumi, you might notice that almost all tutorials, diagrams, and guides are designed for right-handed crafters. While this can feel a bit discouraging at first, being a left-handed crocheter is actually a wonderful creative superpower!
At Ayla Wan Gurumi, we believe that the language of handmade crafts is universal. We have gathered the best tips and tricks to help you enjoy crocheting soft, love-filled toys with your left hand.
1. Finding Your Grip: Hook and Yarn Control
There is no single "correct" way to hold your hook as a lefty. Generally, two main styles stand out:
- The Pencil Grip: You hold the crochet hook just like a pencil. This method can offer more control and precision for tiny, detailed amigurumi parts.
- The Knife Grip: You hold the hook in your palm like a dinner knife. This is a great option for reducing wrist fatigue during long crochet sessions.
Use your right hand to guide the yarn through your fingers and control the tension. The key is to find that sweet spot where your hand feels relaxed and your stitches are neither too tight nor too loose.
2. Understanding Direction: Clockwise vs. Counter-Clockwise
One of the most common sources of confusion for lefties is the direction of the stitches. While right-handed crocheters work counter-clockwise, left-handed crocheters naturally work in a clockwise direction.
This difference does not change the shape of your toy or the stitch count in your pattern. However, you should pay attention to one small detail: make sure the "right" (clean) side of your work faces outward. As your piece starts to cup, ensure the smooth, neat side is on the outside, while the yarn tails and "wrong" side remain on the inside.
3. Mastering the Left-Handed Magic Ring
The magic ring is the foundation of almost every amigurumi project. Here is how you can easily make one with your left hand:
- Wrap the yarn around the index and middle fingers of your right hand from back to front to form an 'X'.
- Insert your hook (held in your left hand) under the first strand of the X, grab the back strand, and pull up a loop.
- Yarn over and pull through to secure the ring with a chain stitch.
- Now, you can start working your single crochets into the ring using your left hand.
Quick Tip: When closing the magic ring, gently pull the yarn tail with your right hand. With a little practice, your left hand will get used to making perfectly neat starts.
4. The Ultimate Hack: Mirroring Video Tutorials
Since most great amigurumi video tutorials online are recorded by right-handed crafters, following them can be tricky. Fortunately, there is an amazing digital hack: Mirroring.
You can use free browser extensions like "Video Mirror" or specialized video players to flip any video horizontally. This makes a right-handed instructor look exactly like a lefty on your screen! This simple trick makes learning complex stitches, increases, and decreases incredibly easy.
Crafting with Love and Patience
Being left-handed gives you a unique rhythm in your amigurumi journey. The steps that feel challenging today will soon become second nature to your muscle memory. Give yourself time and enjoy every single stitch.
We would love to see your progress! Share your left-handed creations, tips, and questions with us. To join our warm crafting community and find daily inspiration, follow us on Instagram @aylawangurumi. Let's craft together!