Demystifying Amigurumi Patterns: A Beginner's Guide
Amigurumi patterns can seem complex at first glance, but by learning basic abbreviations and pattern structure, you can easily crochet these adorable toys. This guide will provide beginner crocheters with step-by-step…
Demystifying Amigurumi Patterns: A Beginner's Guide
Welcome to the wonderful world of amigurumi! Embarking on the journey of creating these adorable, crocheted stuffed toys is both exciting and incredibly rewarding. However, for many beginner crocheters, the first hurdle can often be understanding how to read an amigurumi pattern. The abbreviations, numbers, and symbols in patterns can seem daunting at first glance, but don't worry! With this guide, you'll learn to decipher amigurumi patterns step-by-step and soon be creating your own handmade treasures.
Tip: Remember, everyone starts somewhere! Reading patterns is a skill that improves with practice. It's best to go slow initially and take your time to understand each step.
Common Amigurumi Pattern Abbreviations and Their Meanings
Amigurumi patterns use specific, internationally recognized abbreviations. Learning these is key to understanding any pattern. Here are the most common ones you'll encounter:
- SC (X): Single Crochet. The fundamental stitch of amigurumi.
- INC (V): Increase. Making two single crochets into one stitch to increase the stitch count.
- DEC (A): Decrease. Turning two single crochets into one stitch to reduce the stitch count. Often done as an invisible decrease.
- 3SC in 1 st (W): Three single crochets in one stitch. Used for corners or shaping.
- DEC3 (M): Decrease three single crochets into one stitch. Used less frequently.
- BLO (Back Loop Only): Crocheting into only the back loop of the stitch. This creates a ridge or line in your project.
- FLO (Front Loop Only): Crocheting into only the front loop of the stitch. Often used to create a base for details like skirts or collars.
- CH (Chain): Chain stitch. The basic starting stitch for most crochet projects.
- SL ST (Slip Stitch): Used to join two stitches or finish a round, has no height.
- HDC (Half Double Crochet): A stitch taller than a single crochet but shorter than a double crochet.
- DC (Double Crochet): A taller stitch, usually resulting in a looser fabric.
- TR (Treble Crochet): One of the tallest basic stitches.
- [ ] or ( ): Instructions within parentheses usually indicate a repeating group of stitches or the total stitch count at the end of a round.
- * *: Instructions between asterisks indicate a section that needs to be repeated.
How is an Amigurumi Pattern Structured?
Most amigurumi patterns follow a consistent structure:
- Title and Introduction: General information about the toy and its difficulty level.
- Materials List: All necessary materials, such as yarn type, hook size, safety eyes, stuffing fiber, tapestry needle.
- Abbreviations: A list of all abbreviations used in the pattern and their meanings (like the one above).
- Pattern Instructions: Row-by-row or round-by-round instructions for each part of the toy (body, head, arms, legs, etc.).
- Assembly Instructions: How to join all the pieces, add details (embroidery, hair, etc.).
Tip: Before starting the pattern, make sure you have all your materials ready and have reviewed the abbreviations list. This will prevent interruptions during your crocheting.
Reading and Interpreting Patterns Round by Round
Now, let's get to the core: how do you read a round?
An amigurumi pattern typically starts with phrases like "Rnd 1:", "Row 1:", or "Round 1:". Each round specifies the stitches you need to make in that round and the total stitch count you should have at the end of that round.
Example Pattern Line:
Rnd 1: 6 SC in magic ring (6)
This means, "Make 6 single crochets into a magic ring. At the end of this round, you will have a total of 6 stitches."
Rnd 2: 1 INC in each stitch (12)
This means, "Make one increase (INC) in each of the 6 stitches from the previous round. At the end of this round, you will have a total of 12 stitches."
Rnd 3: (1 SC, 1 INC) x 6 (18)
This means, "Make one single crochet (SC), then make one increase (INC). Repeat this entire process within the parentheses a total of 6 times. At the end of this round, you will have a total of 18 stitches."
Instructions within parentheses ( ) or square brackets [ ] indicate a group of stitches that needs to be repeated. The number outside the parentheses, like x 6, specifies how many times this group should be repeated. The final number (18) indicates the total stitch count you should have on your hook or in your project at the end of that round. This number is crucial for checking if you are on the right track.
Helpful Tips for Reading Amigurumi Patterns
- Use a Stitch Marker: Especially when crocheting in a spiral, using a stitch marker to mark the beginning of each round is a lifesaver. This prevents you from getting confused about where you started and ended.
- Re-read Patterns: Before starting a round or when encountering a problem, re-read the relevant section. Sometimes a small word or abbreviation can be overlooked.
- Don't Panic: Making mistakes in your first attempts is completely normal. If you think you've made a mistake, don't hesitate to unravel a few rows and try again. This is part of the learning process.
- Utilize Video Tutorials: If you're a visual learner, you can find many free amigurumi pattern reading and basic stitch videos on YouTube and other platforms.
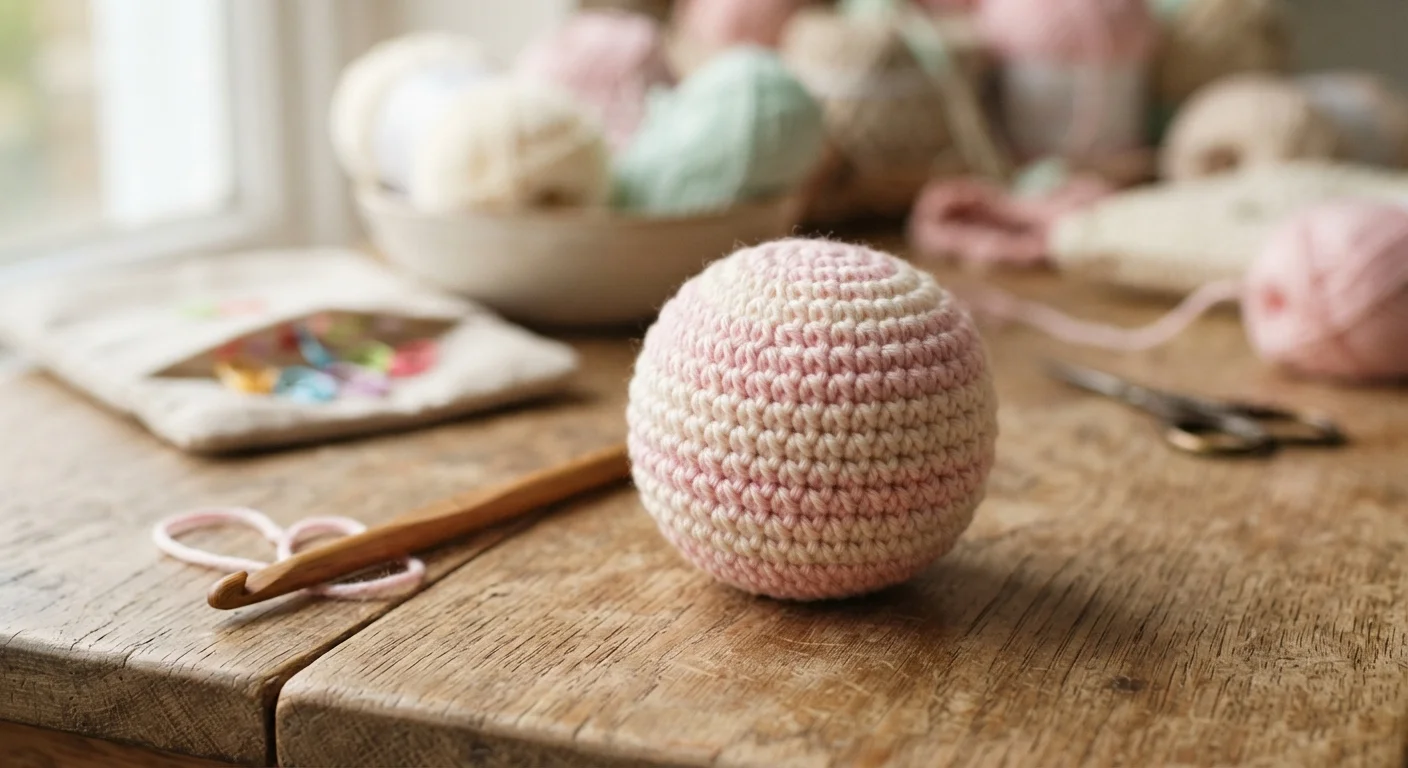
- Start with Small Projects: Instead of starting with a complex toy, begin with smaller projects that have fewer stitches, like a keychain or a simple ball. This will help you build your foundational skills.
- Take Your Own Notes: Mark sections you don't understand in the pattern or write your own notes. This will help you progress faster next time.
Frequently Asked Questions
- "Why doesn't my stitch count match?" This is one of the most common issues. You might have skipped a stitch or crocheted an extra one. Make sure you're using your stitch marker correctly and carefully check the previous round.
- "How do I do an invisible decrease?" Most patterns will indicate this as "DEC" or "A". You insert your hook into the front loop of the first stitch, then into the front loop of the next stitch, yarn over and pull through both loops, then yarn over and pull through the remaining two loops on your hook. This creates a neater decrease.
Reading amigurumi patterns is a skill that becomes easier with practice. While it may seem challenging at first, as you learn what each stitch and abbreviation means, you'll enjoy the immense satisfaction of creating these adorable toys with your own hands. Remember, every finished project teaches you something new and makes you braver for the next one.
We're here to support you on this journey! Don't forget to follow us on Instagram for more inspiration and tips: @aylawangurumi.