Common Amigurumi Mistakes and Easy Fixes on Your Crocheting Journey
Don't let common amigurumi mistakes discourage you on your crafting journey! From loose stitches to uneven shapes, discover the most frequent errors and their easy fixes in this guide.
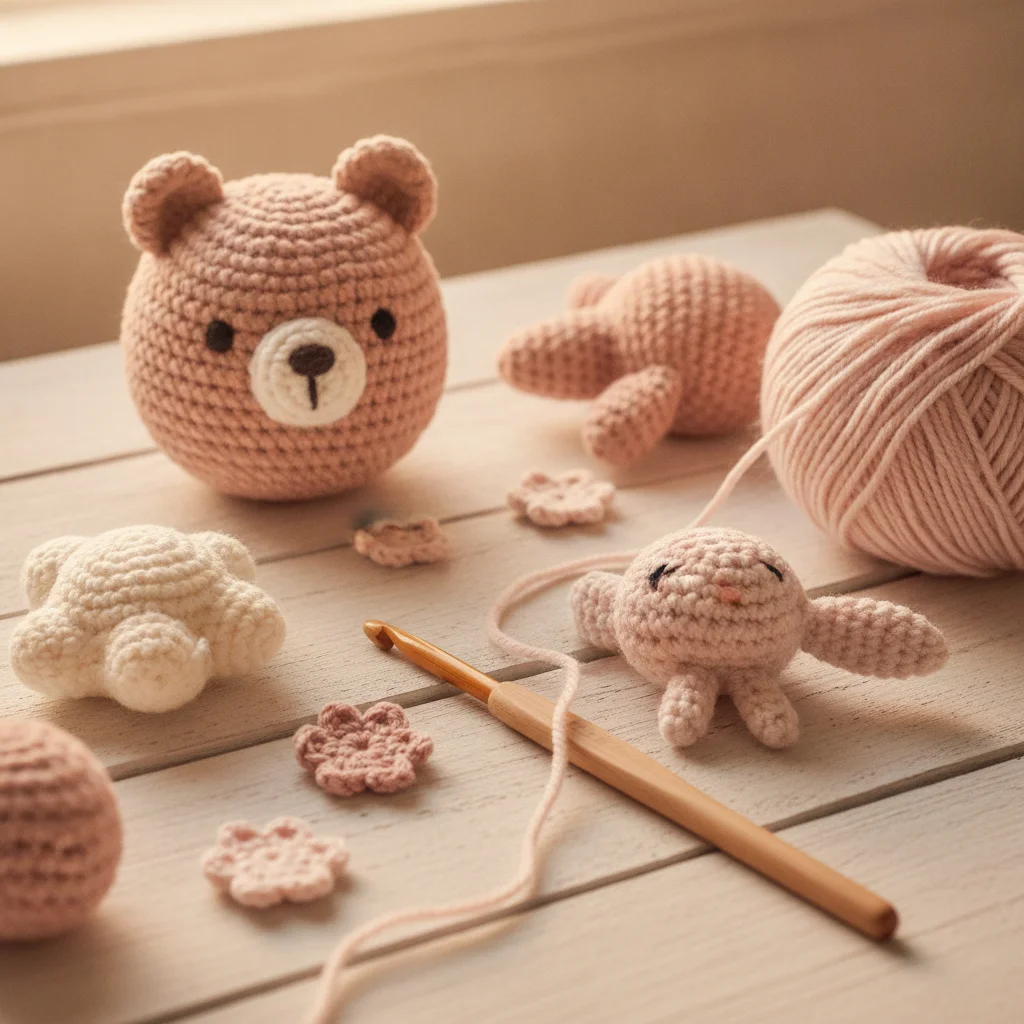
When you start crocheting amigurumi or try to improve your skills, it's completely natural to encounter some challenges. Mistakes are an inherent part of the learning process, and every stitch, every seam makes you a better crocheter. At Ayla Wan Gurumi, we want to support you on this journey and show you how to overcome common amigurumi mistakes. Don't worry, these errors are easily fixable, and each one is a learning opportunity!
1. Loose Stitches and Gaps
One of the defining characteristics of amigurumi toys is that they are crocheted with tight, even stitches to prevent the stuffing from showing through. If your crocheted pieces have gaps and the stuffing is peeking out, this is a common mistake.
Solution:
- Use a Smaller Hook: Generally, using a hook one or two sizes smaller than what's recommended for your yarn will help you achieve tighter stitches.
- Adjust Your Tension: You can increase tension by holding the yarn slightly tighter with your fingers while crocheting. Although it might feel tiring at first, you'll get used to it over time.
- Magic Ring Start: The magic ring (adjustable ring) used at the beginning of most amigurumi projects is the best way to prevent a hole from forming in the center. If you're starting with a chain, try to learn the magic ring technique.
2. Uneven Shapes and Wobbles
If your crocheted piece doesn't take on the desired round or even shape, especially at increase and decrease points, it's a common issue. Amigurumi's symmetry is achieved with accurate stitch counting and consistent tension.
Solution:
- Use Stitch Markers: Using a stitch marker to denote the beginning of each round prevents you from losing count of your stitches and clearly shows where the round ends.
- Count Every Round: Even if you're crocheting by feel, checking your stitch count at the end of each round prevents major errors from accumulating.
- Consistent Tension: Try to maintain the same yarn tension throughout your project. This ensures your stitches are uniform in size and your piece maintains a smooth shape.
3. Stuffing Showing Through
It can be frustrating when the stuffing still shows through despite tight stitches, or when your stuffed piece looks lumpy.
Solution:
- Choose the Right Stuffing: It's important to use high-quality polyester fiberfill specifically designed for amigurumi, which is washable and won't clump. Denser and finer fiberfills are less likely to peek through stitches.
- Even and Sufficient Stuffing: When stuffing your piece, distribute small amounts of fiberfill evenly. Too little stuffing can make the piece sag, while too much can stretch the stitches and create gaps.
- Use a Lining: Especially with very loose stitches or when using dark-colored stuffing, sewing a thin piece of fabric or lining inside the piece can completely prevent the stuffing from showing.
Tip: When stuffing, you can use a crochet hook or a blunt stick to reach narrow areas and ensure even distribution.
4. Messy Joins
When joining amigurumi pieces, if the seams are too visible or uneven, it can detract from the finished toy's aesthetic.
Solution:
- Invisible Join Technique: The invisible join technique, applied when cutting the yarn and fastening off before joining pieces, creates a seamless finish.
- Sew Through Inner Loops: When sewing pieces together, stitching only through the inner loops of the stitches creates less visible seams from the outside. Be sure to use yarn of the same color.
- Whip Stitch or Mattress Stitch: These sewing techniques are among the most common and effective ways to join pieces securely and neatly.
5. Difficulty with Increases and Decreases
Correctly executing increase and decrease techniques, which give amigurumi its shape, can be confusing, especially for beginners.
Solution:
- Invisible Decrease: The regular decrease technique (crocheting two stitches together) can sometimes create a small bump. The invisible decrease (working through the front loops only) yields a much neater and less noticeable result.
- Accurate Stitch Counting: To avoid confusion about where to increase and decrease, carefully track your stitch count in each round. If you're using a pattern, mark off each row as you go.
- Plenty of Practice: These techniques become easier as your hands get used to them. Practice increases and decreases on small swatch pieces.
6. Yarn Choice Issues
An incorrect yarn or hook combination can cause your project to look different from what you expected. A very thick yarn with a thin hook creates a stiff texture, while a thin yarn with a thick hook results in loose fabric.
Solution:
- Yarn and Hook Compatibility: For amigurumi, 100% cotton or cotton blend yarns are generally preferred. Using a hook one size smaller than what's recommended on the yarn label usually provides ideal tightness. For beginners, medium-weight (DK or Worsted) yarns are ideal.
- Experiment: Crochet small swatches with different yarns and hook sizes to discover which combination gives you the best results. Everyone's crochet tension is different.
Remember: Practice Makes Perfect!
Crocheting amigurumi is a delightful art that requires patience and practice. Every mistake you encounter is part of your learning process and makes you a more experienced crocheter. Don't hesitate to correct your errors, and you'll see your skills improve with each new project. The most important thing is to enjoy this wonderful hobby!
We hope these tips help you on your amigurumi journey. Don't forget to share your amigurumi creations with us! You can follow us on Instagram at @aylawangurumi. Keep crocheting with love, and may your stitches always be perfect!