Ayla Wan Gurumi's Guide to Reviving Well-Loved Amigurumi Toys: Step-by-Step Repair
Has your favorite amigurumi toy seen better days? Don't worry! With this guide, you can easily repair your little friend and give it a new lease on life.
Ayla Wan Gurumi's Guide to Reviving Well-Loved Amigurumi Toys: Step-by-Step Repair
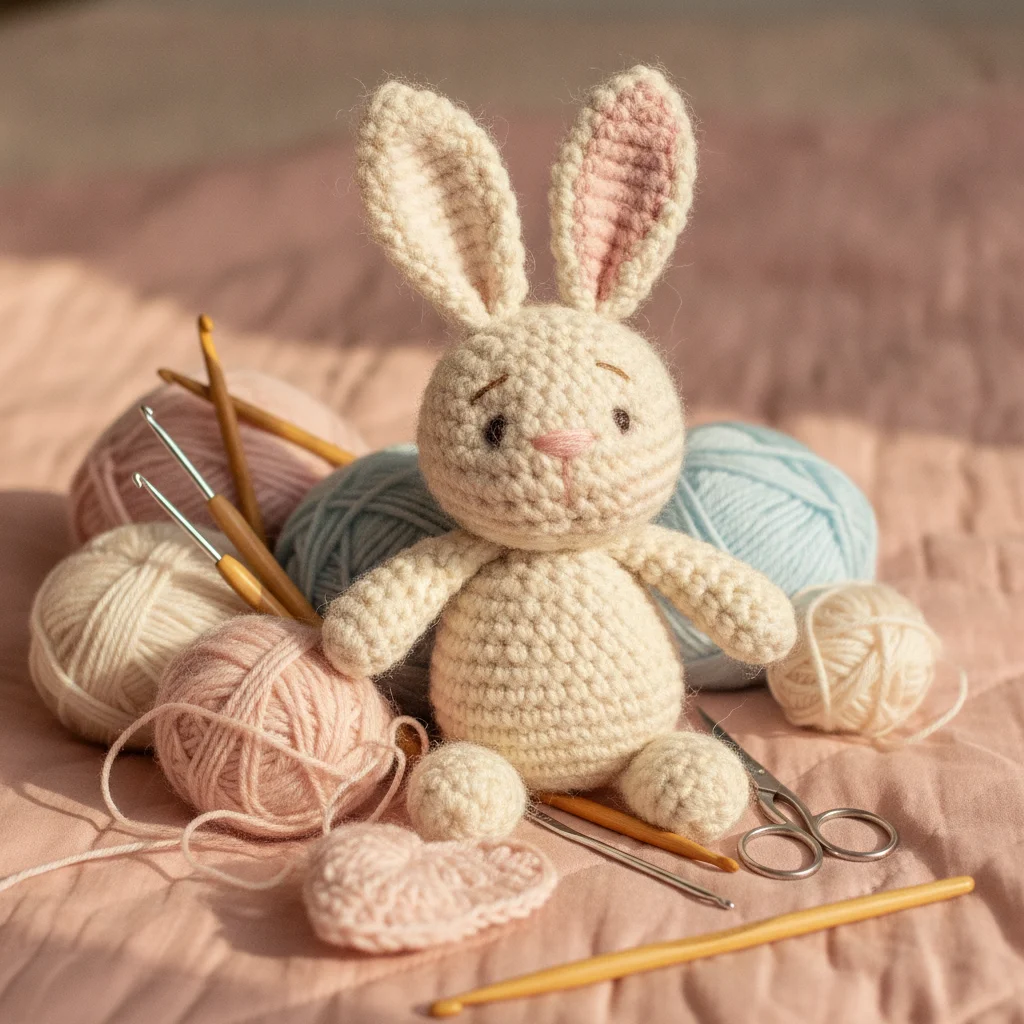
Amigurumi toys are more than just yarn and hooks; they are filled with memories, laughter, and an abundance of love. They can be a child's best friend or a source of comfort for adults. However, all that love and play can lead to some wear and tear over time. A loose limb, a detached eye, or a tiny hole... But don't worry! With this guide, you can easily repair your beloved amigurumi friends and give them a new lease on life.
Why Do Amigurumi Toys Get Worn?
While amigurumi are generally durable, they can experience issues due to constant play, washing, or simply the passage of time:
- Frequent Use: Children's favorite toys are constantly hugged, carried, and played with.
- Improper Washing: Incorrect washing methods can cause stitches to loosen or stuffing to clump.
- Accidents: Small drops, pulls, or snags can lead to damage.
- Natural Wear and Tear: Over time, yarn fibers can thin and weaken.
Repairing an amigurumi not only saves the toy but also preserves the value and memories you've invested in it.
Essential Materials for Repair
Before you begin, let's gather the basic materials you'll need:
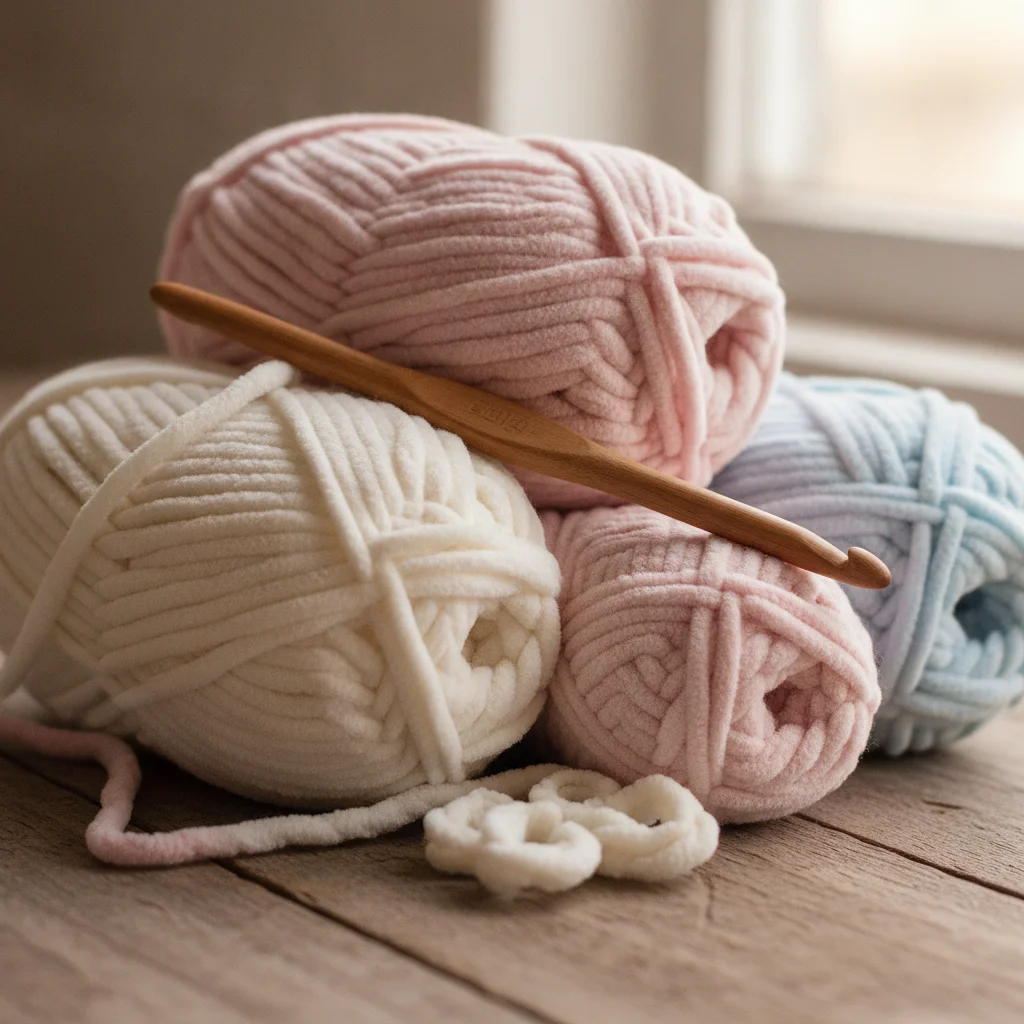
- Matching Yarn: If possible, find yarn that is the same or very similar in color to the toy's original yarn. Different yarn weights can make the repair noticeable.
- Crochet Hook: A hook size appropriate for the toy's original gauge (or slightly smaller for tighter stitches).
- Needle: A large-eyed, blunt-tipped tapestry needle is ideal for weaving in yarn ends.
- Scissors: Small, sharp scissors.
- Stuffing (if needed): To add if the internal stuffing has diminished or clumped.
- Safety Eyes/Noses (if needed): To replace lost or detached parts.
- Stitch Marker (optional): To mark the starting point for complex repairs.
Common Amigurumi Damages and Repair Methods
Let's explore the most common issues encountered with amigurumi toys and how you can fix them step by step.
1. Loose or Detached Limbs (Arms, Legs, Ears)
This is one of the most common problems. Limbs can detach if they weren't securely sewn to the body or if they've loosened from extensive use.
- Preparation: Clean the detached part of the limb and the attachment point on the body. If the limb is completely detached, ensure that the stuffing inside hasn't come out.
- Reattachment:
- Sewing Method: Use a yarn similar to the original and a tapestry needle to re-sew the limb to the body. Hold the limb in the correct position before sewing it on. Sew tightly by taking sturdy stitches from both sides of the limb and the body. Work from the inside as much as possible to hide the stitches.
- Crochet Method (If the limb still has stitches): If there are still a few intact stitches at the limb's attachment point, you can use a crochet hook to reattach the limb to the body. Do this by joining the stitches on the limb with stitches on the body using single crochet (SC) or slip stitch (SL ST). This method can provide a more secure connection.
- Securing: Once sewing is complete, weave the yarn tail into the toy, tie a few knots, and trim the excess yarn. Gently test the connection to ensure it's secure.
2. Holes or Tears
A tiny hole or a tear caused by thinning yarn can be easily repaired.
- Preparation: Clear any loose threads around the hole. Ensure that the internal stuffing hasn't come out; push it back in if necessary.
- Repair Method:
- Invisible Stitch: Use yarn similar to the original and a tapestry needle. Stitch the edges of the hole together by picking up opposing loops. Be careful not to pull the yarn too tightly, which could cause the fabric to pucker. Small, neat stitches will help achieve an invisible result.
- Crochet Patch: If the hole is large and you're experienced with crochet, you can crochet a small patch and sew it over the hole. However, this is generally a more complex method.
- Finishing: Once the stitches are done, weave the yarn tail into the toy and secure it with a knot.
3. Detached Safety Eyes or Noses
Safety eyes and noses are usually durable because they are locked from behind, but sometimes they can loosen or detach.
- Replacement: If a safety eye/nose has completely detached, you'll need to replace it with a new one. Find a new safety eye/nose of the same size and color.
- Attachment: Place the new eye/nose onto the toy and securely attach the washer (backing) from behind. Make sure the washer is facing the correct direction and is firmly seated.
- Alternative: If you can't find safety eyes or prefer a safer option for small children, you can embroider the eyes with black or dark brown yarn. This makes the toy safer and eliminates the risk of detachment.
Tip: For toys intended for small children, always opt for embroidered eyes and noses. Even safety eyes can loosen over time and pose a choking hazard.
4. Loose Stitches or Protruding Yarn Ends
Loose stitches or yarn ends protruding from the amigurumi's overall structure can detract from its aesthetic appearance.
- Loose Stitches: Find the loose stitches and carefully reinforce them by stitching over them with yarn similar to the original. Be careful not to pull the yarn too tightly when making the stitches.
- Protruding Yarn Ends: If a yarn end is sticking out, carefully pull it back into the toy using a crochet hook or needle to hide it. Make sure it's secured with a firm knot before trimming. Never pull or cut protruding yarn ends, as this could lead to greater damage.
Post-Repair Care and Prevention
After the repair process is complete, here are some tips to extend the life of your amigurumi:
- Gentle Washing: Always wash amigurumi by hand or on a delicate cycle with cold water. Opt for air drying instead of using a dryer.
- Regular Inspection: Regularly inspect the toy to identify small issues before they become major problems.
- Proper Storage: If not in use for a long time, store it in a closed space away from dust and direct sunlight.
Repairing your amigurumi friend is much more than just fixing an object. It's about preserving the value, effort, and memories you've invested in it. By following the steps in this guide, you can bring your worn-out amigurumi back to life and enjoy many more years with them.
For more amigurumi tips and inspiring designs, don't forget to follow us on Instagram: @aylawangurumi.