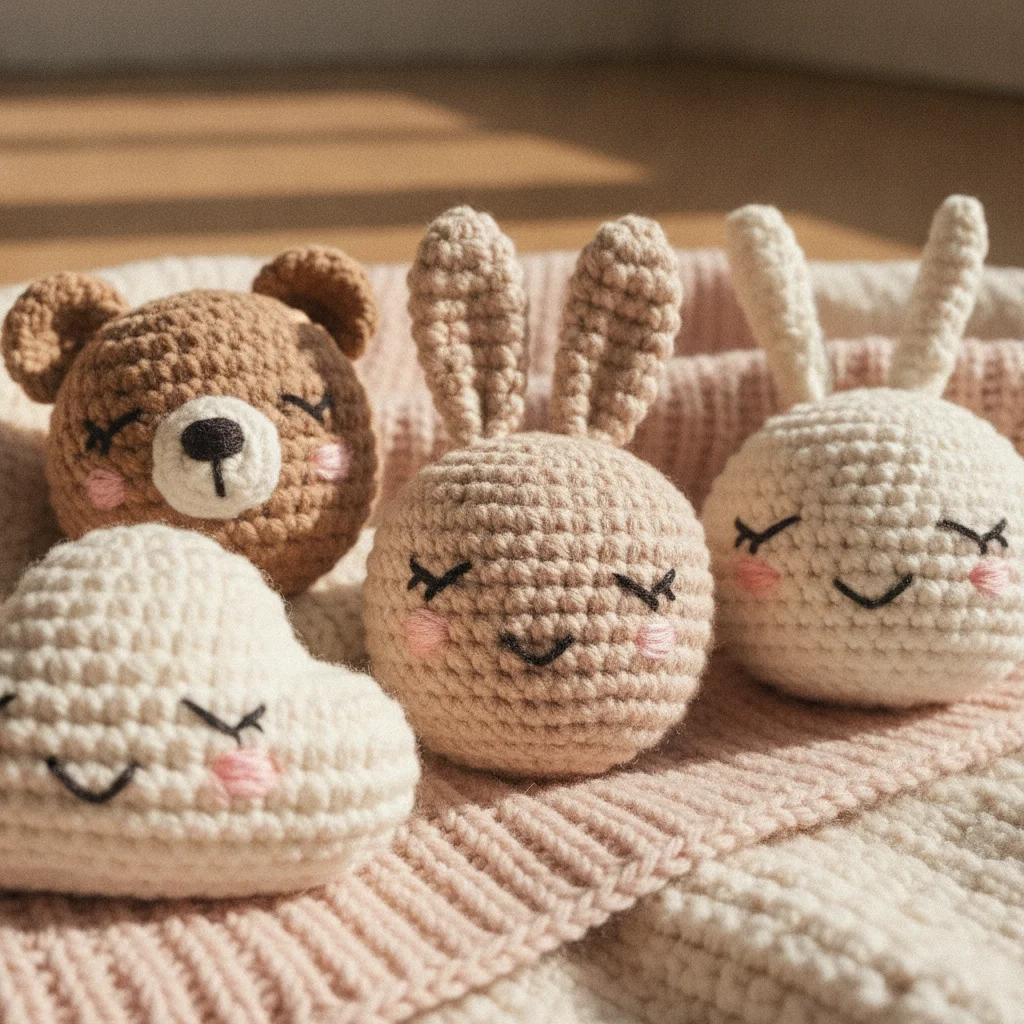
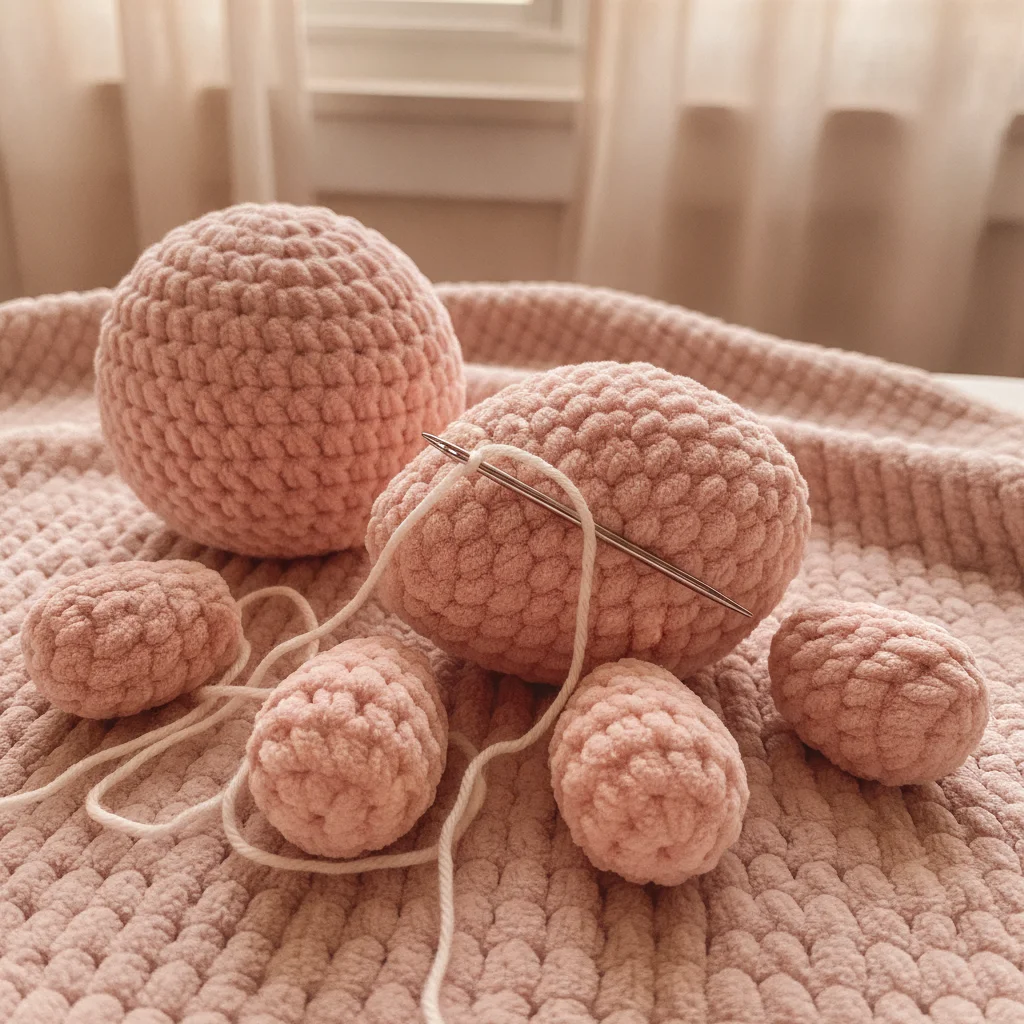
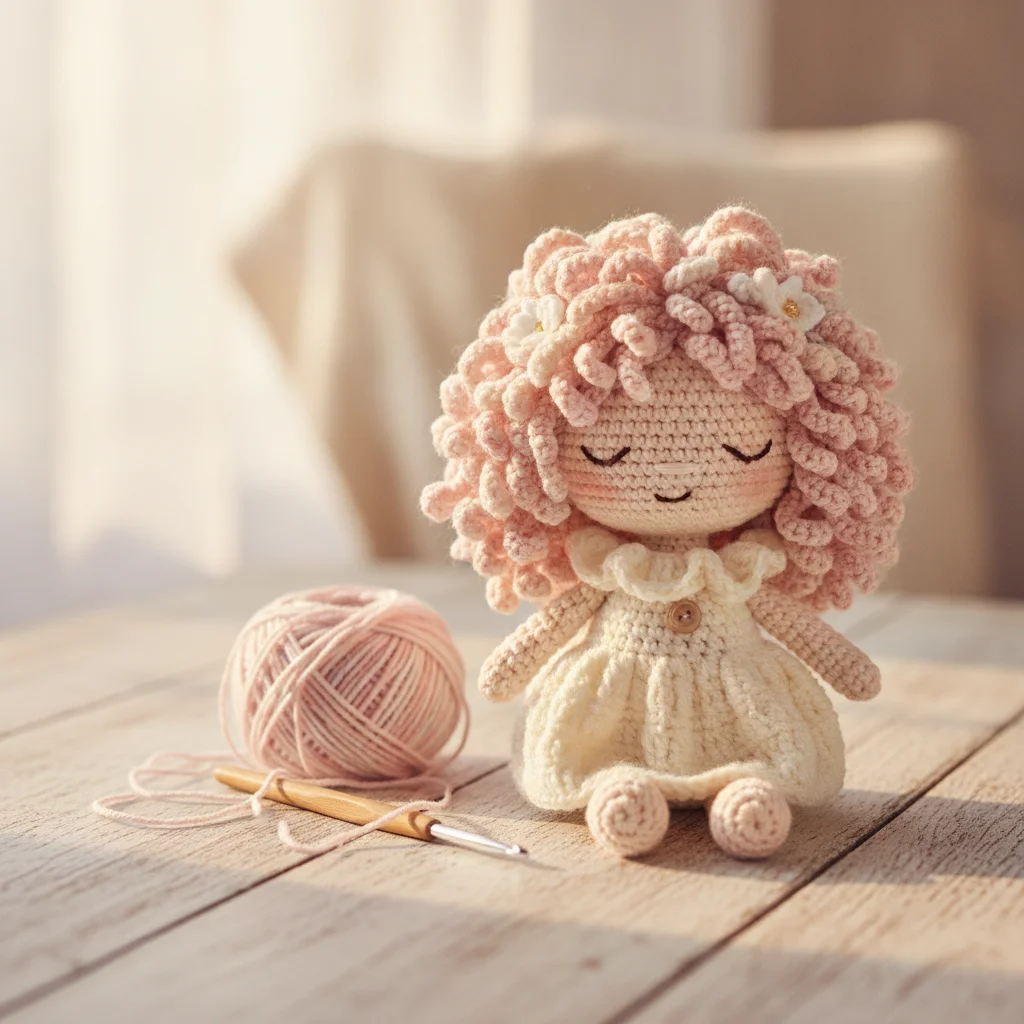
Amigurumi Blocking and Shaping: Professional Finishing Touches for Your Toys
Want your amigurumi toys to look more polished, symmetrical, and professional? Discover blocking and shaping techniques to add those perfect final touches to your handmade creations.
Hello dear crochet lovers!
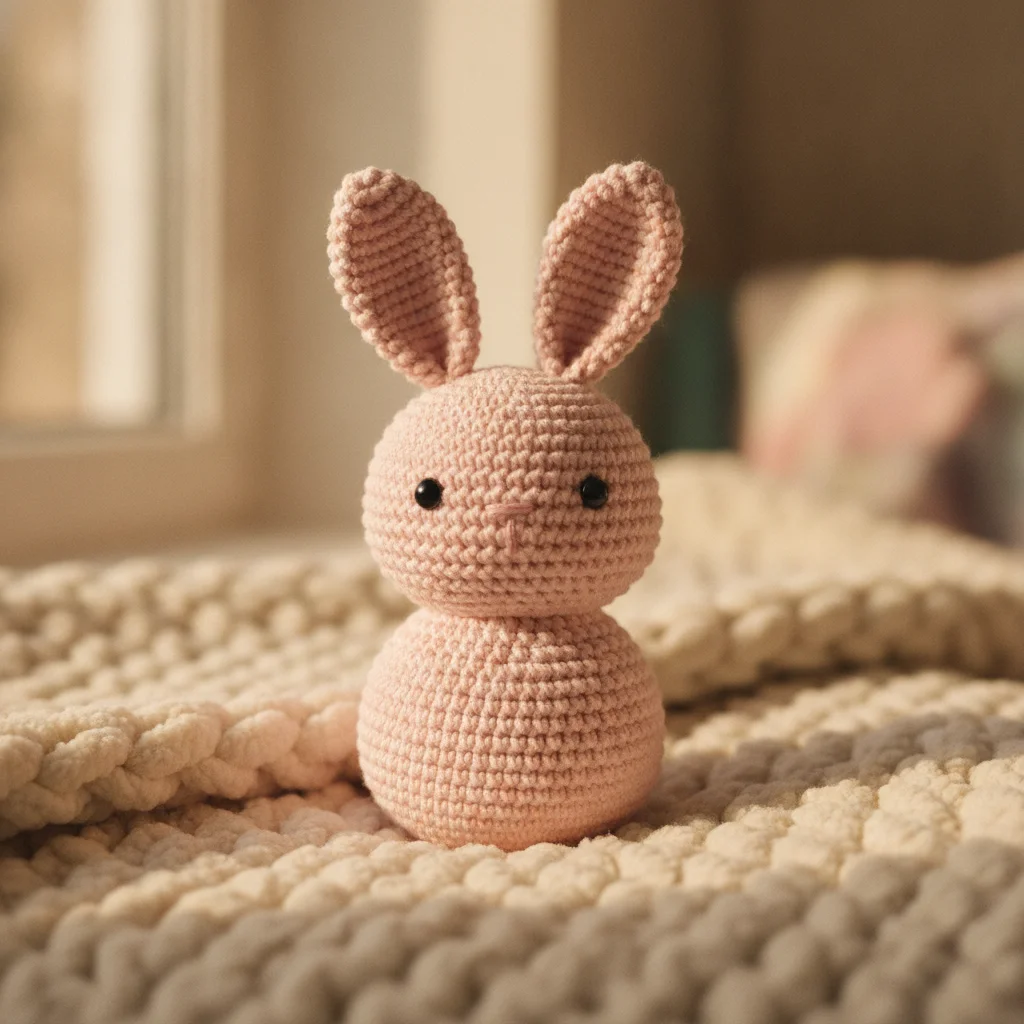
Crocheting amigurumi is both a joyful and creative process. Every stitch holds your effort, love, and imagination. But what if you could make the final look of your beautiful finished toy even more perfect? This is where "blocking" and "shaping" techniques come into play. In this post, we'll delve into these magical methods that will add a professional touch to your amigurumi projects.
Why are Blocking and Shaping Important for Amigurumi?
You might be thinking, "What is blocking? Is it even done for amigurumi?" Yes, it is, and the results might surprise you! While blocking is common in knitting projects like garments, it offers incredible benefits for amigurumi pieces too:
- A Neater and More Symmetrical Appearance: Especially for amigurumi pieces that are crocheted separately and then joined, blocking ensures that all parts are uniform in size and shape.
- Defined Stitches: Your stitches will appear more even and regular, enhancing the overall aesthetic of your toy.
- Softer Fabric: Some yarns can feel a bit stiff after crocheting. Blocking relaxes the yarn fibers, resulting in a softer texture.
- Shape Retention: It helps maintain the form of specific parts that need a particular shape, such as ears, limbs, or heads.
Which Amigurumi Yarns Benefit from Blocking?
Blocking varies depending on the fiber structure. Natural fibers (wool, cotton, bamboo, etc.) respond better to water and heat, while synthetic fibers (acrylic) require a different approach.
- Natural Fibers (Cotton, Wool): These yarns absorb water well, making them ideal for wet blocking or steam blocking.
- Synthetic Fibers (Acrylic): Acrylic yarns don't respond as well to water, so "steam blocking" or "pin blocking" without heat might be more suitable. Avoid direct steam contact with acrylic fibers, as they can melt.
Materials You'll Need for Blocking and Shaping
Preparing these materials beforehand will make your job easier:
- Blocking Mats: Foamy mats with grids or lines to secure your crocheted pieces.
- T-Pins or Stainless Steel Pins: Use stainless steel pins to secure your work to the mat, preventing rust stains.
- Spray Bottle: For misting water during wet blocking.
- Steam Iron or Garment Steamer: For steam blocking.
- Towel: To absorb excess water.
- Measuring Tape: To check the dimensions of your pieces.
Amigurumi Blocking and Shaping Methods
There are a few different methods for blocking your amigurumi pieces. You can choose one based on your project's yarn type and the desired outcome.
1. Wet Blocking
This method is generally ideal for natural fiber yarns (cotton, wool).
- Soaking: Submerge your crocheted pieces in a basin of lukewarm water. Let them soak for 15-20 minutes to ensure they are thoroughly wet. You can add a small amount of wool wash or gentle detergent to the water if desired.
- Removing Excess Water: Take the pieces out of the water and gently squeeze out the excess. Never wring or twist too harshly, as this can damage the yarn. You can also roll them in a towel and gently press to absorb more water.
- Pinning: Place the damp pieces on your blocking mat. Gently stretch them to the desired dimensions and shapes using a measuring tape. Secure them along the edges with T-pins. Pay special attention to pieces that need to be symmetrical (ears, arms).
- Drying: Leave the pinned pieces to dry completely at room temperature, away from direct sunlight. This process can take anywhere from a few hours to a full day. Do not remove the pins until they are entirely dry.
2. Steam Blocking
Suitable for synthetic fibers (acrylic) and more delicate natural fibers.
- Pinning: Place your dry crocheted pieces on your blocking mat and secure them with T-pins according to your desired shape.
- Steaming: Using your steam iron or garment steamer, gently direct steam over the pieces. Important: Never let the iron directly touch the crochet! Keep it at least 2-3 cm away. Be extra careful with acrylic yarns to avoid "melting." The steam relaxes the yarn fibers, allowing the shape to set.
- Cooling and Drying: Allow the steamed pieces to cool down and dry completely while still pinned. This process is usually faster than wet blocking.
3. Pin & Spray Blocking
Similar to wet blocking but uses less water.
- Pinning: Secure your dry crocheted pieces to the blocking mat, shaping them as desired.
- Spraying: Lightly mist the pieces with water from a spray bottle, just enough to dampen them, not fully soak.
- Drying: Leave them pinned to dry.
Tip: When joining amigurumi parts, blocking them before assembly ensures a smoother join and a more symmetrical final toy.
Tips for Shaping Amigurumi Parts
While blocking sets the overall shape, some parts might require specific shaping techniques:
- Ears and Wings: After crocheting (or after blocking), you can gently fold or curve these parts to give them a more natural posture. Inserting wire or stiff felt can also help them maintain their shape.
- Arms and Legs: If you want the arms or legs to stay at a specific angle, form them while stuffing and maintain that shape during assembly.
- Nose and Mouth: Carefully position embroidered nose and mouth details to define the toy's facial expression.
- Eyes: When attaching safety eyes, check the symmetry of the face and ensure the eyes are evenly aligned.
Common Mistakes to Avoid
- Overstretching: Stretching the pieces too much can damage the crochet and distort its shape.
- Rusty Pins: Using rusty pins can cause permanent stains on your project. Always use stainless steel pins.
- Direct Heat Application: Especially with synthetic yarns, touching the iron directly to the crochet can melt or stiffen the yarn.
- Removing Pins Before Fully Dry: Removing the pins before the pieces are completely dry can cause the shape to revert.
Conclusion
Amigurumi blocking and shaping are fantastic ways to add those final touches to your projects, transforming them from ordinary to extraordinary. With these techniques, your handmade toys will achieve a more professional, symmetrical, and aesthetically pleasing appearance. Don't hesitate to try these methods on your next project and see the difference for yourself!
Remember, every new technique is a way to enhance your crochet skills. You'll get better results with experience. Keep crocheting, keep loving!
For more amigurumi tips and inspiration, don't forget to follow us on Instagram: @aylawangurumi