Amigurumi Stuffing Techniques: Tips for Perfectly Shaped Creations
The stuffing stage in your amigurumi projects is just as crucial as the crocheting itself, directly impacting the final look of your toys. In this post, you'll discover all the secrets to stuffing your amigurumi…
Hello fellow yarn lovers!
Crocheting amigurumi means weaving in love stitch by stitch. After carefully crocheting each piece, it's time for one of the most exciting yet critical stages: stuffing! This stage determines the final shape, posture, and cuteness of your amigurumi, and actually requires more attention and technique than you might think. If you've been thinking, "As long as it's not hollow, it's fine," let's change that mindset together!
Today, as Ayla Wan Gurumi, we're going to share the secrets to stuffing your amigurumi with a professional touch. Get ready, because your toys will now not only be beautifully crocheted but also perfectly shaped!
Why is Proper Stuffing So Important?
A properly stuffed amigurumi:
- Maintains its Shape: It won't sag or collapse over time.
- Looks Aesthetic: It has a smooth surface, and all its features are well-defined.
- Is Durable: It won't deform when played with or washed.
- Is Safer: Reduces the risk of stuffing coming out if a child puts the toy in their mouth.
An improperly stuffed amigurumi, on the other hand, might look lumpy, have hollows in its body, or, worse, lose its shape over time and take on a sad expression.
Which Stuffing Material Should We Use?
The most common and recommended stuffing material for amigurumi is polyester fiberfill. Fiberfill stands out for being lightweight, washable, anti-allergenic, and suitable for machine washing. Natural fibers like cotton or wool can also be used, but they might clump over time or lose their form when machine washed.
Tip: High-quality polyester fiberfill ensures your amigurumi will last longer. Cheap and low-quality fibers can collapse over time.
Amigurumi Stuffing Techniques: Step-by-Step Perfection
Now let's get to the main topic: how to stuff properly? Here's a step-by-step guide for you:
1. Stuff Each Piece Separately
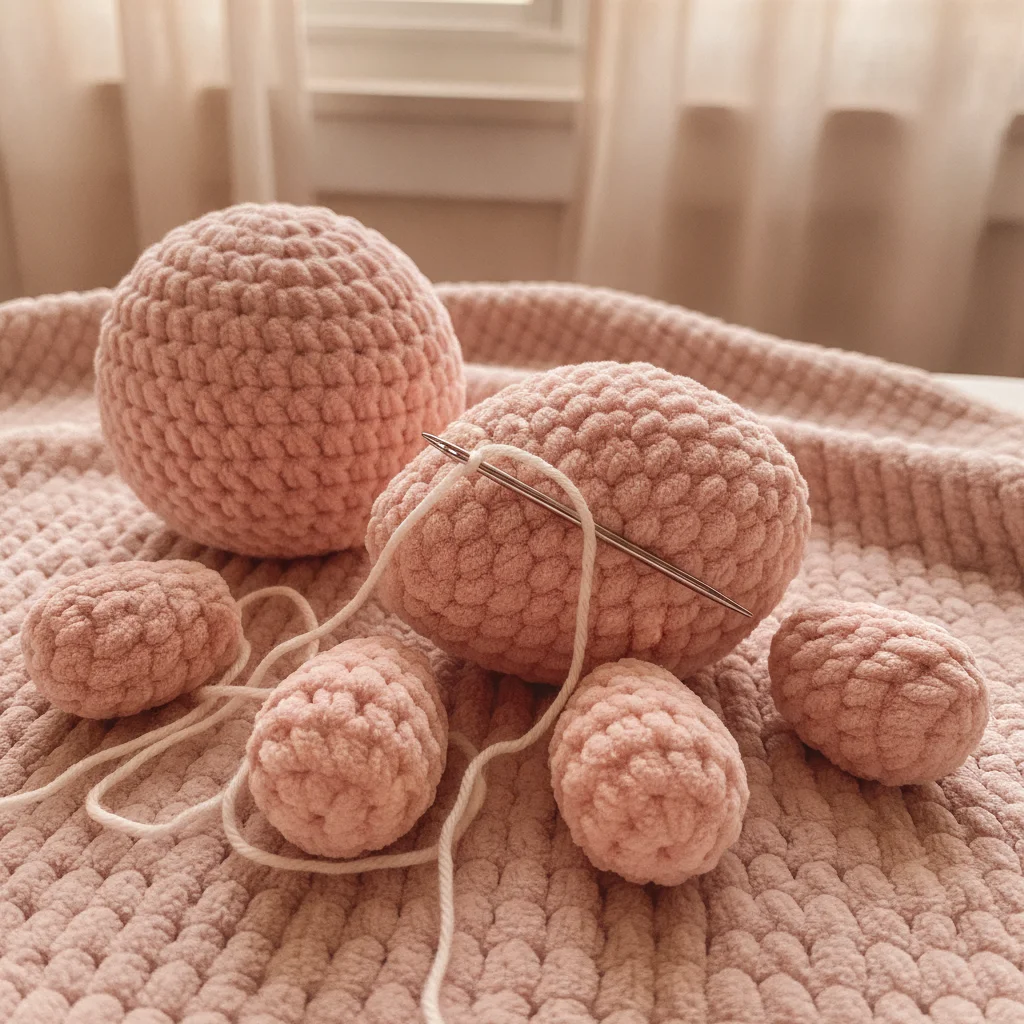
When assembling or crocheting your amigurumi, stuffing each part (head, body, arms, legs) separately yields the best results. It's much easier to stuff small parts (arms, legs) before fully closing them.
2. Stuff Little by Little and Evenly
Instead of cramming all the stuffing in at once, take small pieces and gently place them inside the toy.
- Start with small pieces: Especially when stuffing narrow and long sections (arms, legs, tail), push the fiberfill into these areas in small amounts.
- Use a tool: The blunt end of a crochet hook or knitting needle, a pencil, or specialized stuffing tools can be great aids for pushing fiberfill into tight spots and distributing it evenly.
3. Don't Forget Corners and Edges
The most critical points of amigurumi are often the corners or protruding parts like the nose, ears, or fingers. Make sure enough fiberfill goes into these areas. Use your fingers or a tool to push the fiberfill into these points and shape them.
4. Firm But Not Overstuffed
Your amigurumi should be firmly stuffed to maintain its shape. However, overstuffing can cause the fiberfill to show through the stitches or make the toy too hard. The ideal firmness is when you feel a slight give when you squeeze the toy, but you can't easily indent it with your fingers.
Tip: If the fiberfill is showing through your stitches while stuffing, you're either stuffing too tightly or your hook is a bit too large for your yarn.
5. Stuff While Shaping
Stuffing isn't just about filling space; it's also about giving the toy the desired shape. For instance, when stuffing an animal's head, you can add a bit more fiberfill to the cheek areas for a fuller look. Carefully shape the areas where eyes or a nose will be placed.
6. Constantly Check
During the stuffing process, continuously feel the toy with your fingers. Check for soft spots, hollows, or lumps. If you find any, redistribute the fiberfill or add a bit more where it's needed. This check is crucial, especially for larger parts like the head and body.
7. Pay Attention to Opening Edges
If you are stuffing a piece (e.g., head or body) before fully closing it, be careful not to overstuff the edges of the opening. This can make it difficult to sew the pieces together. Leave the edges a bit looser.
Common Stuffing Mistakes and Solutions
- Lumpiness: Instead of stuffing with large pieces of fiberfill, use small pieces and distribute them evenly.
- Sagging/Collapsing: Not using enough fiberfill or not placing it firmly enough. Stuff more and more firmly.
- Fiberfill Showing Through Stitches: Overstuffing or using a hook size that is too large for the yarn. Stuff less or try a smaller hook.
- Uneven Shape: Not distributing the fiberfill evenly. Pay special attention to corners and protrusions, spread with a tool.
Stuffing amigurumi is a skill that improves with practice. While it might be a bit challenging at first, you'll notice you get better with each new project. Remember, patience and care are key to a perfect amigurumi!
We hope these tips guide you in your amigurumi projects and help you achieve wonderful results. Don't forget to share your finished amigurumi with us!
Crochet with love!
For more inspiration and tips, follow us on Instagram: @aylawangurumi