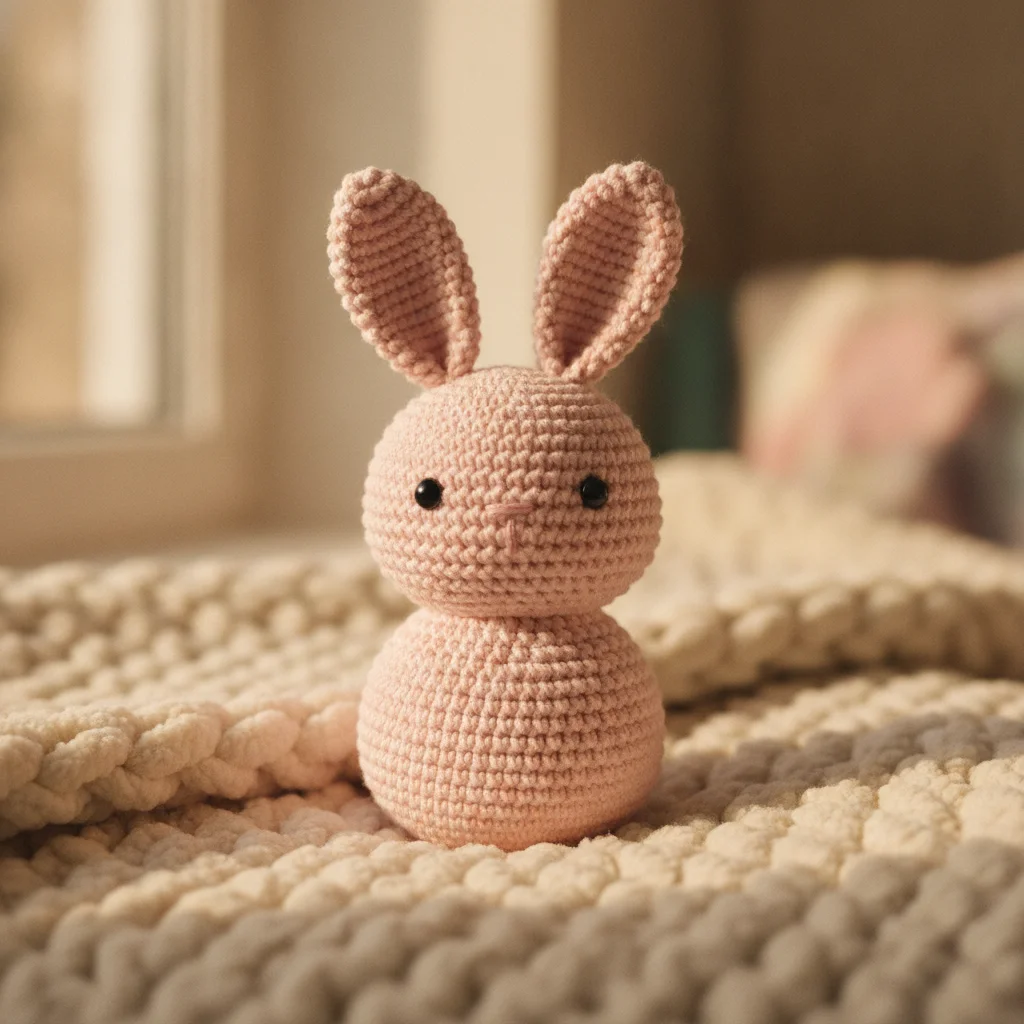
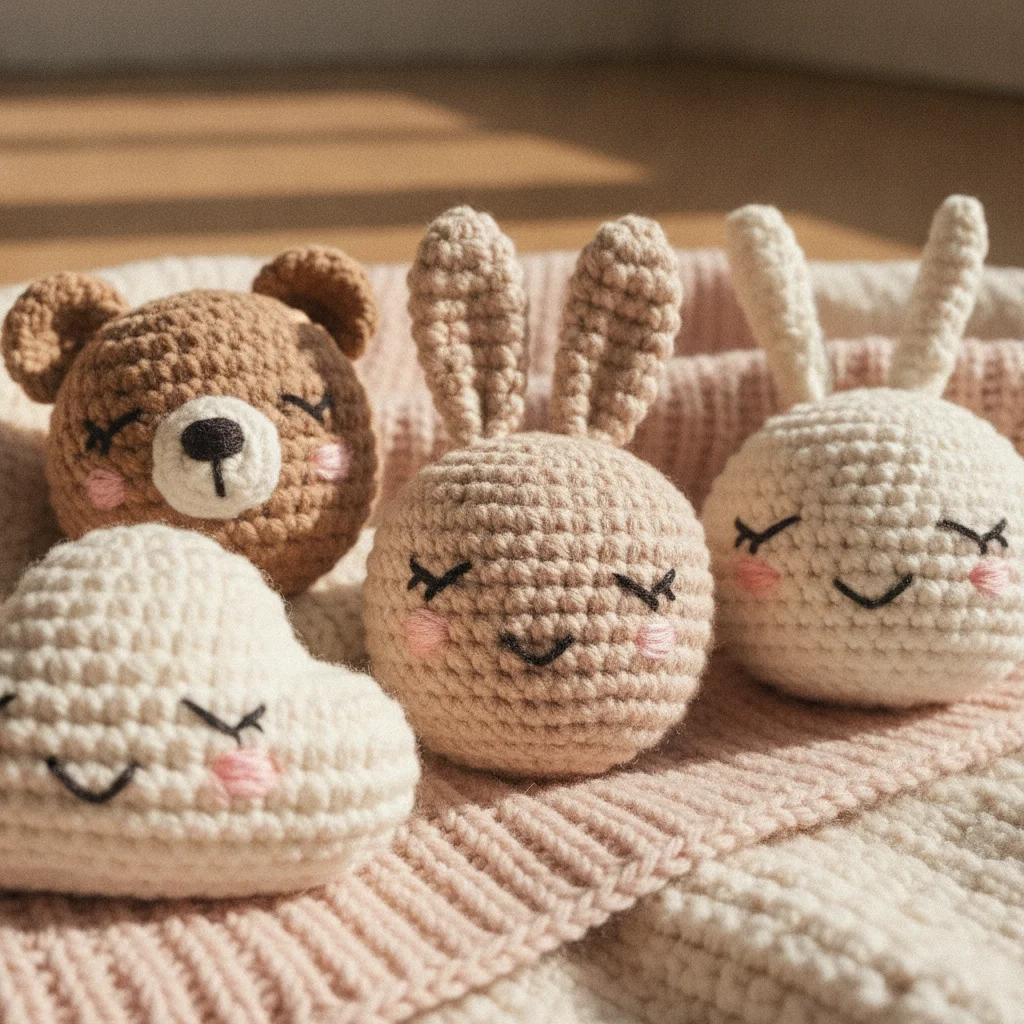
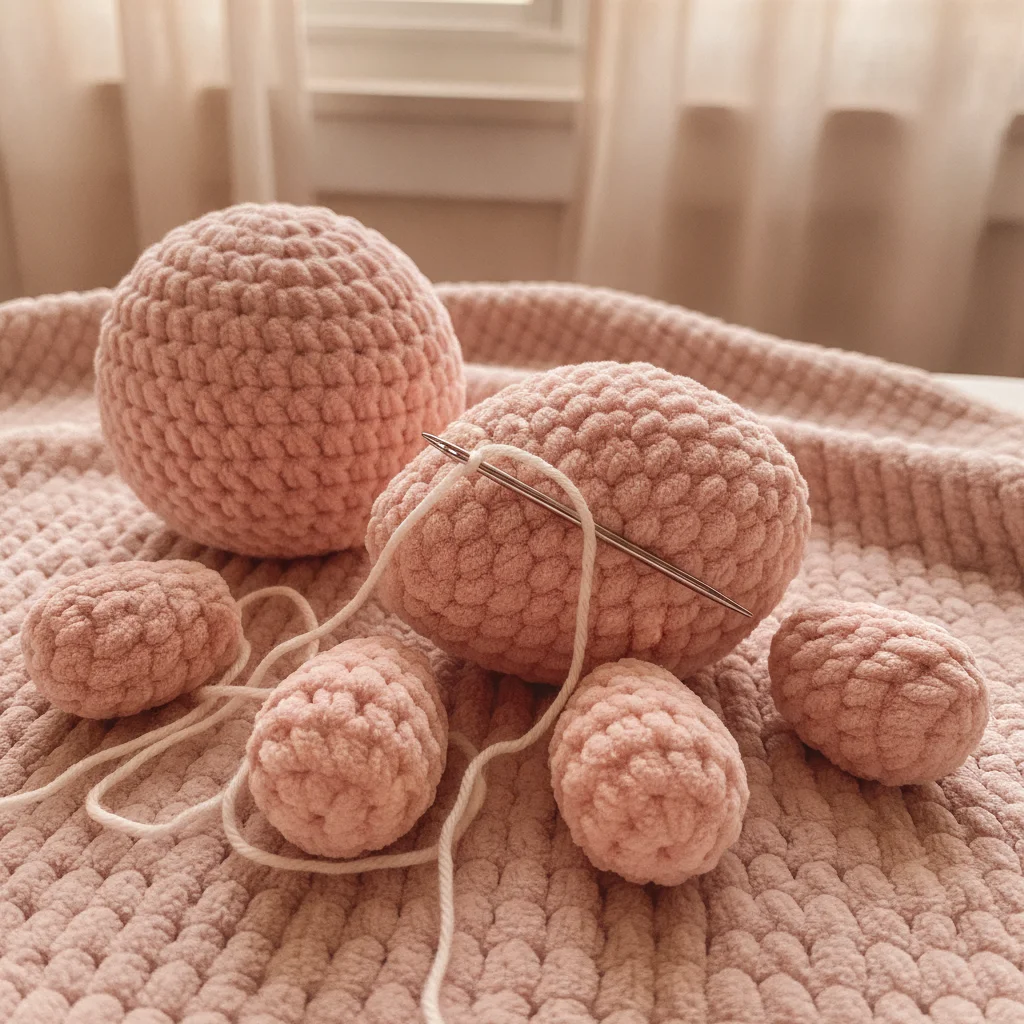
Seamless Color Changes in Amigurumi: Tips for Flawless Toys
Changing colors in your amigurumi projects is a wonderful way to add personality, but sometimes these transitions can be noticeable and distracting. In this guide, you'll discover the secrets to achieving smooth and…
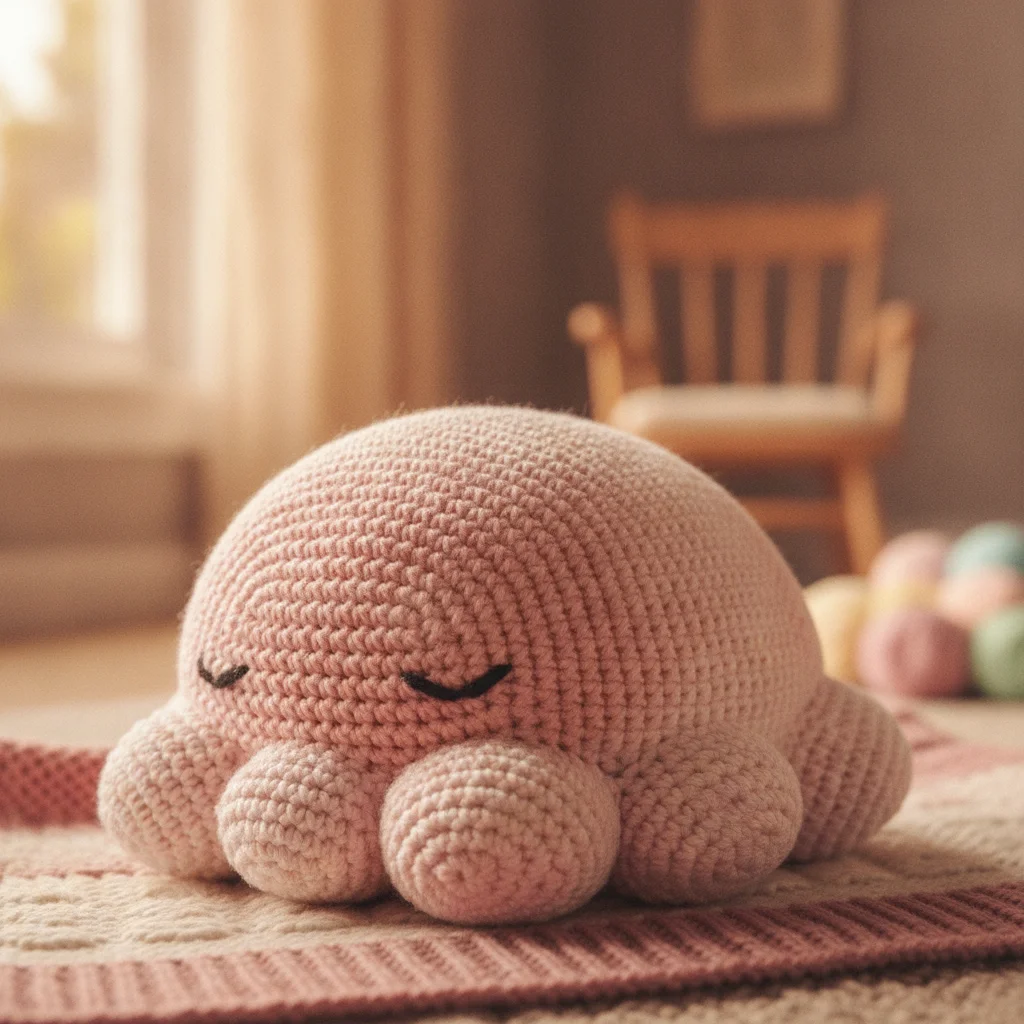
Amigurumi is a magical art where we bring our imagination to life with yarn. Colors are one of the most powerful tools in this art; they can make even a simple toy vibrant and captivating. However, noticeable lines or uneven transitions when changing colors can detract from the aesthetic of the finished project. We're here to help you overcome this hurdle on your amigurumi journey and give your toys a flawless appearance.
Why Clean Color Changes Matter
Your handmade amigurumi toys reflect their soul. However, this doesn't mean their finish should be sloppy. Clean color changes give your project a professional and polished look. They make your toys appear higher quality and enhance the value of your craftsmanship. Furthermore, especially in multi-colored or striped designs, smooth transitions help the pattern look clearer and more consistent.
Preparing for a Color Change
Successful color changes begin with proper preparation. Yarn selection and the starting point directly influence how noticeable the transition will be.
- Yarn Selection: Always strive to use yarns of the same weight and similar texture. Yarns of different weights can cause a bump or dip at the transition point.
- Color Change Point: It's generally best to make the color change towards the end of the round, near the join. In amigurumi crocheted in a spiral, this point is considered the beginning of the round and is usually positioned at the back or a less visible spot. Using a stitch marker to mark this spot will make your work easier.
Step-by-Step Invisible Color Change Technique
The most preferred and effective method for changing colors in amigurumi is the 'Invisible Color Change' technique. This technique minimizes the visible line at the transition point, providing an almost invisible finish.
- Finish the Last Stitch with the New Color: Begin to make the last single crochet (sc) with your current color, inserting your hook into the stitch, yarning over, and pulling up a loop, leaving two loops on your hook. At this point, instead of using the current color, yarn over with the new color and pull through the two loops on your hook. This completes the top of the last stitch in the new color.
- Slip Stitch to the End of the Previous Round: Before starting the next round with the new color, make a slip stitch (sl st) into the first stitch of the current round (i.e., the stitch directly above where you just completed your color change). This helps to close the round and make the join less noticeable.
- Start the New Round: After the slip stitch, chain one (ch 1) with the new color, and then make your first single crochet (sc) into the same stitch where you made the slip stitch. Then continue crocheting as normal.
- Secure Yarn Ends: Cut the old color yarn and secure both yarn tails (old and new) by tying them in a knot on the inside. Be careful not to tie too tightly, as this can cause puckering in the fabric. Then, use your crochet hook or a tapestry needle to weave these yarn tails into the fabric for several stitches. This provides both security and prevents the tails from poking out.
Tip: Don't be discouraged if it's not perfect on your first try. The key is to practice and find what works best for you. You'll get better with every attempt!
The Art of Weaving in Yarn Ends
Properly weaving in yarn ends during a color change is a critical step that determines how finished your project looks. Yarn ends hanging out or bunching up inside can diminish the quality of your toy.
- Don't Cut Too Short: Cutting yarn ends too short can cause them to unravel and poke out of the fabric over time. Leave at least 2-3 inches (5-7 cm) of length.
- Crocheting Over Ends: When starting a new round, take the old yarn tail and the beginning tail of the new yarn and crochet over them for several stitches. This naturally conceals the ends and provides extra security.
- Knotting and Weaving: If you don't have the option to crochet over the ends, you can tie the yarn tails together (not too tightly) and then use a crochet hook or tapestry needle to weave the remaining portions into the fabric, distributing them. Ensure the knots remain hidden within the fabric.
The Importance of Tension and Yarn Weight
Consistent stitch tension and yarn weight directly affect the smoothness of a color change.
- Consistent Tension: When changing colors, try to keep your tension neither too tight nor too loose. A change in tension at the transition point can create a noticeable line or gap.
- Yarn Weight: Using yarns from the same brand or of the same weight generally yields the best results in amigurumi projects. Even yarns labeled as 'medium weight' from different brands can have slight variations, and these differences can become apparent in color transitions.
Common Mistakes and Their Solutions
- Visible Jog/Line: This often results from not fully executing the invisible color change technique or inconsistent tension. Follow the steps carefully and practice.
- Yarn Ends Poking Out: Not leaving enough length on the yarn tails or not weaving them in sufficiently leads to this issue. Incorporate the tails into the fabric for at least several stitches.
- Loose Transitions: Leaving the loop too loose when starting the new color can create a gap at the transition point. Control your tension when crocheting the first few stitches of the new color.
Additional Tips
- Use a Stitch Marker: Marking the first stitch where the color change will occur prevents confusion and ensures you're working at the correct point.
- Experiment with Colors: Don't hesitate to experiment with different color combinations and transition points. Some colors might provide less noticeable transitions than others.
- Be Patient: The art of amigurumi requires patience. Like any new technique, the skill of changing colors improves with time. Be kind to yourself and learn from every attempt.
Making seamless color changes in amigurumi might seem a bit challenging at first, but with patience and practice of these techniques, you won't believe how professional and eye-catching your toys will become. Remember, a little love and attention in every stitch create wonders!
For more amigurumi tips, inspiring patterns, and to join our warm community, don't forget to follow us on Instagram at @aylawangurumi! We'd love to see the beautiful creations you crochet.