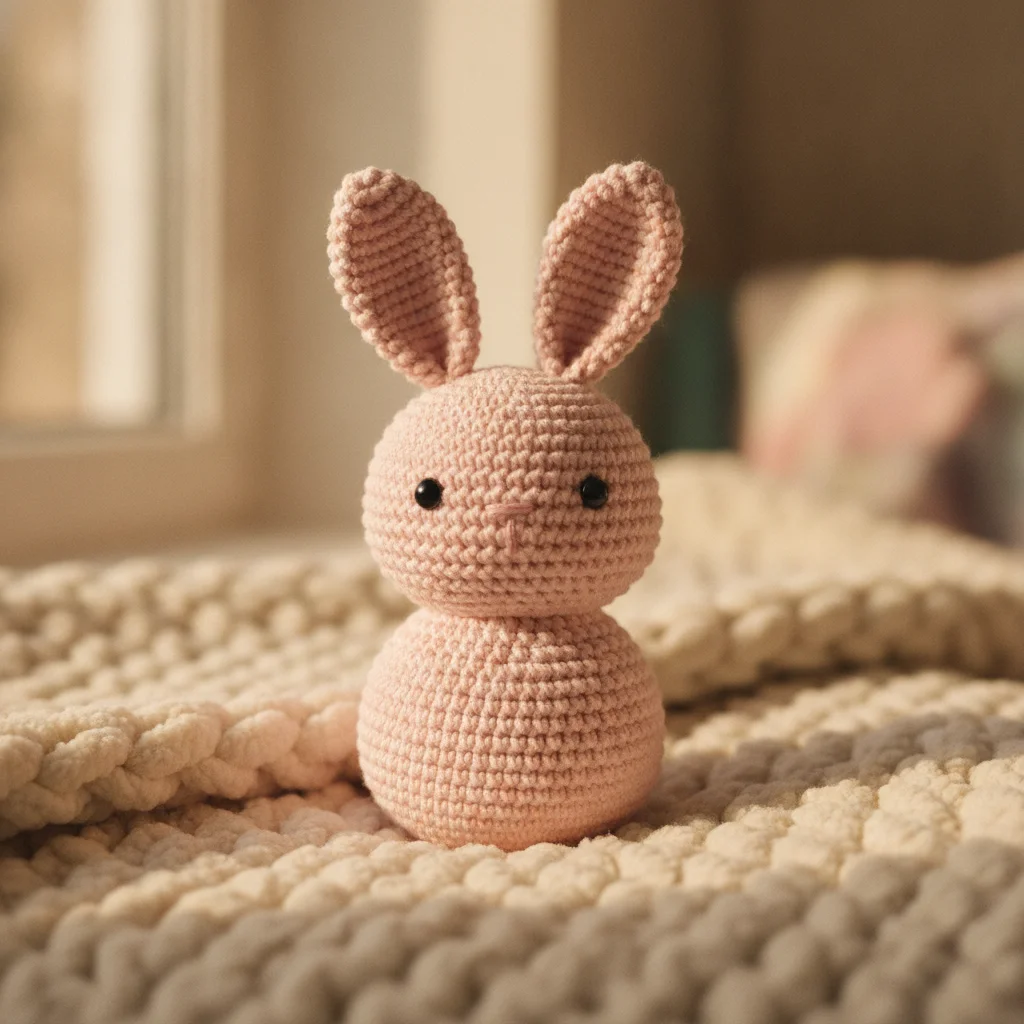
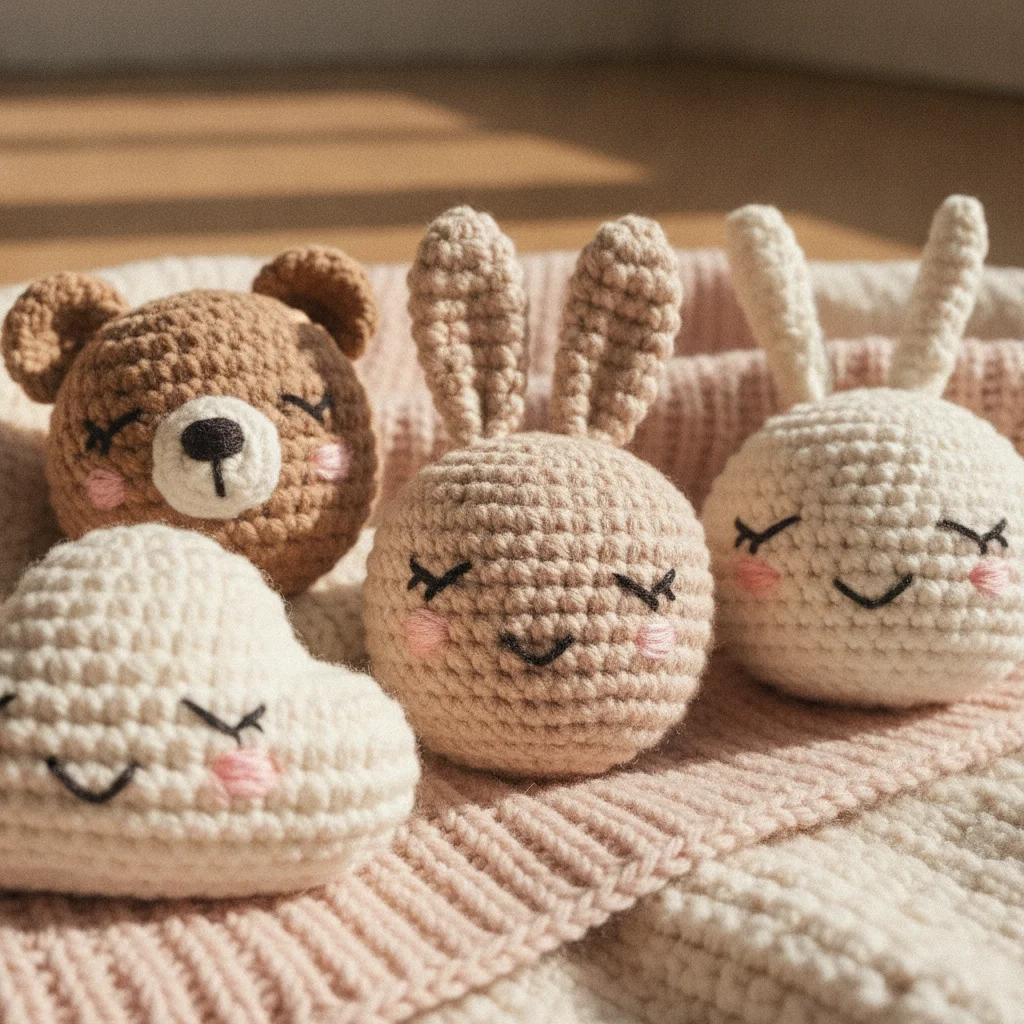
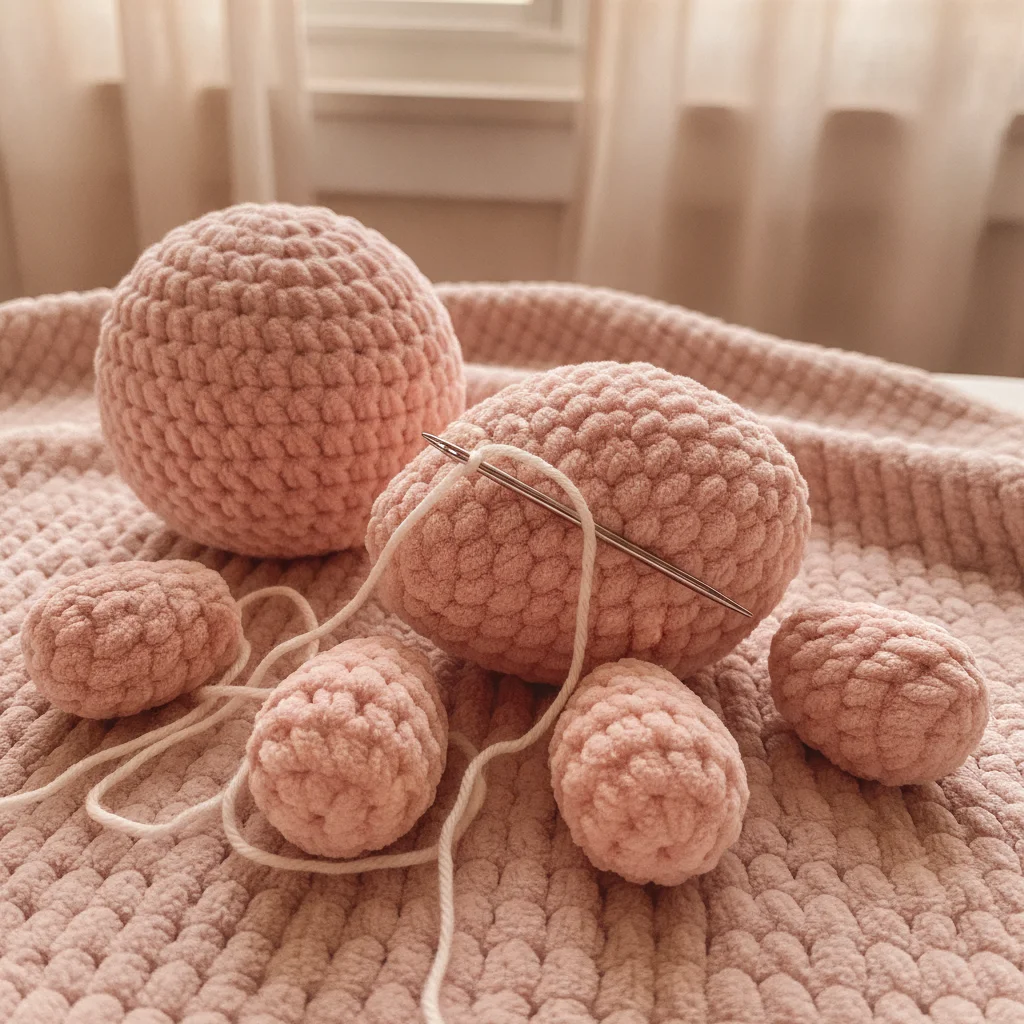
Mastering Increases and Decreases in Amigurumi: Your Guide to Perfect Shapes
Ever wondered how those adorable amigurumi toys get their perfect curves and charming shapes? It all comes down to two fundamental techniques: increases and decreases. In this post, we'll explore them step-by-step.
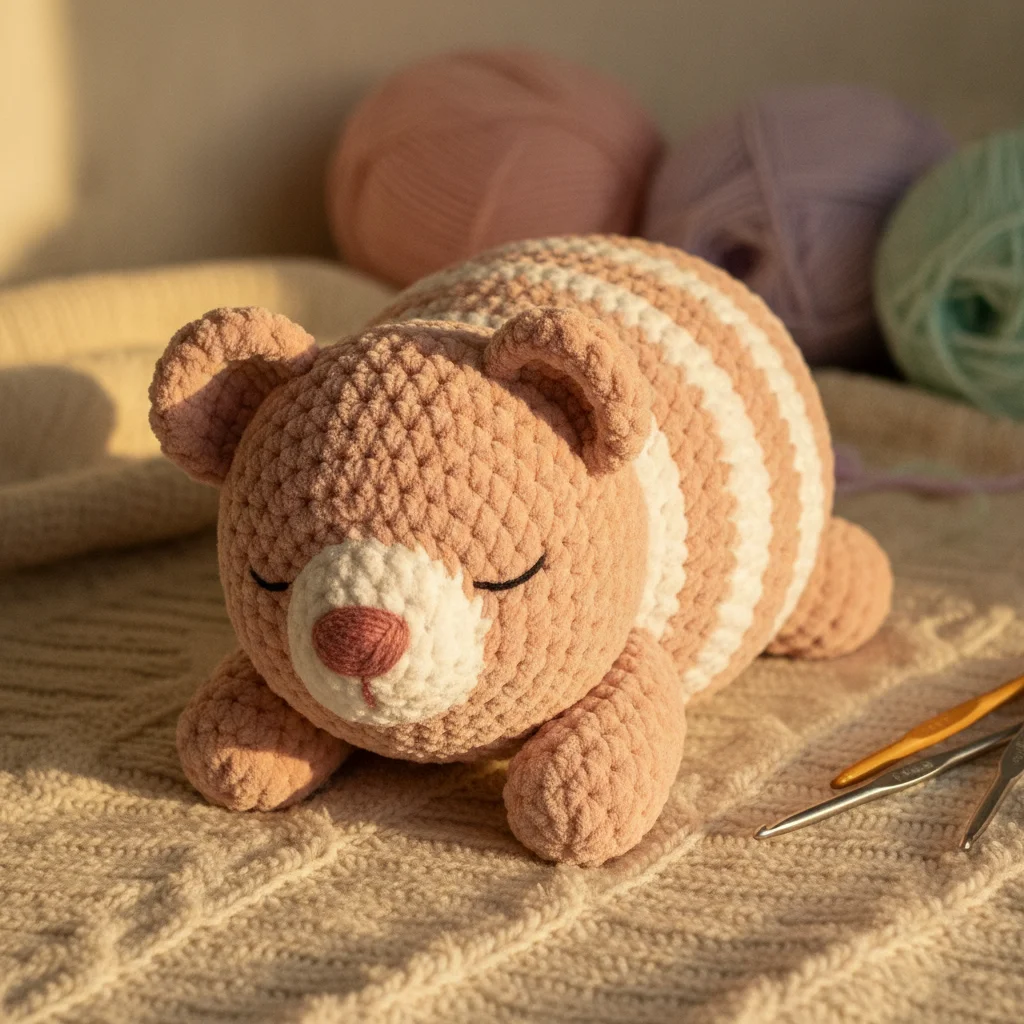
Welcome to the wonderful world of amigurumi! Have you ever wondered how these adorable crocheted toys get their perfectly smooth curves and distinct shapes? The secret lies in two fundamental crochet techniques: increases and decreases.
These techniques are the magic touch that allows us to transition from flat fabric to three-dimensional forms. Whether you're a complete beginner or looking to refine your skills, this guide will provide you with all the essential knowledge to master your amigurumi projects.
Ready to shape your dream toys by increasing and decreasing stitches? Let's dive in!
1. Increase: The Way to Expand Your Project
An increase simply means working more than one single crochet (SC) stitch into a single stitch. Typically, two single crochet stitches are worked into one stitch, causing your project to widen at that point.
Why Use It?
- To expand amigurumi pieces.
- To create rounded shapes and curves (e.g., the top of a head or the middle of a body).
- To start a new round or enlarge an existing one.
How to Do It? (inc)
- Insert your hook into the next stitch.
- Yarn over (YO) and pull up a loop (you should have two loops on your hook).
- Yarn over and pull through both loops (you've made your first single crochet).
- Insert your hook into the SAME stitch again.
- Yarn over and pull up a loop (you should have two loops on your hook).
- Yarn over and pull through both loops (you've made your second single crochet).
Congratulations! You've made an increase (inc).
Tip: Spacing your increases evenly is crucial for creating a smooth, flat circle or a gentle curve in your amigurumi pieces. Patterns often instruct with phrases like "6 inc" (6 increases) or "sc, inc" (one single crochet, one increase).
2. Decrease: The Way to Narrow Your Project
A decrease means combining multiple stitches into a single stitch. This action causes your project to narrow at that specific point.
Why Use It?
- To narrow amigurumi pieces.
- To reduce the size, create pointed features (nose, ears) or limbs (arms, legs).
- To finish off a round or shrink an existing one.
Traditional Decrease (sc2tog)
There's a traditional decrease method known as "sc2tog" (single crochet two together).
How to Do It?
- Insert your hook into the next stitch.
- Yarn over and pull up a loop (two loops on hook).
- Insert your hook into the next stitch.
- Yarn over and pull up a loop (three loops on hook).
- Yarn over and pull through all three loops on your hook.
While this method works, it can sometimes leave a small gap or "bump" in amigurumi, which can detract from the toy's appearance. This is why a special decrease technique has been developed for amigurumi: the Invisible Decrease.
The Invisible Decrease (invdec): Amigurumi's Best Friend
The invisible decrease (invdec), as its name suggests, creates a smooth, almost unnoticeable decrease. If you want your amigurumi toys to look more professional and neat, learning this technique is a must!
How to Do It? (invdec)
- Insert your hook into the FRONT LOOP ONLY (FLO) of the next stitch. (You'll see two strands forming a 'V' at the top of the stitch. The one closest to you is the front loop.)
- Insert your hook into the FRONT LOOP ONLY (FLO) of the FOLLOWING stitch. (You now have the front loops of two stitches on your hook.)
- Yarn over and pull through both front loops (you should have two loops on your hook).
- Yarn over and pull through both loops on your hook.
That's it! You've made an invisible decrease.
Tip: The invisible decrease provides a much more professional finish for your amigurumi projects. It might feel a bit challenging at first, but with practice, you'll quickly master it. You'll notice the difference immediately!
3. Understanding Amigurumi Patterns: Reading Increases and Decreases
Amigurumi patterns often use abbreviations. Here are the most common ones:
- inc: Increase – usually means to work two single crochet stitches into one stitch.
- dec: Decrease – usually means to combine two stitches into one.
- sc2tog: Single crochet two together (traditional decrease).
- invdec: Invisible decrease.
Examples:
Round 1: 6 sc in magic ring (6)Round 2: 6 inc (12)(Increase in each stitch to go from 6 to 12 stitches.)Round 3: (1 sc, 1 inc) x 6 (18)(Repeat one single crochet, one increase 6 times to go from 12 to 18 stitches.)Round 10: (1 sc, 1 dec) x 6 (12)(Repeat one single crochet, one decrease 6 times to reduce stitches from 18 to 12.)
4. Common Mistakes and How to Avoid Them
- Missing a Stitch: Especially in the first few rounds or when the work gets crowded, finding the correct stitch can be tricky. Using a stitch marker and counting each round helps prevent this error.
- Inconsistent Tension: If your crochet tension changes while increasing or decreasing, it can lead to an uneven appearance. Try crocheting a swatch to find your consistent tension.
- Visible Decrease Bumps: The gaps or bumps that can occur with the traditional decrease method are undesirable in amigurumi. Solution: Opt for the invisible decrease (invdec)!
Conclusion: Perfection Through Practice
Increases and decreases are the cornerstones of amigurumi art. Mastering these techniques empowers you to bring your projects to life, giving them those adorable, three-dimensional forms. Remember, like any new skill, practice is key.
You might not achieve perfect results on your first try, but with every stitch, you'll get better. We're here to support you on your crochet journey.
Join us in creating wonderful amigurumi projects and share what you've made! Don't forget to follow us on Instagram for new ideas and inspiration: @aylawangurumi